How to use Luminar AI with Photoshop for better portraits
Luminar AI is a set of editing tools designed to help you simply and quickly create creative and aesthetically pleasing portraits. The good thing here is that you do not need to have much knowledge of photo editing to use the software, because there is help from AI.
In this article, we will learn together how to edit a complete portrait photo using Luminar AI as a Photoshop plugin. But don’t worry if you don’t have Photoshop. Luminar AI can work as a standalone program without any other photo editing software.
How to use Luminar AI with Photoshop for better portraits
Surely there have been many times when you want to review and edit old photos for a more modern “taste”, or do something more creative with the ones you currently have. Luminar AI is a great choice if you are looking for new style touches for photos that you feel are still “missing something”.
In the example below, we will use an additional Template in Luminar AI called Glow to make the initial tweaks. Then go to the Edit menus and make more big (but simpler) adjustments. Let’s start:
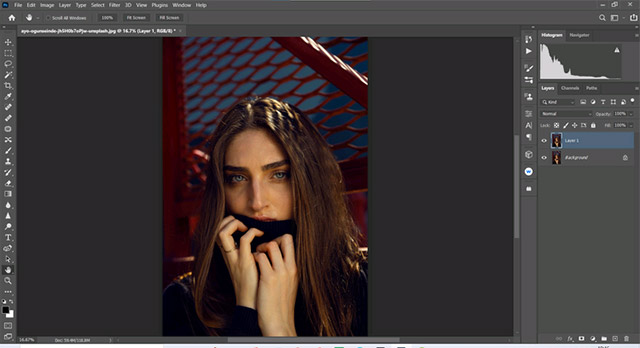
Step 1: In Photoshop, create a similar layer by pressing Photoshop shortcuts Ctrl + J. If you are not using Photoshop, skip the first three steps and just import the image into Luminar AI, then jump down to step 4 below.
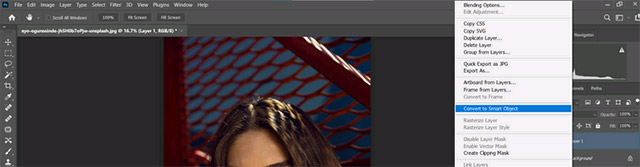
Step 2: Convert the newly created layer into a Smart Object by right-clicking and choosing Convert to Smart Object.
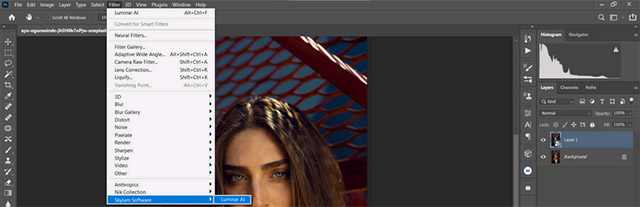
Step 3: Go to Filter> Skylum Software> Luminar AI.
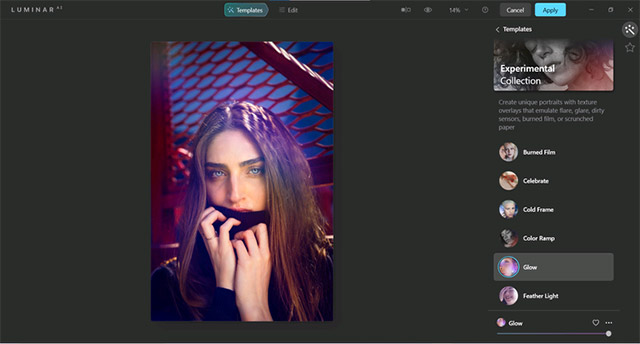
Step 4: On the Template menu , click on Experimental Collection . Then in the menu options displayed on the screen click on Glow .
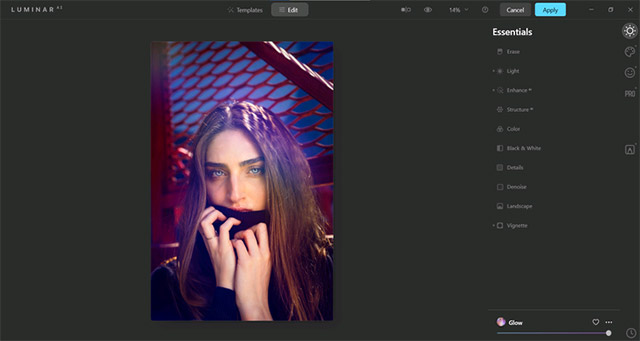
Step 5: Click Edit (next to Templates ) at the top. Make sure that the Essentials item is highlighted, indicated by a sun icon.
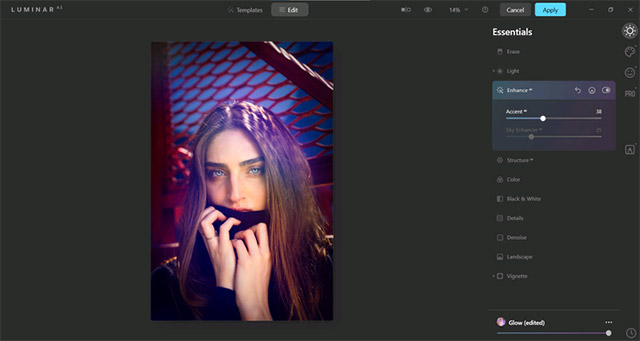
Step 6: Make these adjustment values (sliders) for each submenu item: Enhance AI> Accent AI: 38.
Step 7: Choose Vignette> Amount: -70> Size: 35> Advanced Settings> Roundness: -29> Feather: 33> Inner Light: 7.
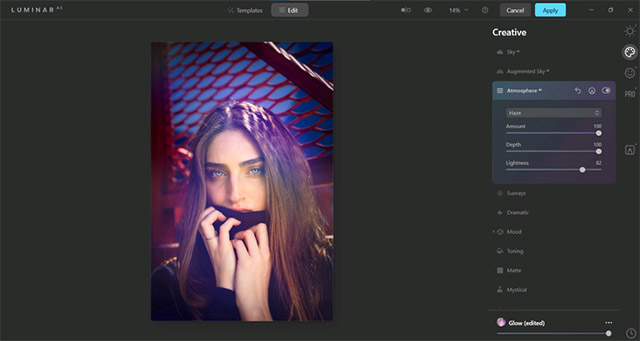
Step 8: Click Creative from the right menu bar, as indicated by the palette icon. After selecting Atmosphere AI , click Haze from the drop-down menu. From here, choose Amount: 100> Depth: 100> Lightness: 82.
Step 9: Select Sunrays. Then, click Place Sun Center. Using YOUR MOUSE, move the white dot above the subject’s head, so that half of the object can be seen at the top of the screen.
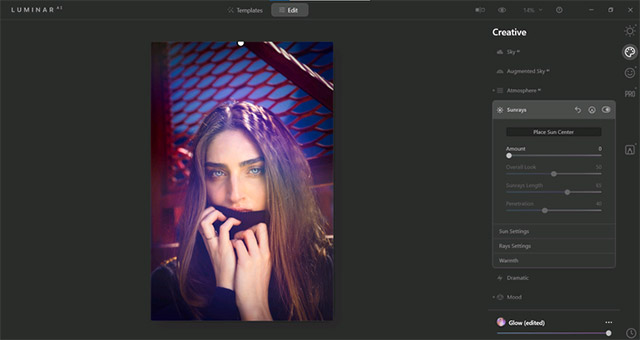
Step 10: Continue making adjustments in Creative and enter the following values: Amount: 72> Overall Look: 71> Sunrays Length: 50> Penetration: 40.
Step 11: In Sun Settings , choose Sun Radius: 40> Sun Glow Radius: 70> Sun Glow Amount: 60.
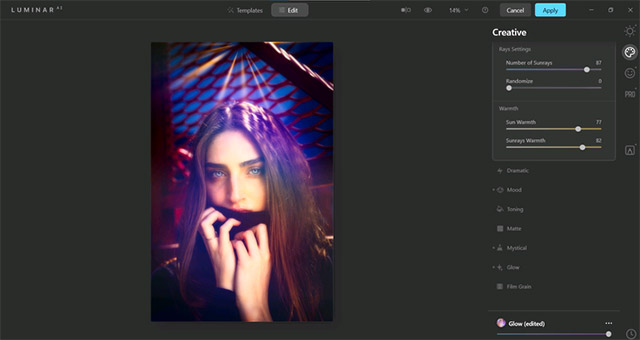
Step 12: In Rays Settings , choose Number of Rays: 87> Warmth> Sun Warmth: 77> Sunrays Warmth: 82.
Step 13: Click on Mystical , then choose Amount: 43> Shadows: 34> Smoothness: 31.
Step 14: In Glow , choose Soft Focus> Glow Amount: 33 . Under Advanced Settings , choose Contrast: 15.
Step 15: Select Portrait , indicated by a smiley. Enter the following slider adjustment values for each submenu item. In Face AI , select Face Light: 16.
Step 16: For Eyes , choose Iris Visibility: 80> Iris Flare: 74> Enlarge Eyes: 17> Eye Whitening: 10> Eye Enhancer: 20> Dark Circles Removal: 29> Improve Eyebrows: 20.
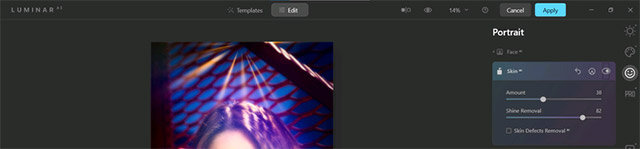
Step 17: Finally, click on Skin AI , then choose Amount: 38> Shine Removal: 82.
Step 18: Then, click Apply to return to Photoshop. If you don’t have Photoshop, there are options to export images from a standalone version of Luminar AI.
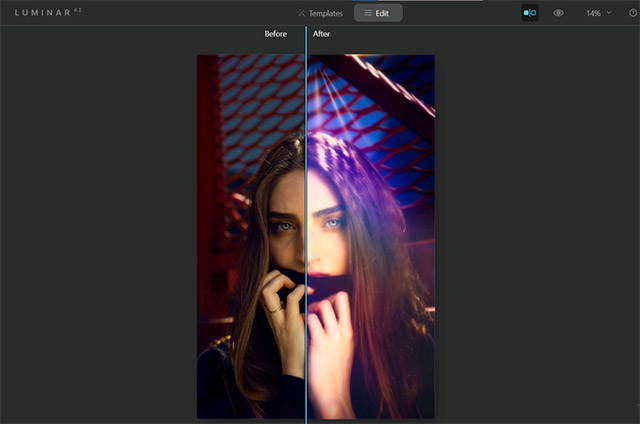
Do not forget that you can always undo an action by pressing Ctrl + Z . Whenever you work with Luminar AI in Photoshop (or any other photo editing program that uses layers), be sure to create a duplicate layer or a Stamp Visible layer before running Luminar AI as a plugin. This will allow you to go back and make edits later if needed.
How to use Luminar AI with Photoshop for better portraits