How to turn on 3D mode in Photoshop CC (4 simple Ways). As you all know, with versions of Photoshop CS5, CS6, CC we can all make good use of the 3D feature.
Since the release of Photoshop CC, Adobe requires all computers to have a supported graphics card configuration and OpenGL 2.0 library or higher to be able to use 3D features.
Most people who use Photoshop after installing it lose this feature due to low computer configuration or incorrect settings leading to the 3D feature in the Menu bar being hidden. To meet everyone’s need to use 3D features in Photoshop, today Theartcult will show you how to enable this 3D feature in Photoshop.
How to turn on 3D mode in Photoshop CC (4 simple Ways)
Method 1: Because your OS or GPU does not support 3D function, it is hidden.
You open Photoshop up => Edit => Preferences => Performance => GPU Settings => enable OpenGL Drawing
Only then can 3D be used, if the machine has a weak configuration or a weak VGA card, this place will be dimmed and cannot be marked.
If not, try installing the 32 bit cs5 version.
Method 2: By default Photoshop CS6 when installed for Windows operating system, the 3D function is hidden, we cannot find it on the Menu bar, Photoshop CS6’s 3D has many very attractive functions. Therefore, in order to fully use all design functions of Photoshop CS6, you must activate it, the usual way of Chess is not complete, the method is quite simple. Now I will show you how to activate the 3D functions of Photoshop CS6 up. Usage is quite simple, you just need to download the Tool provided below, then click run and it’s ok.
Mediafile : Downloadloand
Note: The case that the 3D function cannot be activated can only happen when your card does not support it or the card capacity is too low.
Method 3 : After opening Photoshop CS6 and not seeing the 3D feature, then:
_ You should remove the Photoshop software to install it again (remember to turn off the network before installing). After the installation is complete, you do not have to worry about it, but you have to open that Photoshop for it to run, check to see if the 3D feature is displayed. Now you turn off Photoshop and give it medicine. This method is 100% successful. But then, for some reason, it suddenly disappeared, I used to have it.
Method 4 : After installing photoshop cs, cc and showing the 3D feature in Photoshop’s Menu bar but the tools in that Menu are all blurred and can’t be clicked, please follow these steps:
Note: This guide is only for computers using Intel(R) HD Graphics integrated graphics cards!
Step 1: You go to intel’s Diver supply page
Find and select Driver for the graphics card that your computer is using.
Step 2: Choose the right operating system for your computer
Step 3: After the website has selected for us, we should download the latest Diver version.
Step 4: After the download is complete, you will extract the , we will have a folder containing the Driver, please remember the path to this folder.
Step 5: Next, we open the Manage management section, to be able to update the driver. Go to Start => Right-click Computer => Select Manage Step 6: In the Computer Management
window , select Device Manager > click the arrow next to the words Display adapters > Select Intel(R) HD Graphics on your computer > Right-click and select Update Driver Software…
Step 7: Update Driver Software window appears > Select Browse my computer for driver software .
Step 8: Click Browse > Find the driver folder we extracted earlier > then click Next to start the computer to update the Driver, as well as the OpenGL library for the computer.
Step 9: Wait a moment, let the computer update. After updating the Driver. You Restart the computer.
Ok. Wait for the computer to finish restarting, then turn on Photoshop and enjoy.
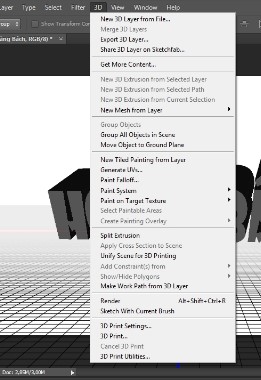
Here are my Photoshop results.
Good luck.
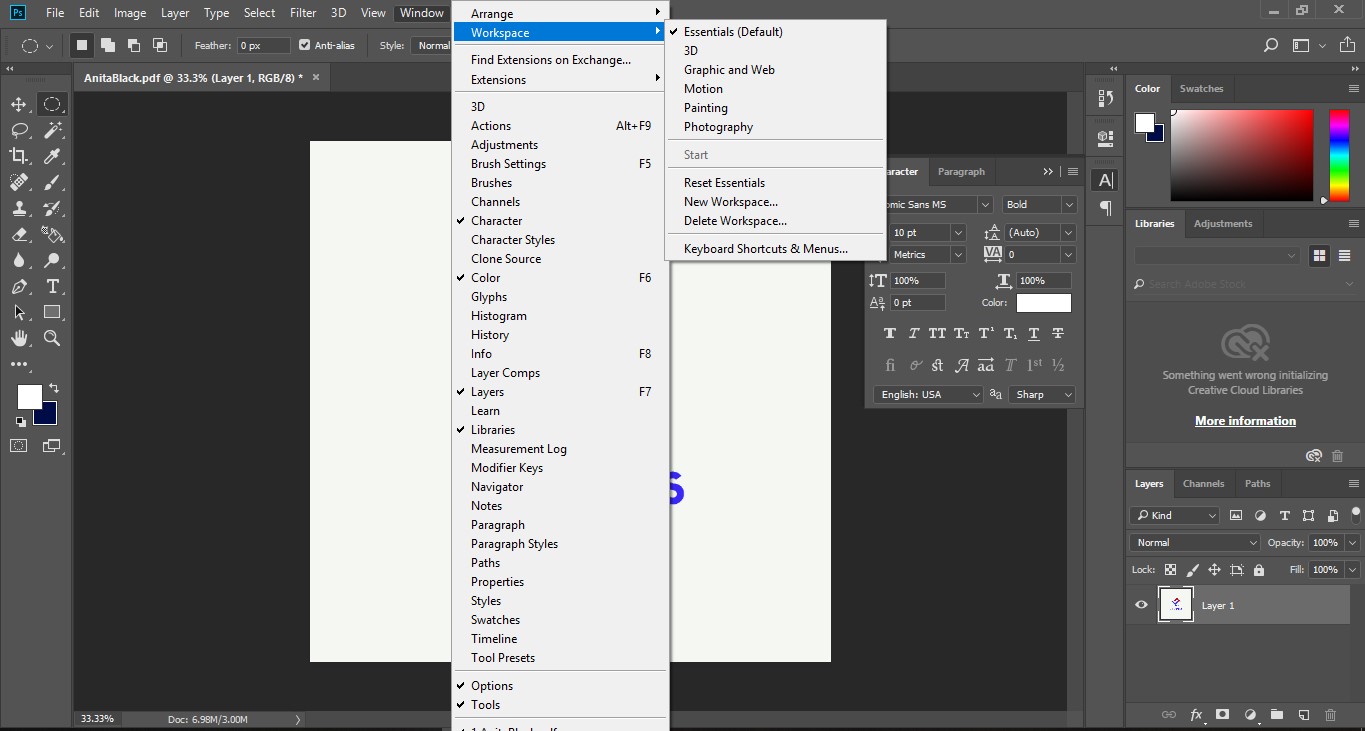
You can turn off the 3D mode or exit from the 3D workspace by going to Photoshop > Windows Menu > Workspace > Select the “Essentials (Default)” option. For more info, check this out: https://helpx.adobe.com/photoshop/kb/3d-faq.html#turn-off-3d-mode
Also, Photoshop’s 3D features are being discontinued. As for Photoshop 22.5, we are beginning the process of removing those features. For detailed info, refer to the following FAQ
3D Scene settings
Use 3D Scene settings to change render modes, select a texture to paint on, or create cross sections. To access scene settings, click the Scene button 
Render Settings
Specifies the render preset for the model. To customize options, click Edit.
Quality
Choose a setting which provides the best display quality while maintaining good performance:
Interactive (Painting)
Renders with OpenGL using the GPU on the video card, producing high-quality results, but lacking detailed reflections and shadows. For most systems, this option is best for editing.
Ray Traced Draft
Renders using the CPU on the computer motherboard, with draft-quality reflections and shadows. If your system has a powerful video card, the Interactive option may produce faster results.
Ray Traced Final
Best reserved for final output, this option fully renders reflections and shadows.
Tiles are temporarily drawn across the image during Ray Traced rendering. To interrupt the rendering process, click the mouse or spacebar. To change the number of tiling passes, trading processing speed for quality, change the High Quality Threshold in the 3D preferences.
Paint On
When painting directly on the 3D model, use this menu to choose which texture map to paint on. See 3D painting.
You can also choose the target texture from the 3D > 3D Paint Mode menu.
Global Ambient Color
Sets the color for global ambient light visible on reflective surfaces. This color interacts with the ambient color for specific materials. See 3D Materials settings.
Cross Section
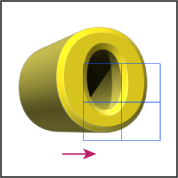
Select to create a planar cross section that can intersect the model at an angle you choose. Allows you to slice through a model and view interior content. See View cross sections.
View cross sections
You can view a cross section of a 3D model by intersecting it with an invisible plane that slices through the model at any angle and displays content only on one side of the plane.
-
Select Cross Section in the bottom section of the Scenes tab.
-
Choose options for alignment, position, and orientation:
Plane
Select to display the intersecting plane that creates the cross section. You can choose plane color and opacity.
Intersection
Select to highlight the areas of the model that the cross section plane intersects. Click the color swatch to select the highlight color.
Flip Cross Section
Changes the displayed area of the model to the opposite side of the intersecting plane.
Offset and Tilt
Use Offset to shift the plane along its axis, without changing its tilt. At a default offset of 0, the plane intersects the 3D model at its midpoint. At maximum positive or negative offsets, the plane moves beyond any intersection with the model. Use Tilt settings to rotate the plane up to 3600 in either of its possible tilt directions. For a particular axis, the tilt settings rotate the plane along the other two axes. For example, a plane aligned to the y‑axis can be rotated around the x‑axis (Tilt 1) or the z‑axis (Tilt 2).
Alignment
Select an axis (x, y, or z) for the intersecting plane. The plane is perpendicular to the selected axis.


