How To Move A Group In Photoshop. When you select the group, and then take your mouse and drag to move, you end up moving an individual layer. You end up having to use keyboard to move things around, but that’s very inefficient. In this article, we provide some suggestions on How To Move A Group In Photoshop.
How To Move A Group In Photoshop
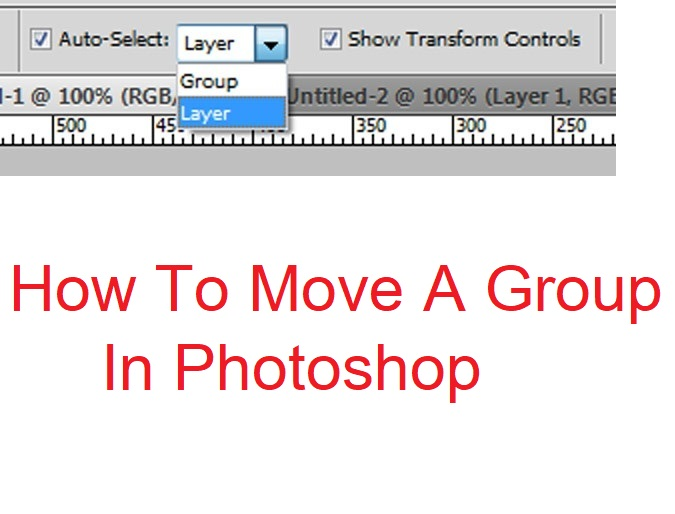
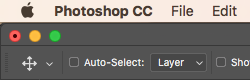
Make sure you have auto-select disabled. This causes the program to select whatever item you click on instead of the element you have selected in your layer overview.
How do you move things in Photoshop?
Select the Move tool , or hold down Ctrl (Windows) or Command (Mac OS) to activate the Move tool. Hold down Alt (Windows) or Option (Mac OS), and drag the selection you want to copy and move. When copying between images, drag the selection from the active image window into the destination image window.
How do you move objects freely in Photoshop?
Select the layer that the object is on and tap the Ctrl+T (Windows) or Command+T (Mac) keyboard shortcut to enter free transform mode. On the top bar, you will see input fields for x/y coordinates. Enter the ones you noted down in the previous section, and the object will be moved to that position.
How do I edit a group in Photoshop?
Select the layer/group and then follow these steps: Choose Layer > Rename Layer or Layer > Rename Group. Enter a new name for the layer/group in the Layers panel. Press Enter (Windows) or Return (Mac OS).
How do you copy a group?
2 Answers. Open both documents select the group you want to move and now you have 2 options: Right-click on the group (in the layers tab) and click “Duplicate Group” Under “Destination” change the value “Document” with the target document (the one that will receive the Group).