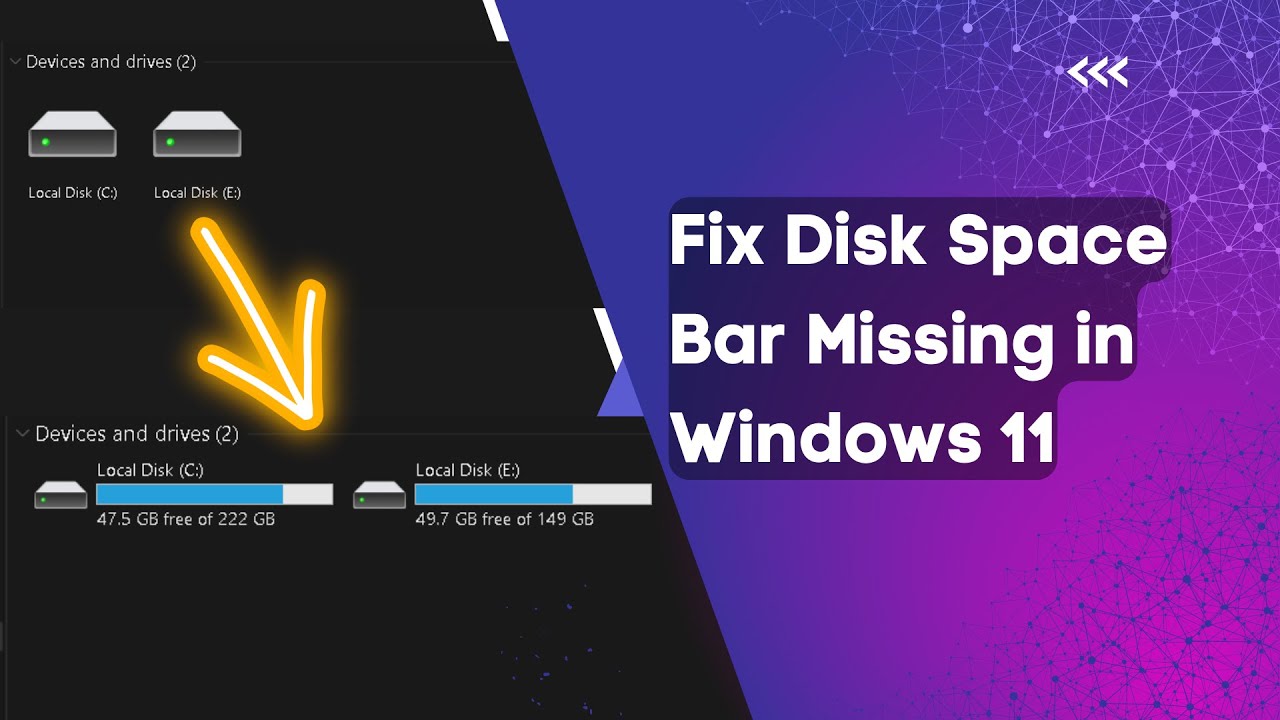
Disk space usage bar missing in Windows 11. Usually, you may need to check CPU or disk usage information for different reasons, such as you want to save more files, a large file, or you may need an idea of how much space is left first. when freeing up some space. The easiest way to check hard disk usage is This PC.
When you open File Explorer and open This PC folder, on the right side in the Devices and drivers section where you see the different drives you will see a bar under each drive and that’s the disk usage bar . However, you can view this bar when it is set to the default view, i.e. Tile view. However, if you don’t see the disk usage bar even in Tile view, something is wrong. While there is another way to check disk usage on your PC (which we will discuss later), File Explorer is the fastest and most convenient way.
However, this is a common problem and nothing to worry about. In this post, Theartcult will show you how to fix the missing disk space usage bar on your Windows 11/10 PC.
*Note – Before proceeding, make sure you have Tile view enabled in File Explorer and check if this is the problem.
Disk space usage bar missing in Windows 11
Method 1: Select the Options box
Step 1: Press Win + E button and File Explorer will open.
Step 2: Go to the top right of the window in File Explorer and the view expands.
from the tile select list .
Note: – For Windows 11 users
Now select This PC on the left and right side, in the Devices and drivers section you will see the disk space usage bar.
But if not, try the following solutions to fix the problem.
Method 2: Reset Folder View in File Explorer Preferences
By default, the first method to try would be to reset the folders in File Explorer Preferences. Follow the instructions below to reset the folders and see if it helps you show the disk usage bar again on your Windows 11 PC:
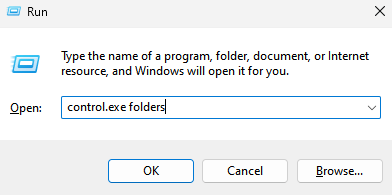
Step 1: Press the hotkey – Win + R on your keyboard at the same time.
This will open the Run command window.
Step 2: In the run command search bar, type the control.exe folders and click OK to launch the File Explorer Options dialog box.
Step 3: Now General Click on the tab and under Privacy Restore Defaults.
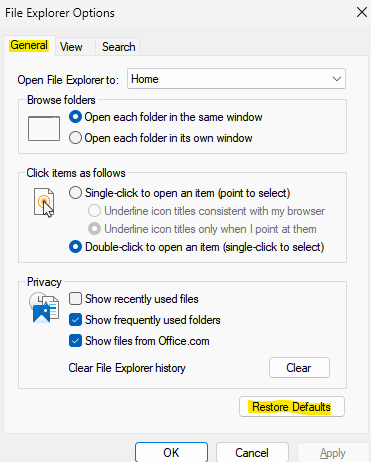
Step 4: Now, Start Tab view and click Restore Defaults

When done, press apply and then ARROW to apply changes and exit.
Now go back to This PC folder in File Explorer and check if you can now see the disk space usage bar in the driver.
Method 3: Change Registry Editor settings
Editing registry editor settings is useful in most cases when some solutions don’t work. However, before making any changes to the registry settings, make a backup of the registry keys. This will help you recover any data that you may have lost in the process.
Now, here’s how to make changes in the registry editor that can fix the missing disk space usage bar issue on your Windows 11 PC:
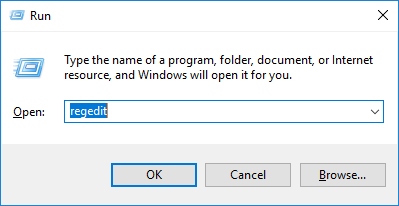
Step 1: Move the cursor to the Start button on the Taskbar, right-click it and select Run.
You will now see the Run command window.
Step 2: In the Run command window, type regedit in the search bar and press Enter on your keyboard.
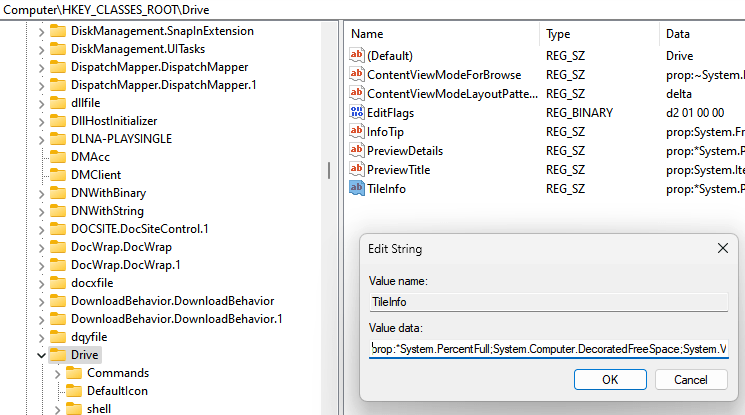
Step 3: In the Registry Editor window that opens, navigate to the following path:
HKEY_CLASSES_ROOTDrive
Now go to the right side of the window and double click on it. TileInfo .
*Note – If you don’t find the TileInfo string value, right click in the empty space to the right, select New and then String Value. call it TileInfo.

Step 4: Now, Once TileInfo Just double click on it.
You should now see the Edit String drop-down box.
Copy and paste the following path into the Value data field:
prop:*System.PercentFull;System.Computer.DecoratedFreeSpace;System.Volume.FileSystem
Print ARROW and then save changes and exit.
When you’re done, close the registry editor window and now go to File Explorer > This PC and check if you can show the disk space usage bar again.
If it doesn’t solve the problem, try restarting the computer.
Method 4: Reduce your volume labels
The drive in this PC folder typically displays three lines of information in Tile view. This includes the drive letter, disk space usage bar, and drive label with text information. Because all this information makes the volume label too long, it can sometimes wrap to the next line causing the text message display space to run out.
Therefore, this method is especially useful when you cannot see the text message under the skin tag. Therefore, in this case, you should shorten the length of the skin tag. To do this, follow these steps:
Step 1: Select the drive with a longer name and press F2 on the keyboard.
Step 2: Next, select Rename and now rename with a shorter name.

*Note – This change usually requires administrator privileges. Just click Continue in the permissions box to continue the renaming process.
Method 5: Change permission to full control
If you are facing the problem of not being able to see the drive properties along with the disk space usage bar, changing the ownership from TrustedInstaller to your user ID and then changing the permission to full control can help solve the problem. Make sure you change the ownership first, otherwise you won’t have permission to edit the security rules. Leets, see how to change ownership and then switch to full control to fix the problem:
Step 1: Right click on the driver and select Properties.
Step 2: In the Properties window, Protection.
Click here, click on the high level right corner at the bottom.
Step 3: In the Advanced Security Settings window, go to the bottom left and Change Permissions.
Step 4: In the Advanced Security Settings window, go to the Owner field and change the Color to Blue.
Step 5: While the Select User or Group dialog box opens, advanced.
Step 6: In the next window, click on it. Find now.
You should now see a list in the Search results area.
Here select the account name and bass ARROW.
Step 7: You will now return to the Select User or Subgroup dialog box and click OK.
Step 8: Go back to the Advanced Security Settings window, press Apply then OK to apply the changes and return to the Properties window.
Step 9: In the Security tab, in the Group or username field, select your username and click the Edit button below.
Step 10: Now go to the Permissions area below and next to Full Control check the box under Allow.
Press the Apply button and then OK to save the changes and exit.
Now, in File Explorer > On This PC, check if you can see the driver properties and disk space usage bar.
Method 6: Turn on full column percentage
This method worked for Windows 8 and now also works for Windows 11, although there’s a bit here and there in the preferences’ insert. All you have to do is enable the Full Percent column and show a disk usage bar next to the drive. Here’s how to enable the full percentage column:
Step 1: Go to the Windows (Start) icon on the Taskbar, right click on it and select Program Data Manager to open the file explorer
Step 2: In the File Explorer window, click it. This PC is left
Now, on the right side of the pane, top right view and select Details.

Step 3: You will now see a detailed view of the drivers in the Devices and drivers section.
Here go to the top of any column, right click on it, for example right click Type and choose Percentage Full.

This will add an extra column to the right called Full Percentage. Now, when you go to the drives, you can see the disk space usage bar on the right.
How to free up space on Windows 11
Use Disk Cleanup tool
Disk Cleanup is the available disk cleaning tool of Windows in general and of course it is also present on Windows 11. You press the Start button to open the Start Menu then enter Disk Cleanup and then click on the search result to open the tool.

Wait for the system to scan the files to be cleaned.
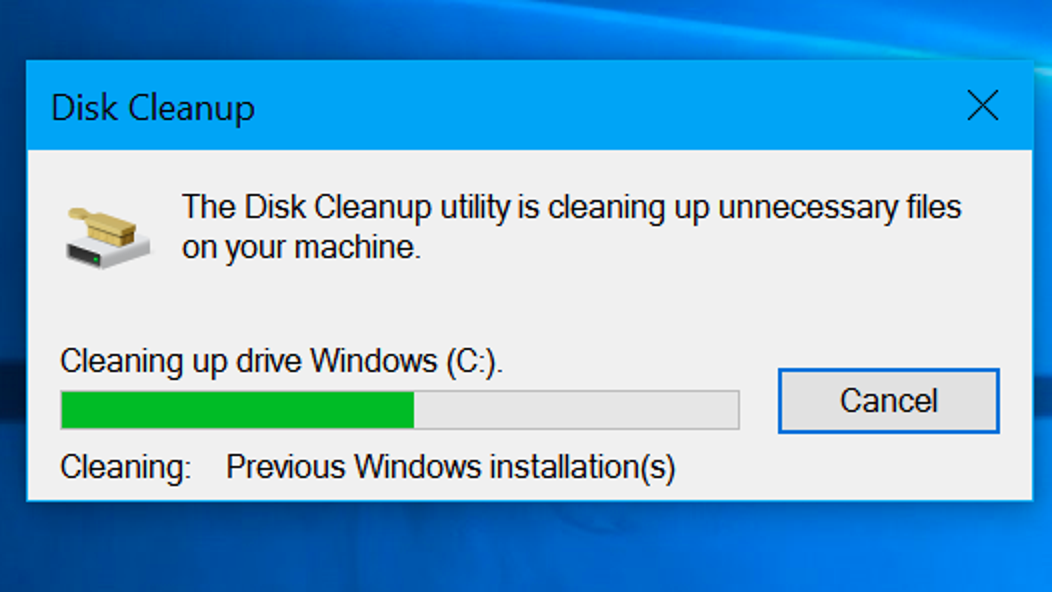
After the scan is complete, you will see a list of different types of data and the corresponding amount of data that has occupied the hard drive, then click the option before the items you want to delete and then click the OK button.

In addition, the “Clean up system files” button can be clicked to delete redundant files from the previous installation of Windows, old system restore points and various logon system files. If you updated your current version of Windows from an earlier version of Windows, you can reclaim about 1GB of disk space this way.
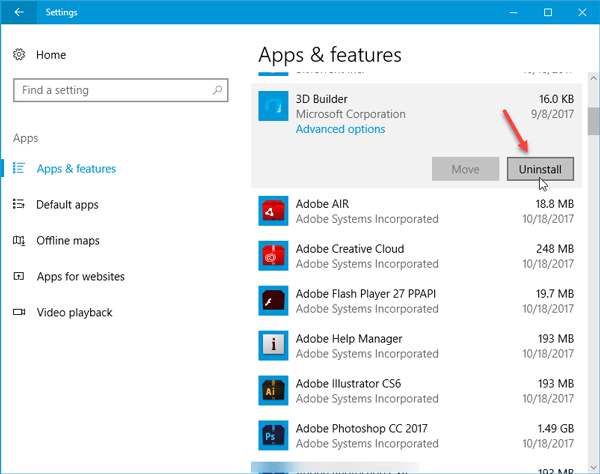
Uninstall unnecessary apps
Uninstalling unnecessary applications is another solution that you can consider when you want to free up hard drive space on Windows 11. To do this, you need to follow these steps:
- Press Win + I to open Settings
- Access Apps.
- Go to Installed apps.
- Click on the 3 dots next to the application to be removed and then select Uninstall.
- Confirm and wait for the system to uninstall the app.
Alternatively, you can also uninstall the application using the Control Panel by following these steps:
- Click Start, type Control, and click Control Panel in the search results to open it.
- Click Programs.
- Click Uninstall a program .
- Right-click the application to be uninstalled and select Uninstall.
- You can also click the Uninstall a program button under Programs right in the Control Panel.

Compress data to free up disk space Windows 11
Windows uses the NTFS system format, which allows you to compress frequently used files, while still being able to access them when needed. However, opening compressed files, especially large files, will take longer.
The data compression feature is especially useful for MS Office documents, old PDFs and large image files. Music files or video files should not be compressed because these files are usually saved in a compressed format. Similarly, do not compress system files as well as other program files because it will slow down the computer.

To compress a file or folder optimally, browse to that folder and then right-click on the folder name and select “Properties”. In the dialog box that appears, select the “General“ tab and then click the “Advanced” button, now just click the “Compress contents to save disk space” option and then click the OK button.
Reduce the space used for System Restore
The importance of the System Restore feature cannot be denied , because it helps users restore the system at the best time, preventing unexpected changes due to drivers, registry keys, system files. and installed programs. Because of that, backing up the system will take up a lot of disk space.
To reduce the storage space usage of System Restore, click the Start button, then enter Recovery and then click Recovery in the search results.
In the new window, select Configure System Restore.
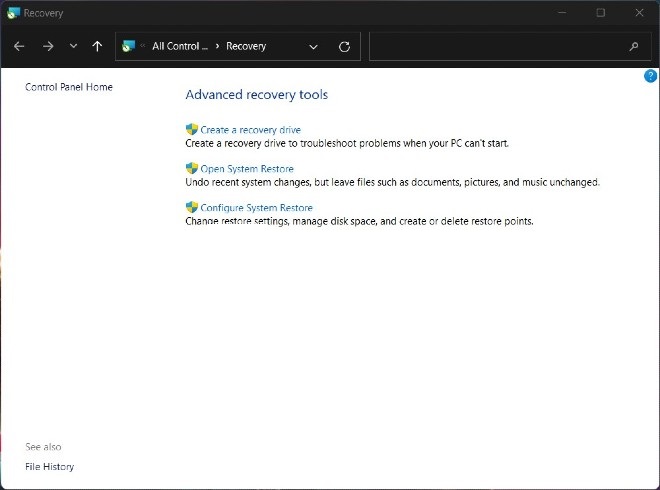
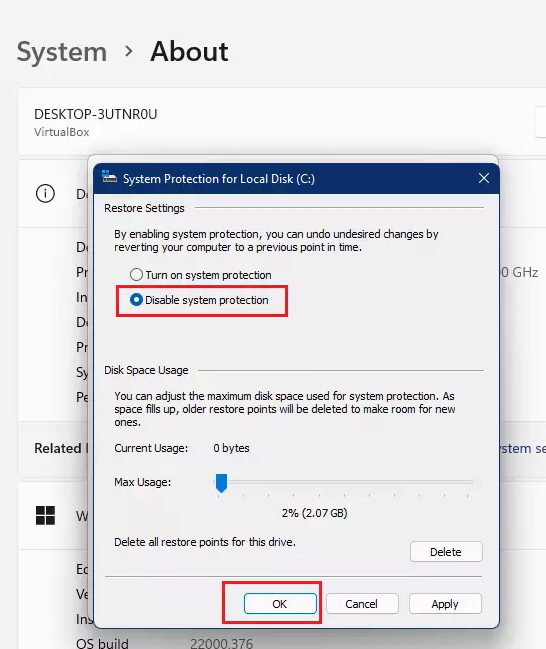
In the new window that appears, select the “System Protection” tab and then click the “Configure” button. Now look under “Disk Space Usage” which is the space used to create system restore points, just drag the slider to increase/decrease the disk space you want the System Restore feature to use according to your needs. bridge. Or you can choose Disable system protection.

Use OneDrive or use an external hard drive
With all kinds of data, old documents, images that are rarely used, instead of saving them on the hard drive, leading to a fast hard drive full, you should transfer them to an external hard drive or save them on other hard drives cloud storage service. Microsoft’s cloud storage solution integrated on Windows, OneDrive (formerly SkyDrive), is integrated into all Windows 11 computers and the service offers 7GB of free storage to users.

Storing large amounts of data on a cloud service can be quite expensive, and the most effective alternative here is an external hard drive. Currently, users have many choices for external hard drives with many different prices and capacities, depending on their needs.