How to add texture to 3d objects in Photoshop. You can use the Photoshop painting and adjustment tools to edit the textures contained in a 3D file, or to create new textures. Textures are imported as 2D files with the 3D model. They appear as entries in the Layers panel, nested under the 3D layer, and grouped by map type: Diffuse, Bump, Glossiness, and so on.
How to add texture to 3d objects in Photoshop
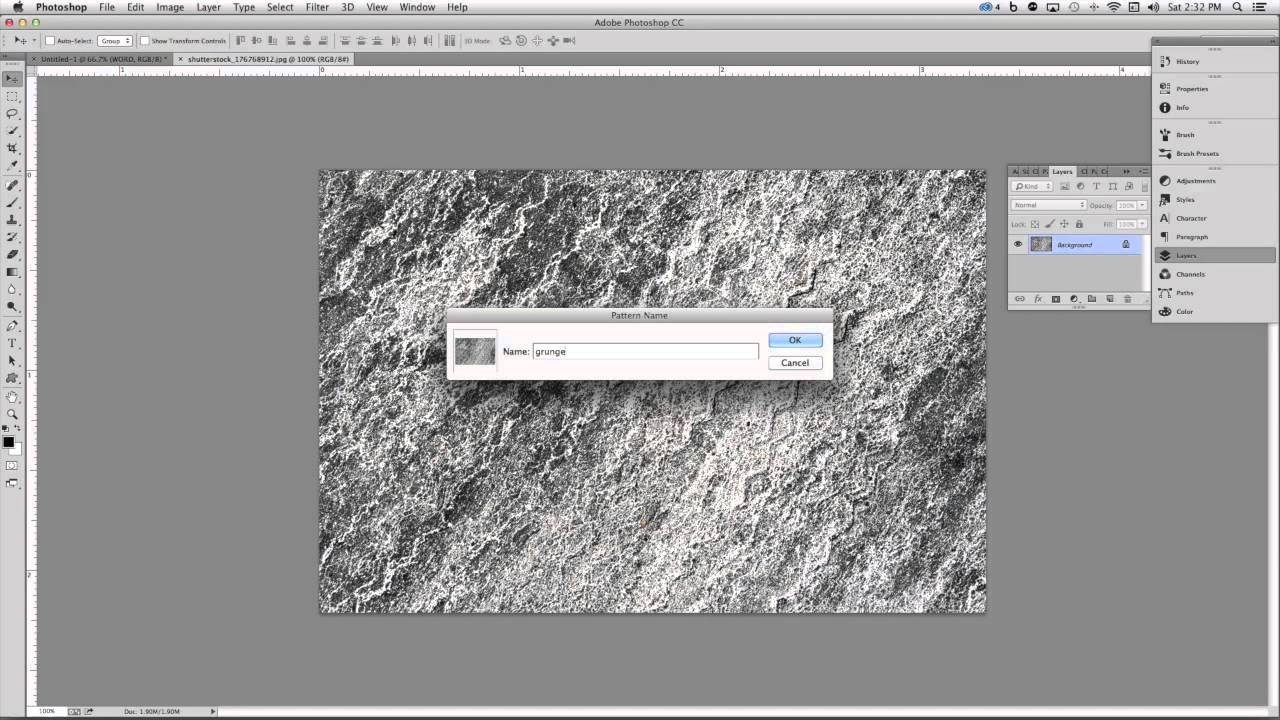
The first step to apply a 3D Texture to a photo is to convert a photo into a “PATTERN” in Photoshop. To convert any photo into a pattern, open the image and select all by pressing CTRL/CMD+A then go to ‘Edit – Define Pattern.’ This Pattern is now stored in Photoshop’s library and can be accessed by going to ‘Edit – Presets – Preset Manager.’
After creating a pattern, it will be stored in Photoshop for future use.
Layer FX – Bevel and Emboss + Texture
To apply the pattern to Text or a photo, click on the desired layer and go to ‘Layer – Layer Style – Bevel and Emboss’ and select ‘Texture.’ Next, in the Pattern editor, select the pattern you just created, it will be on the bottom of the Pattern list.
Then in the properties make sure to click ‘Snap to Origin’ and select 100% Scale and Depth.
Layer FX – Pattern Overlay
After applying the Pattern to the Bevel and Emboss Layer FX, add a ‘Pattern Overlay’ by going to ‘Layer – Layer Style – Pattern Overlay.’ In this dialog, be sure to select the same pattern used in the Bevel and Emboss layer FX. Click ‘Snap to Origin’ and select 100% Scale.
Now, the Pattern Overlay and the Bevel And Emboss will be aligned and applied to the current layer.
To adjust the lighting on the pattern, go into the settings for the layer FX Bevel And Emboss, and change the ‘Shading Angle’ and ‘Shading Altitude.’ You will see a live preview of the lighting direction change on the pattern.
To view a thumbnail of a particular texture file, hover the mouse pointer over the name of the texture in the Layers panel. The image size and color mode are also displayed.
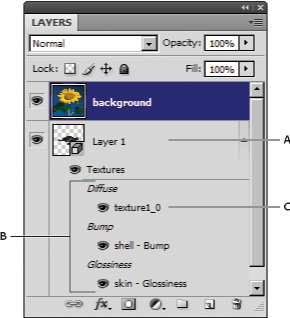
A. 3D layer B. Texture map types C. Texture map filename
Texture maps used by a particular material also appear in the lower section of the 3D panel when a material is selected. See 3D Materials settings.
To edit 3D textures in Photoshop, do either of the following:
-
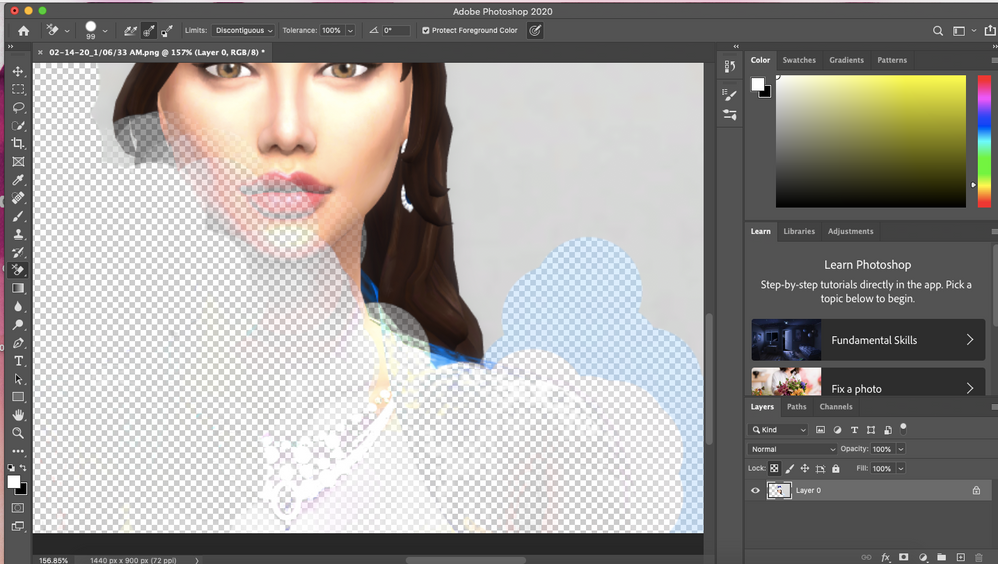
Edit a texture in 2D format. The texture opens as a Smart Object in a separate document window.
-
Edit a texture directly on the model. If necessary you can temporarily cut away model surfaces to access areas to paint on. See 3D painting.
Edit a texture in 2D format
-
Do one of the following:
-
Double-click the texture in the Layers panel.
-
In the Materials panel, select the material that contains the texture. In the bottom section of the panel, click the texture menu icon
 for the texture you want to edit, and choose Open Texture.
-
-
Use any Photoshop tool to paint on or edit the texture.
-
Make the window containing the 3D model active to see the updated texture applied to the model.
-
Close the texture document and save changes.
Display or hide a texture
You can display and hide a texture to help identify what area of the model the texture is applied to.
-
Click the eye icon next to the Texture layer. To hide or display all textures, click the eye icon next to the top-level Texture layer.
Create UV overlays
A diffuse texture file used by multiple materials on a 3D model can group several content areas that are applied to different surfaces on the model. The process called UV mapping matches coordinates in the 2D texture map with specific coordinates on the 3D model. UV mapping allows the 2D texture to be painted correctly onto the 3D model.
For 3D content created outside Photoshop, UV mapping occurs in the program where the content was created. However, Photoshop can create UV overlays as guides to help you visualize how a 2D texture map matches up with the 3D model surfaces. These overlays act as guides when editing a texture.
-
Double-click a texture in the Layers panel to open it for editing.
Note:Create UV Overlays is only enabled when a texture map is open and is the active window.
-
Choose 3D > Create UV Overlays, then select an overlay option.
Wireframe
Shows edge data of the UV mapping.
Shaded
Shows model areas using a solid rendering mode.
Normal Map
Shows geometric normals translated to RGB values, where R=X, G=Y, and B=Z.
UV overlays are added as additional layers in the Layers panel for the texture file. You can show, hide, move, or delete a UV overlay. The overlays appear on the model surface when you close and save the texture file, or switch from the texture file to the associated 3D layer (the texture file is auto saved).
Delete or hide UV overlays before performing a final render.
Reparameterize a texture map
Occasionally you may open a 3D model whose textures are poorly mapped to the underlying model mesh. Poor texture mapping can produce obvious distortions in the surface appearance of the model, such as unwanted seams or areas of stretching or squeezing of the texture pattern. Poor texture mapping can also cause unpredictable results when you paint directly on the model.
To check texture parameterization, open a texture for editing, then apply a UV Overlay to see how the texture aligns with the model surfaces. See Create UV overlays.
The Reparameterization command remaps a texture to the model to correct distortion and create more effective surface coverage.
-
Open a 3D file with a poorly mapped diffuse texture, and select the 3D layer containing the model.
-
Choose 3D > Reparameterize. Photoshop notifies you that you are reapplying the texture to the model. Click OK.
-
Choose a reparameterization option:
-
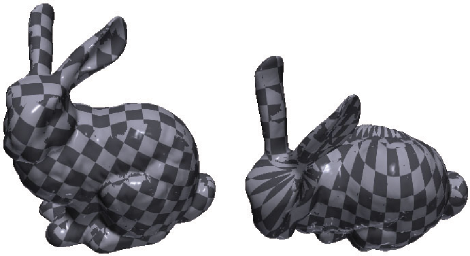
Low Distortion keeps the texture pattern more intact, but can create more seams on the model surface.
-
Fewer Seams minimizes the number of seams that appear on the model. This can produce more stretching or pinching of the texture, depending on the model.

Reparameterized texture using Low Distortion (left) and Fewer Seams (right) -
-
(Optional) If the reparameterization option you chose does not create optimal surface coverage, choose Edit > Undo and try the other option.
You can also use the Reparameterize command to improve the default texture mapping that occurs when you create 3D models from 2D layers. See Create 3D objects from 2D images.
Create a tile for a repeating texture
A repeating texture is composed of identical tiles in a grid pattern. A repeating texture can provide more realistic surface coverage of the model, use less storage, and improve rendering performance. You can convert any 2D file into a tiled painting. After previewing how multiple tiles interact in the painting, you save one tile for use as a repeating texture.
To set up a mesh for a repeating texture, use the 3D application that created the model.
-
Open a 2D file.
-
Select one or more layers in the file, then choose 3D > New Tiled Painting.
The 2D file is converted to a 3D plane containing nine identical tiles of the original content. Image dimensions remain the same.
-
Edit the tiled texture with painting tools, filters, or other techniques. (Changes you make to one tile automatically appear in the others.)
-
Save a single tile as a 2D image: In the Materials section
 of the 3D panel, choose Open Texture from the Diffuse menu . Then choose File > Save As, and specify a name, location, and format.Note:
Unless you plan to use the original, nine-tile painting independently, close it without saving.
-
To load the tile as a repeating texture, open a 3D model file. In the Materials section of the 3D panel, choose Load Texture from the Diffuse menu, and select the file you saved above.