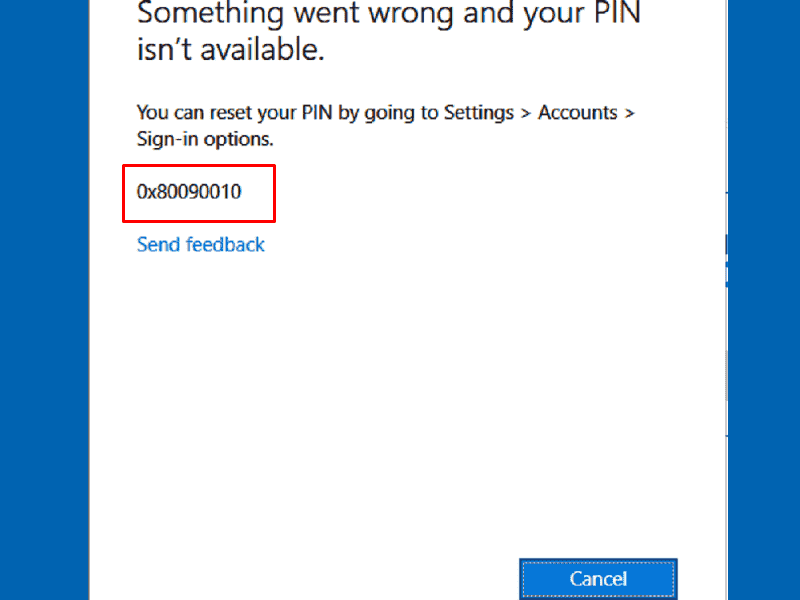
Windows Hello PIN Something went wrong Status 0x80090011. You often encounter Error Code 0x80090011 when setting up a Hello PIN on a Windows PC. Many users have confirmed this error on various forums. The failed error message that you may receive on the display is as follows.
“SOMETHING WENT WRONG, AND WE COULDN’T SET UP YOUR PIN, ERROR 0X80090011”.
Recently installed Windows update, admin login issue, TPM error and IPsec Policy Agent not working are some of the main causes that can prevent Hello Pin error from generating on Windows. Here , in this guide we will explore 9 working ways that can help get rid of Windows Hello PIN problem.
How to fix Windows Hello PIN Something went wrong Status 0x80090011 in Windows 10 or 11
To resolve Windows Hello Pin Error 0x80090011, try to do the fixes below sequentially:
Restart your PC
Restarting your PC is a simple yet effective way to get rid of various problems including Hello PIN Error 0x80090011 on Windows 10. If for any reason you cannot generate a PIN, simply sign out. from Windows and restart the computer.
Disable your PIN login
The most convenient method in this problem is to not use the PIN to sign in to Windows 10 or 11. Modifying the registry entry can help you to disable the Hello PIN by using the following steps:
- Press the key combination – Windows + R .
- In the Run command, type – regedit.
- Press- Enter.
- When User Account Control shows up, click – Yes.
- Once on the Registry Editor window, navigate to the following folder: Computer\HKEY_LOCAL_MACHINE\SOFTWARE\Microsoft\PolicyManager\default\Settings\AllowSignInOptions
- From the right pane, double-click the DWORD key named Value.
- Set the Value data to 0.
- Click – OK.
- Close Registry Editor and restart the PC.
Uninstall recently installed update
Sometimes, a buggy Windows update can also interfere with the login process when using the Hello PIN and cause error 0x80090011 to occur. You can temporarily uninstall the release until the bug is officially fixed using the guidelines below –
- Right click on Start and select – Run.
- In the command box, type – appwiz.cpl.
- Click – OK .
- From the left sidebar of the Programs and Features window, click – View installed updates.
- All installed updates will be displayed under the Microsoft Windows section.
- Right click on the most recently received KB version.
- Option – Uninstall.
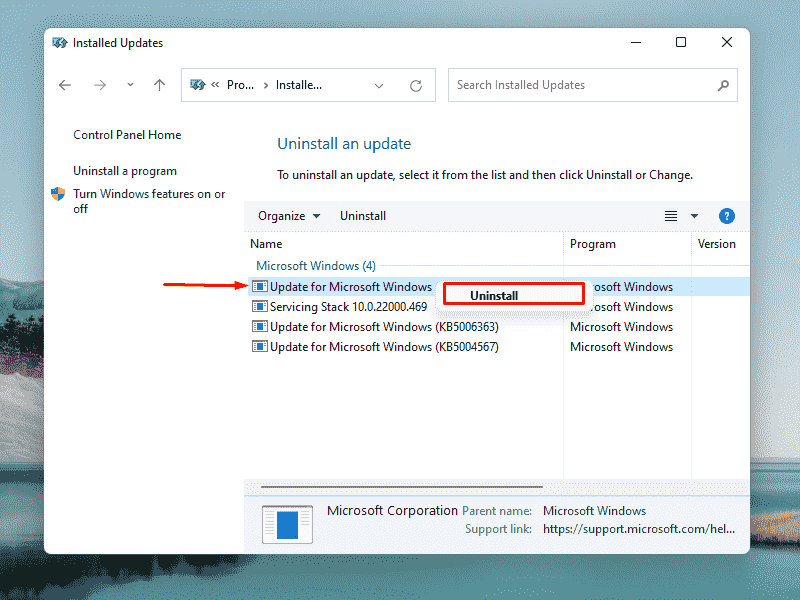
- To confirm the action, again click – Uninstall .
- Continue to follow the other instructions to completely remove the patch.
Sign out of existing Microsoft Account
Many times, just signing out and signing in with a Microsoft account works like a miracle to fix error code 0x80090011 Something went wrong and your PIN isn’t available.
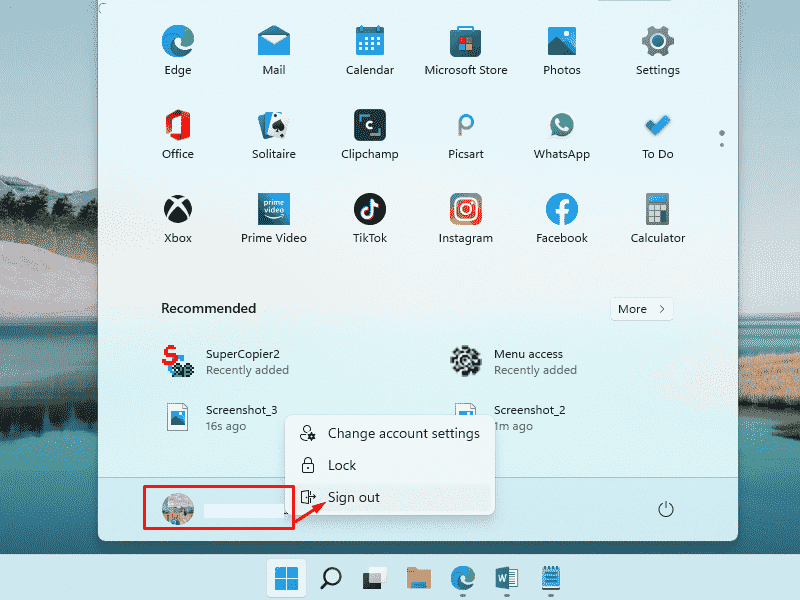
- Press – Windows.
- Right click on your account picture.
- Select – Sign out.
- After logging out, the system will display the lock screen.
- Select your Microsoft account and provide the password to sign in again.
Rejoin Azure AD
- Open the Settings app.
- Go to – Accounts => Access work or school .
- Click – Disconnect appears next to your work or school account.
Delete the NGC folder to fix error code 0x80090011
NGC folder stores all PIN related information in Windows and allows processing them. to fix Hello PIN error. Furthermore, insufficient permissions and ownership for the NGC directory are also the cause of this login problem.
- Press the key combination – Windows + E .
- When File Explorer opens, navigate to –
C:\Windows\ServiceProfiles\LocalService\AppData\Local\Microsoft\If you don’t get the folder mentioned above, maybe the folder is hidden or you don’t have permission to access them. In such a case –
- From File Explorer, go to the following folder:
C:\Windows\ServiceProfiles\LocalService\AppData- Click View from the menu bar.
- Make sure that the checkbox before Hidden items is checked.
- When all hidden folders are visible, double-click – Local .
- To give your consent, click – Continue .
- Open Microsoft .
- Right click on Ngc and select – Delete .
If you do not have ownership of the Ngc folder, the system will not be able to delete the same. In that case, do the following –
- Right click Ngc .
- Options – Properties .
- Switch to Security tab .
- Click – Advanced .
- Click the link – Change .
- Click – Advanced .
- When a new pop-up window appears, tap – Find now .
- Select the account name of the administrator user from the search results that appear.
- Click – OK .
- Select the check box that was previously Replace owner on subcontainers and objects .
- Click Apply followed by OK .
- After taking ownership, delete the Ngc folder as we described above.
Set up a new PIN code
- Press the combination – Windows + S.
- In the search bar, type – sign in options.
- Press – Enter.
- After redirecting to the dedicated settings page, switch to the right hand side.
- Select the option for Windows Hello PIN.
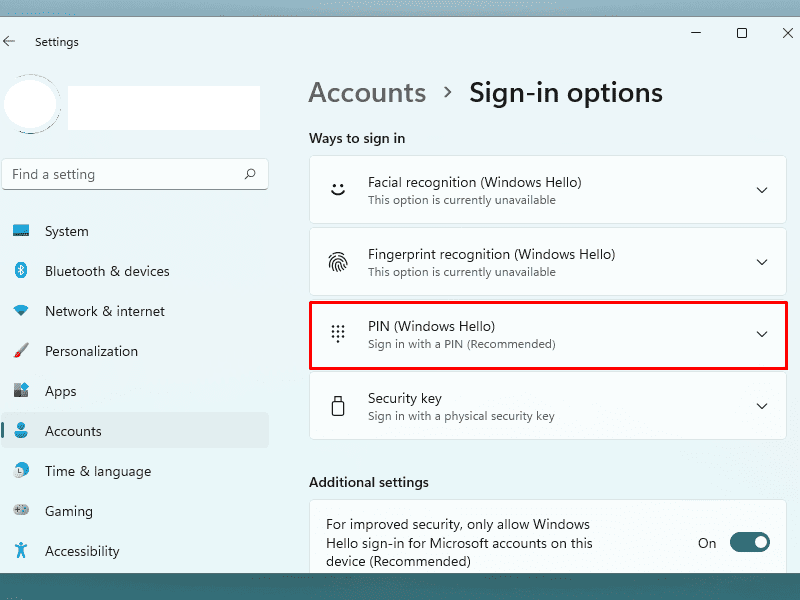
- From the expanded pane, click – I forgot my PIN.
- Provide your Microsoft account credentials.
- If two-factor authentication is enabled for your account, provide the verification code.
- Click – Continue on the verification message.
- Enter the new PIN twice to set up.
Modify TPM settings
- Click on the search bar from the taskbar.
- Type – tpm.msc .
- Option – Run as administrator from the flyout on the right.
- When the app opens, click – Actions from the menu bar.
- Select – Prepare the TPM .
- Restart your PC.
Remove the battery if using a laptop
This may sound strange but some users fixed the Hello PIN Error 0x80090011 in Windows 10 or 11 by disconnecting the battery from the laptop. Even if it’s an unusual workaround, try and see if it helps. Turn off your laptop first and then remove the battery carefully. Disconnect the laptop from the power adapter. Wait at least a minute. Reset the battery and power on the laptop.
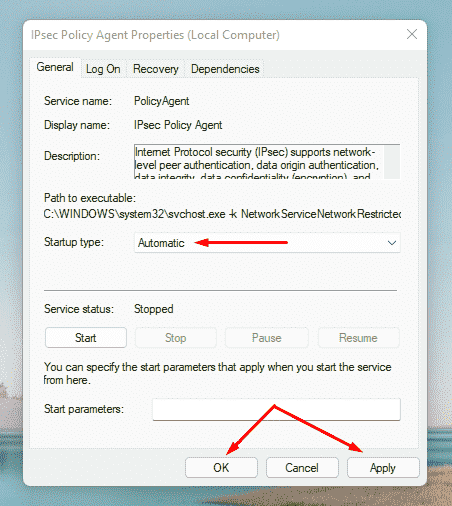
Change IPsec Policy Agent Properties
- Right click on the Start button and select – Run.
- In the command field, type – services.msc.
- Click – OK.
- Found – IPsec Policy Agent.
- Once found, double click on the same one.
- Set the boot type to Automatic.
- Click – Apply and then OK.
Make changes in Group Policy settings
- Use the key combination – Windows + R.
- In the Run command, type – gpedit.msc.
- Click – OK.
- From the left sidebar of the Group Policy Editor, go to – Computer Configuration => Administrative Templates => System => Logon.
- Switch to the right pane.
- Double click – Turn on convenience PIN sign-in .
- Select the Enabled radio button .
- Click Apply and then OK .
TheArtCult hopes the above workarounds definitely solved the Hello PIN Error 0x80090011 in your case. If not, you can contact Microsoft Support and let them help you with the problem.
In case you have any questions or suggestions, let us know in the comments section below.