How to remove haze in Photoshop CS6. For all travel enthusiasts, one of the most frustrating things can be when you visit an enchanting hill, but the pictures you take are full of fog. These natural phenomena can spoil some of your good photos during your trip. Luckily, you can remove fog from your photos with a filter called Camera Raw Filter in Photoshop.

How to remove haze in Photoshop CS6
The method shown in this article uses Photoshop version 24.0.1. Your results may vary slightly depending on the version you are using. However, it won’t be the bottom line. You can always update your apps to the latest version and take advantage of new Adobe Creative Cloud features.
Here’s how to remove fog from your photos:
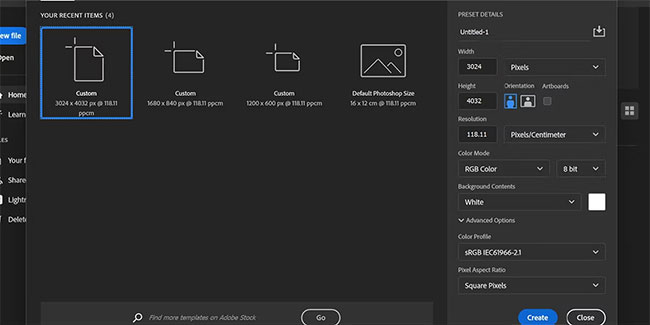
1. Open Photoshop and create a new custom file with the same size as your photo.
2. Drag and drop your photo into the document.
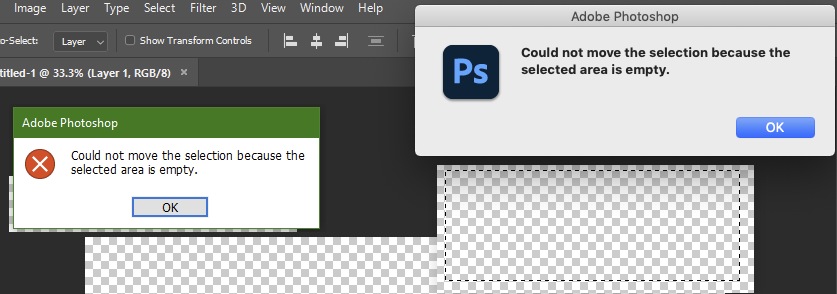
3. Press Enter when you are satisfied with the position.
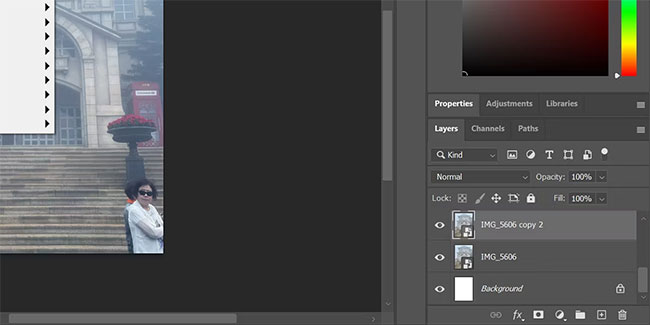
4. Press Ctrl + J to make a copy of your image.
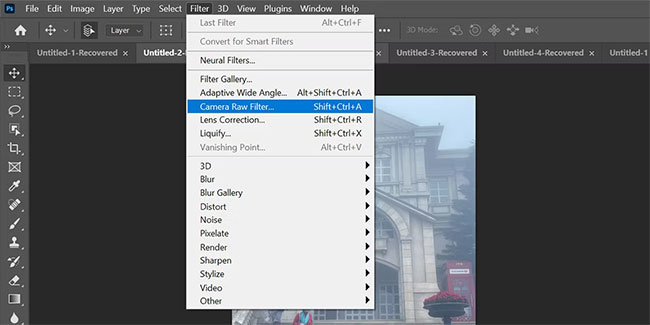
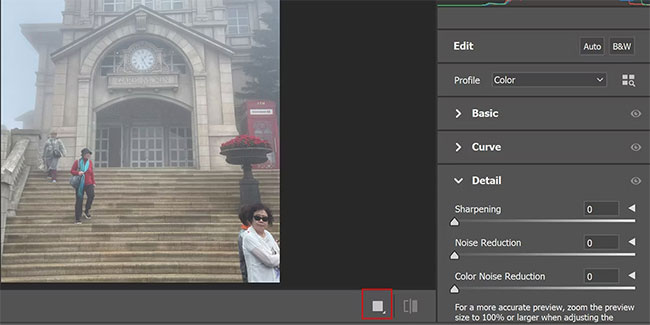
5. Click Filter and select Camera Raw Filter . Alternatively, you can also press Shift + Ctrl + A.
6. Click the square icon at the bottom to see the original and edited versions of your photo side by side.
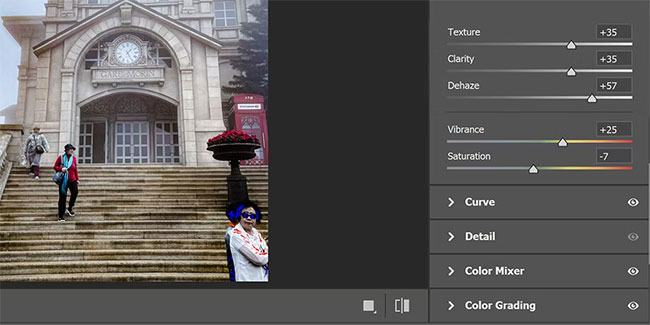
7. In the Basic section , increase the Texture and Clarity to about 40 – 70 units. Increase Dehaze by about 50 units. If you increase the Dehaze more than that, it can damage the color balance of the image.
8. Now adjust the Temperature to neutralize the small color error caused by Dehaze.
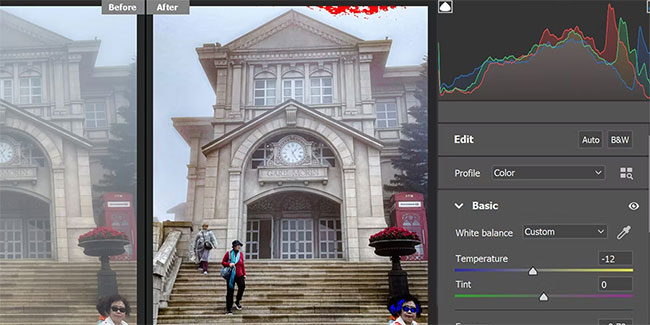
Most of the fog will disappear, but to make the image look more natural, you should retouch the basic editing components like Exposure, Contrast, etc. All of these tweaks are available in the Basic section.
Here’s how to do it:
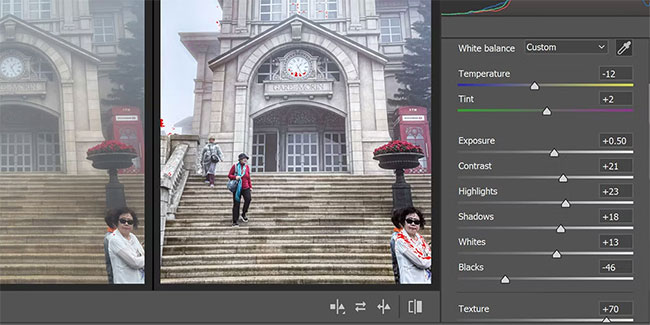
1. Increase exposure. Exposure indicates the amount of light in your photo. So increasing the exposure makes the elements in your photo clearer.
2. Increase the contrast. Contrast determines the darkness of the darkest part and the brightness of the lighter part. Increasing the contrast will remove the remaining layer of fog from your photo.
3. Increase Highlights. Highlights are the lighter part of the image. By increasing the Highlights, you are making the natural highlights brighter to compensate for the fog.
4. Reduce Shadows. Shadows are the darker parts of the image. The fog makes the Shadows effect lighter. So by reducing the Shadow you make these parts darker as if there was no fog.
The final edits in this section are Whites and Blacks. The Whites setting handles the highlights and the Blacks handles the underexposed areas of the image. You can tweak them a bit to see if it makes your images better. If not, you can leave them as is.
While editing with the Camera Raw Filter, you may see some red or blue saturation. Don’t worry about this; it’s the same with broken pixels which you can fix with further editing.
Additional editing to make the image stand out naturally
The above method will help you to remove the fog in your photos. However, the results may look unnatural. Therefore, you must use two more parts of this filter to improve your image.
Here’s how to edit your images:
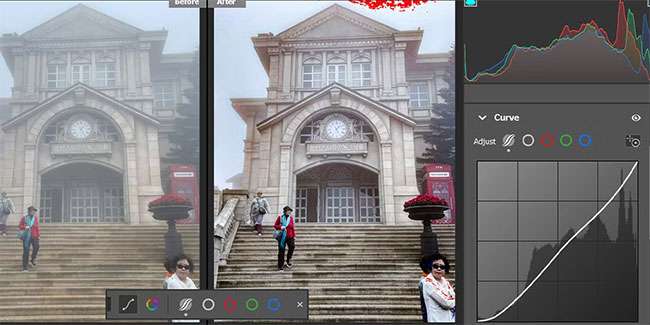
Using Curves to adjust the luminance of an image
1. Scroll down and click on the Curves section.
2. Here, click on the first option to adjust the Parametric Curve.
3. Now click on the Parametric Curve Targeted Adjustment tool .
4. The curve is distributed into 4 parts: Highlights, Lights, Darks and Shadows. You can see which element you are adjusting when hovering over the image.
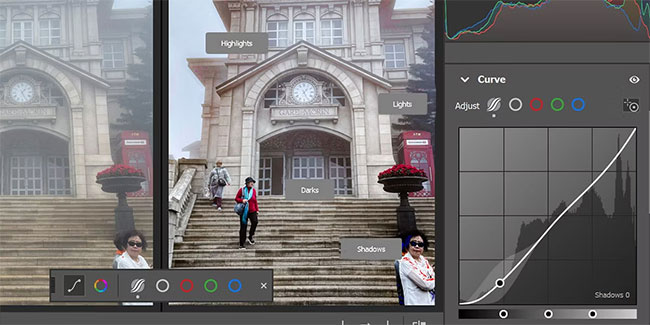
5. To edit the Highlights , select a spot with the most light, such as the sky. Increase or decrease the setting by left clicking and sliding right or left.
6. The darkest part of the image will resemble the Shadows. Use the same method to determine luminance for Shadows.
7. Similarly, adjust Lights and Darks settings to make your images look more natural.
Use Color Mixer to highlight images
The Color Mixer feature allows you to selectively change colors or increase/decrease their Luminance or Saturation. Since changing Hue will disrupt the colors of your image, you should only adjust the Saturation and Luminance settings.
Here’s how to use the Color Mixer feature to color your images:
1. While the Targeted Adjustment tool is selected, click the circle icon on the bottom toolbar to select the Color Mixer option.
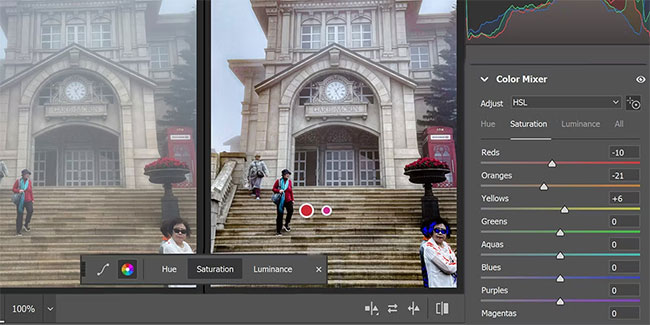
2. Now select Luminance to make specific colors light or dark.
3. Hover over your image and the tool will show you what color you are editing. Left click and slide it left or right to decrease or increase Luminance respectively.
4. Similarly, select the Saturation setting from the bottom toolbar and repeat the above step to specify the Saturation of specific colors.
5. Press Enter to finish your editing.
You have successfully removed the fog from your photo and brought out the colors to make your photo look better.
You can make more minor adjustments to correct any lingering unnaturalness in your photos:
1. Select the Levels adjustment layer and move the slider in the middle to make your image lighter or darker.
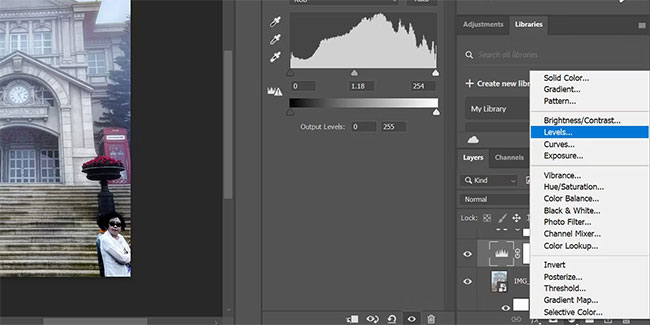
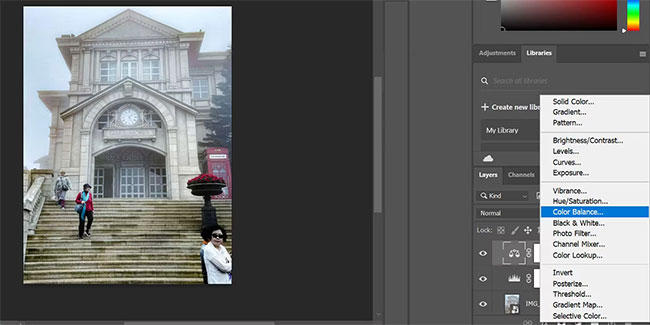
2. Select the Color Balance layer and adjust the pointers to different colors to make the final color adjustment.
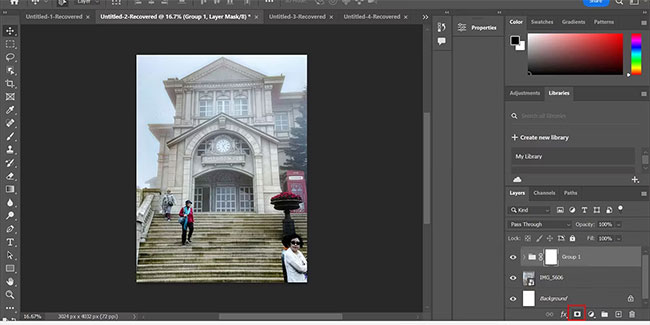
3. Select the top layer and click on the Camera Raw Filter layer while holding Shift. Right click and add these layers to a single group.

4. Click the Mask option while the group is selected.
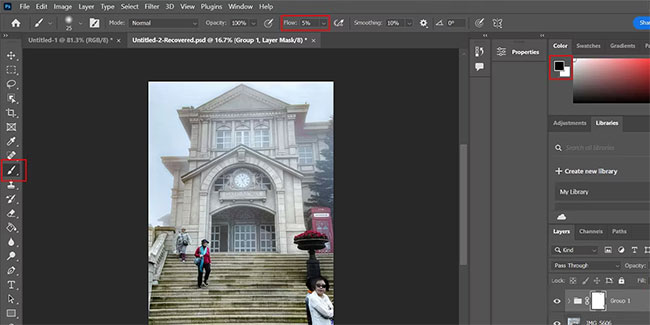
5. Now select the Brush tool and set the foreground color to black.
6. Change the Flow setting to 5% and clean up any blurred parts that you think are over-edited.
All operations done! Not only will you remove the fog, but you will also make the photo look more natural.