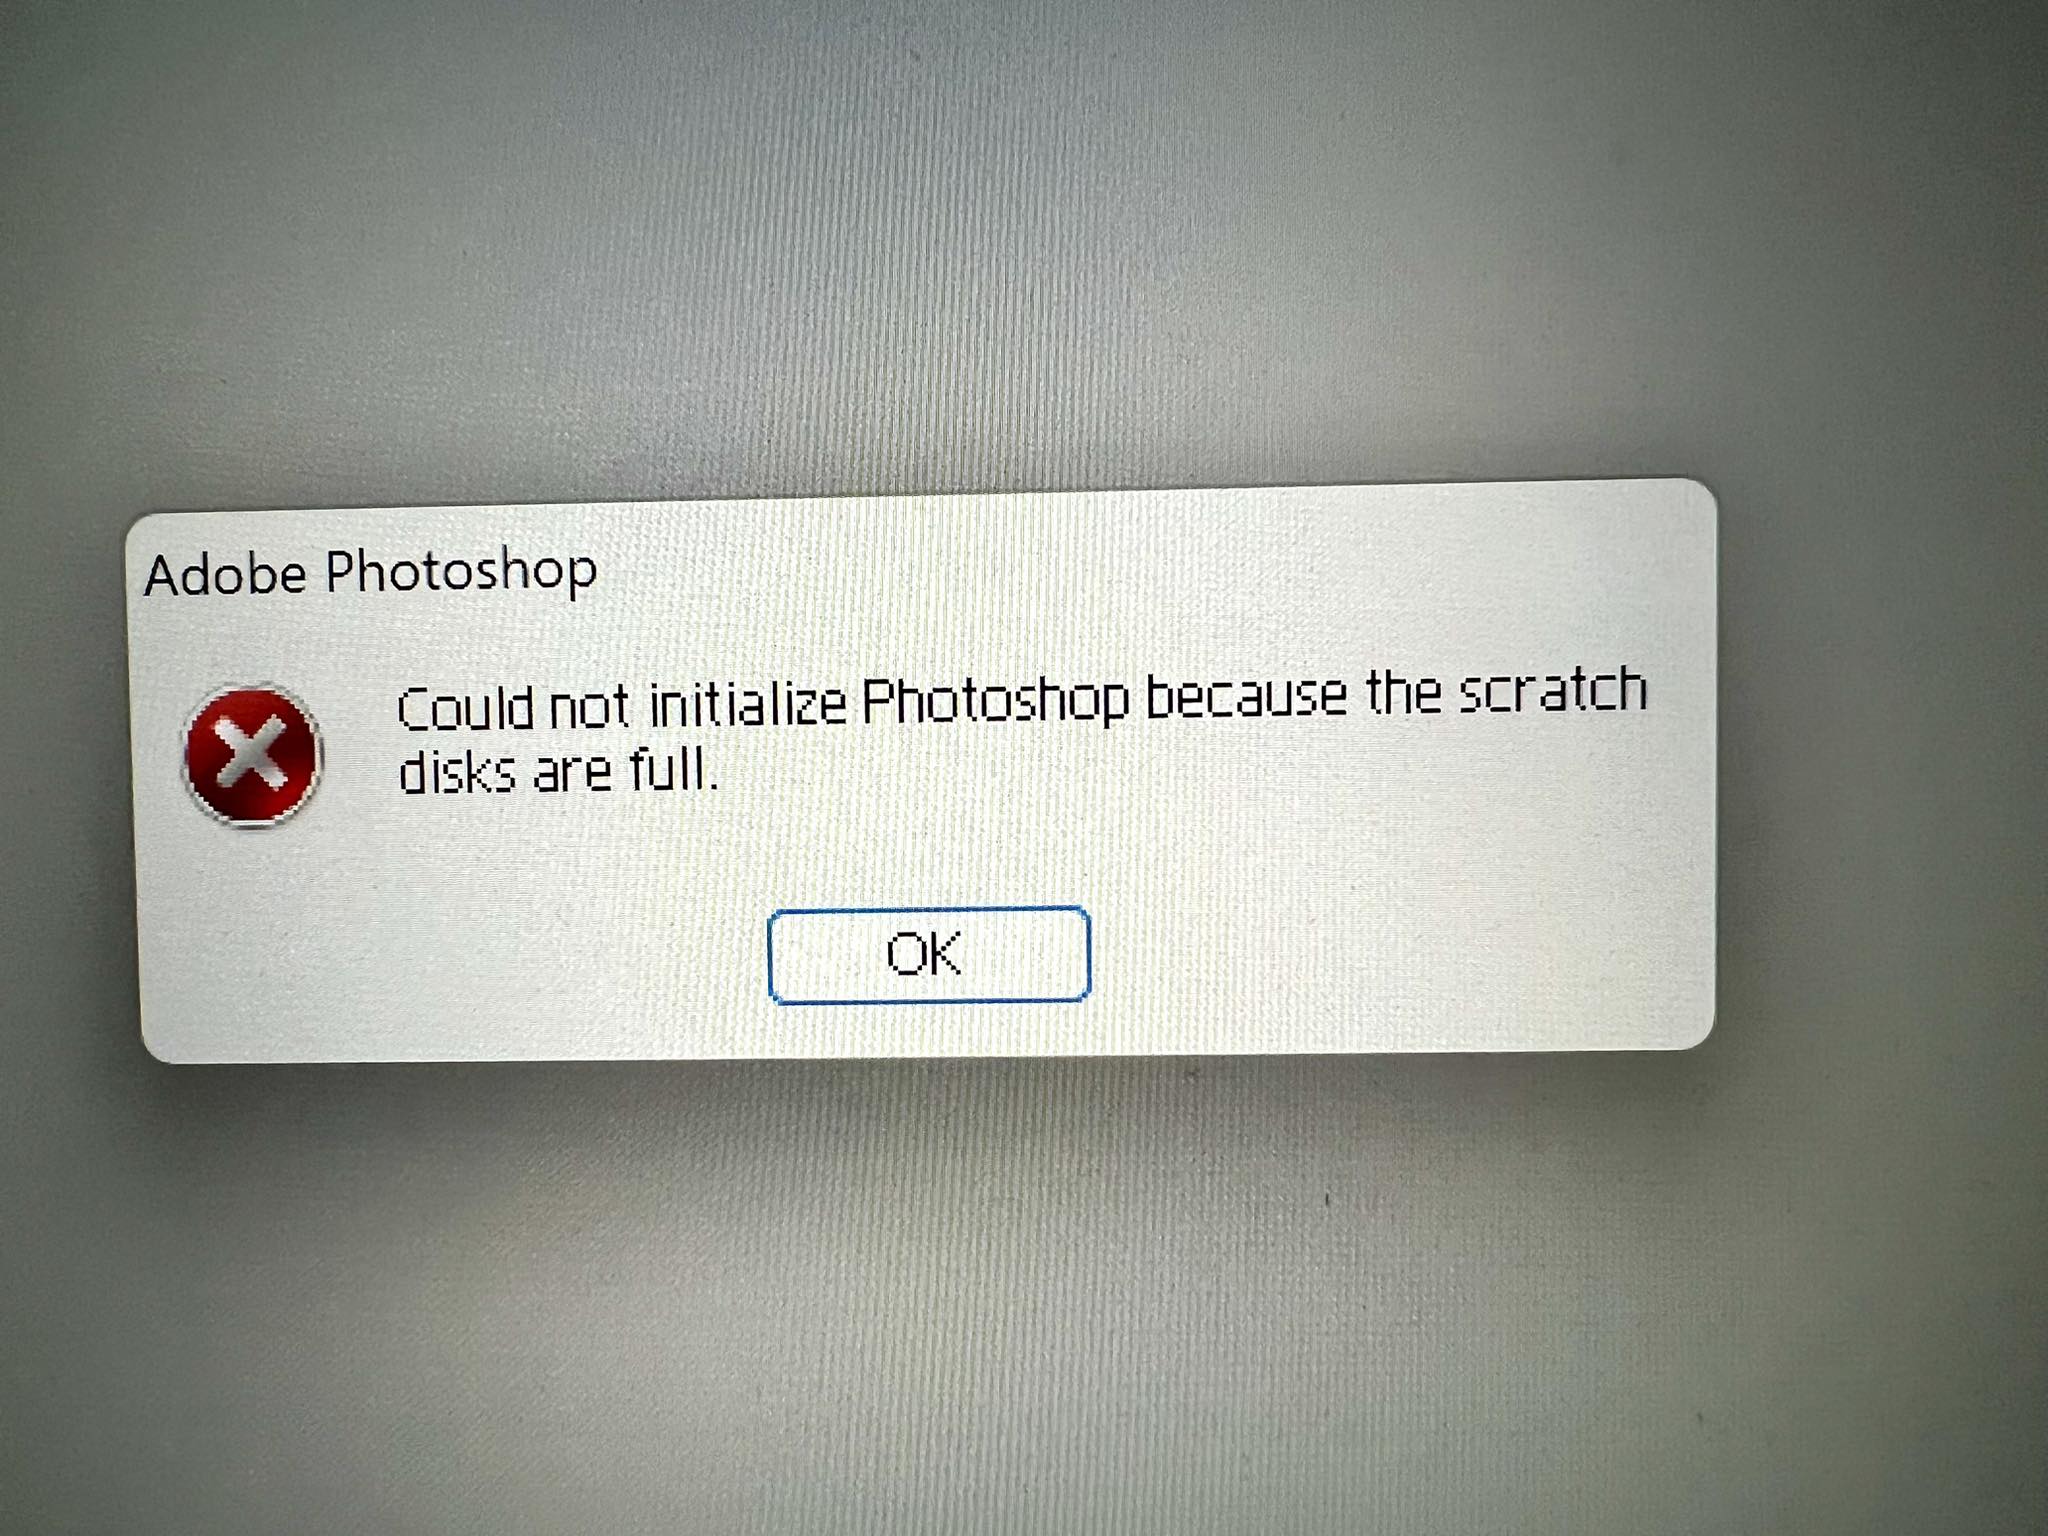
How to enable OpenGL in Photoshop 2022. Photoshop is a powerful tool. However, with this powerfulness, there are sometimes software errors that cause a lot of trouble for newcomers. Today Theartcult will show you how to quickly fix the error “Could not complete your request because it only works with OpenGL enabled document windows”.
What is OpenGL?
According to the computer definition, OpenGL (Open Graphics Library) is a graphics technical standard that was formed with the purpose of defining an application programming interface (API) in 3D space. Before OpenGL appeared, any company that wanted to develop a graphical application often had to rewrite its graphics to suit each operating system platform as well as the graphics hardware. With OpenGL, an application can produce the same effects in any operating system that uses OpenGL’s graphics adapters. It can be said that OpenGL is like an independent graphics language and is compatible with all platforms, all computer models, and even on computers that do not support high-end graphics.
OpenGL specifies a set of “commands” or functions that must be executed immediately. In which each command is in charge of a drawing action or creating certain special effects. A list of such commands can be generated to generate OpenGL repetitive effects that are independent of the characteristics of each operating system, but provide special “glue” processes for each operating system, which allows OpenGL to work in that system’s environment.
OpenGL contains a large number of built-in features that are specified and required through the API, including hidden surface removal, alpha blending, anti-aliasing, smoothing, pixel computation, tracing, and turning changing patterns, and atmospheric effects (fog, smoke, and haze).
Silicon Graphics, the world’s leading manufacturer of advanced graphics workstations, is a pioneer in the development of OpenGL. Followed by other companies on the Architecture Review Board include DEC, Intel, IBM, Microsoft and Sun Microsystems. There is no cost (other than learning) to develop an application that uses the OpenGL API. In addition, Microsoft provides OpenGL libraries that allow users to download for free on its Windows systems.
The effect of OpenGL
In a nutshell, OpenGL is designed to satisfy the following main purpose:
– Simplify the interaction between 3D spatial models with a unified programming interface.
– Maximizes the functionality of the OpenGL interface by forcing disparate 3-way hardware to be compatible. Even if it’s not possible to force full hardware support, OpenGL may require the system to use extra software power for processing.
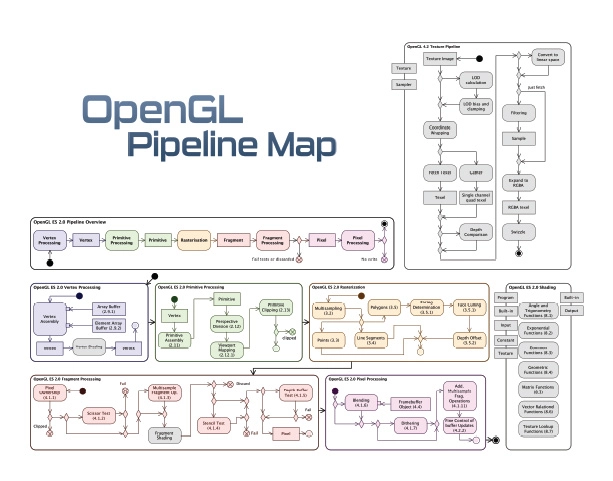
– The OpenGL standard takes geometric primitives such as points, lines, and polygons and converts them to graphic points (pixels) on the screen. This process is done through the graphics pipeline (termed graphics pipeline). Another name for OpenGL that is also shared by the technical world is the OpenGL state machine.
How to install OpenGL
Install OpenGL on Ubuntu
To install OpenGL on Ubuntu, just execute the following command (just like installing anything else) in Terminal:
sudo apt-get install freeglut3-dev
To work on Ubuntu OS:
gcc filename.c -lGL -lGLU -lglut
where filename.c is the name of the file
with which this program is saved.
Install OpenGL on Windows in Code::Blocks
1. Download the code block and install it.
2. Go to this link and download the zip file from the download link that appears after the Freeglut MinGW package, the link name is Download freeglut 3.0.0 for MinGW and extract it.
3. Open Notepad with admin rights and open the file from:
- This PC > C: (C drive) > Program Files(x86) > CodeBlocks > share > CodeBlocks > templates , then click All Files to show all files.
- Next, open glut.cbp and search for all glut32 and replace it with freeglut.
- Then, open This PC > C: (C drive) > Program Files(x86) > CodeBlocks > share > CodeBlocks > Templates > Wizard > glut, then click All Files to show all files.
- Open wizard.script and here, also replace all glut32 with freeglut.
4. Then go to the freeglut folder (where it was downloaded) and:
- Include > GL , then copy all 4 files from there
- Go to This PC > C: (C drive) > Program Files (x86) > CodeBlocks > MinGW > include > GL and paste it in.
- Then from the freeglut download folder > lib download folder , copy the 2 files and go to This PC > C: (C drive) > Program Files (x86) > CodeBlocks > MinGW > lib and paste it.
- Again, go to the downloaded folder freeglut > bin and copy the file (freeglut.dll) from here and go to This PC > C: (C drive) > Windows > SysWOW64 and paste this file.
5. Now open Code::Blocks.
- Choose File > New > Project > GLUT project > Next .
- Give the project a title and then select Next.
- To select the location of the GLUT: This PC > C: (C drive) > Program Files(x86) > CodeBlocks > MinGW .
- Click OK > Next > Finish .
Now, Code::Blocks is ready to test the OpenGL File.
Test works with OpenGL
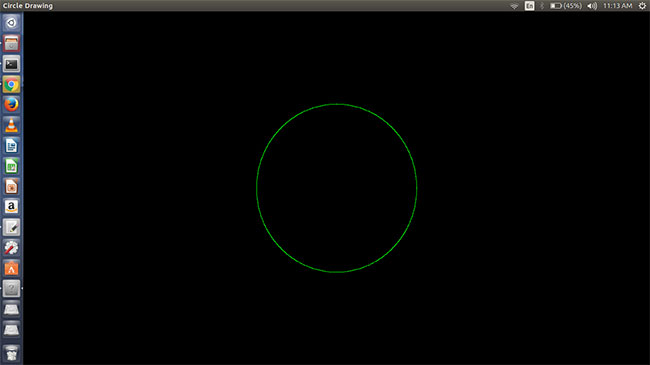
To show how OpenGL works, a simple circle drawing program was added in C using the OpenGL platform.
// C program to demonstrate
// drawing a circle using
// OpenGL
#include < stdio.h >
#include<GL/glut.h>
#include < math.h >
#define pi 3.142857

// function to initialize
void myInit(void)
{
    // making background color black as first
    // 3 arguments all are 0.0
    glClearColor(0.0, 0.0, 0.0, 1.0);

    // making picture color green (in RGB mode), as middle argument is 1.0
    glColor3f(0.0, 1.0, 0.0);

    // breadth of picture boundary is 1 pixel
    glPointSize(1.0);
    glMatrixMode(GL_PROJECTION);
    glLoadIdentity();

    // setting window dimension in X- and Y- direction
    gluOrtho2D(-780, 780, -420, 420);
}

void display (void)
{
    glClear(GL_COLOR_BUFFER_BIT);
    glBegin(GL_POINTS);
    float x, y, i;

    // iterate y up to 2*pi, ie, 360 degrees
    // with small increment in angle as
    // glVertex2i just draws a point on specified co-ordinate
    for ( i = 0; i < (2 * pi); i += 0.001)
    {
        // let 200 is radius of circle and as,
        // circle is defined as x=r*cos(i) and y=r*sin(i)
        x = 200 * cos(i);
        y = 200 * sin(i);

        glVertex2i(x, y);
    }
    glEnd();
    glFlush();
}

int main(int argc, char** argv)
{
    glutInit(&argc, argv);
    glutInitDisplayMode(GLUT_SINGLE | GLUT_RGB);

    // giving window size in X- and Y- direction
    glutInitWindowSize(1366, 768);
    glutInitWindowPosition(0, 0);

    // Giving name to window
    glutCreateWindow("Circle Drawing");
    myInit();

    glutDisplayFunc(display);
    glutMainLoop();
}
Compile the above program in Ubuntu:
gcc filename.c -lGL -lGLU -lglut -lm
where filename.c is the name of the file
with which this program is saved.
The output of the above program is shown in the screenshot below:
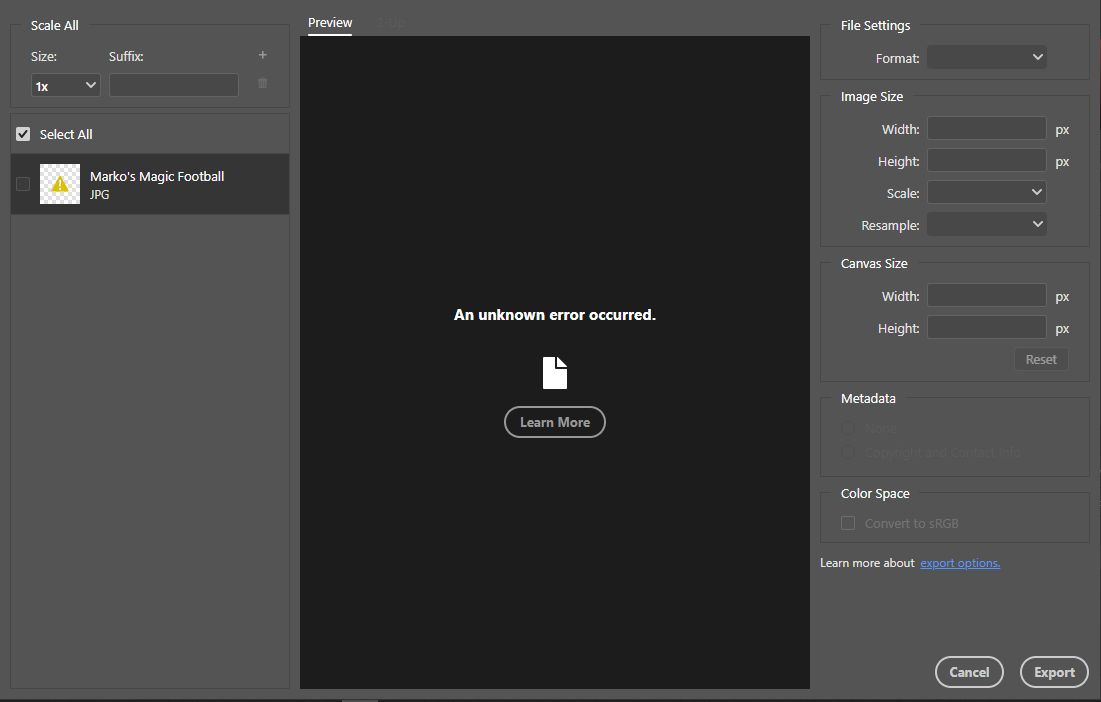
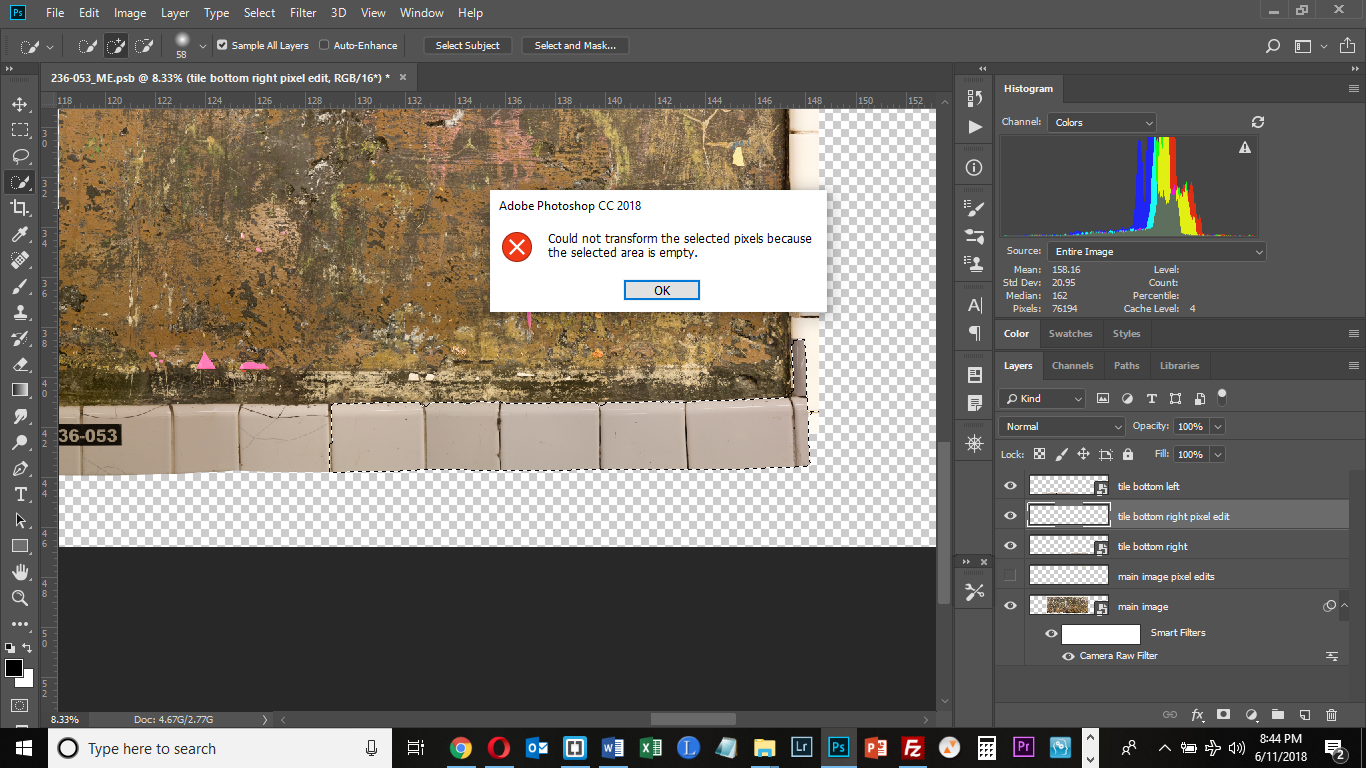
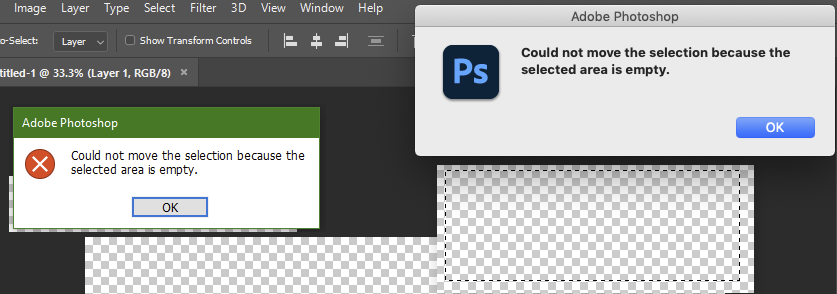
What is the error “it only works with OpenGL enabled document windows”?
OpenGL (Open Graphics Library) is often thought of as an open source driver for graphics processing units (GPUs) but this is incorrect. OpenGL is like an independent graphics language and is compatible with all platforms and models.
Error “ it only works with OpenGL enabled document windows ” you can understand that Photoshop cannot execute your command because it only works with OpenGL enabled document windows (ie the tool or command you just executed does not support OpenGL). OpenGL).
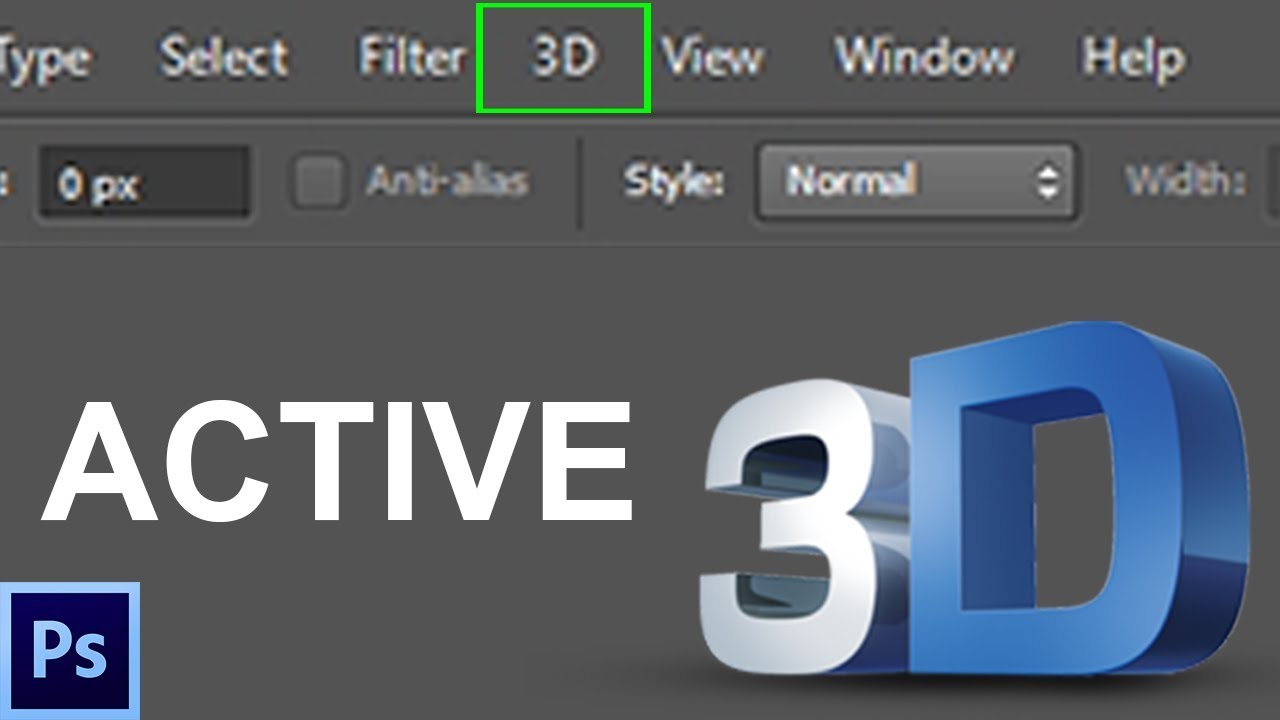
That tool is usually the Rotate View Tool (shortcut is R), for those who want to know in detail.
How to enable OpenGL in Photoshop 2022/How To Fix “It only works with Opengl Enabled Document Windows”
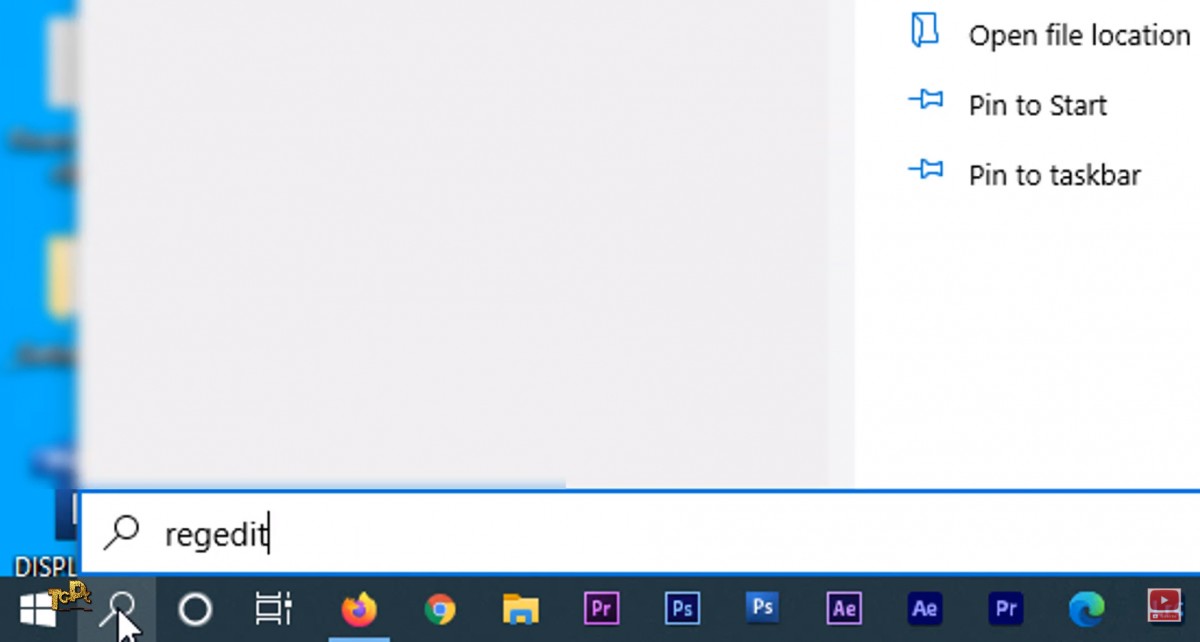
Step 1: Open the Registry Editor interface
Type in the Windows search bar the keyword “Regedit“, then press Enter
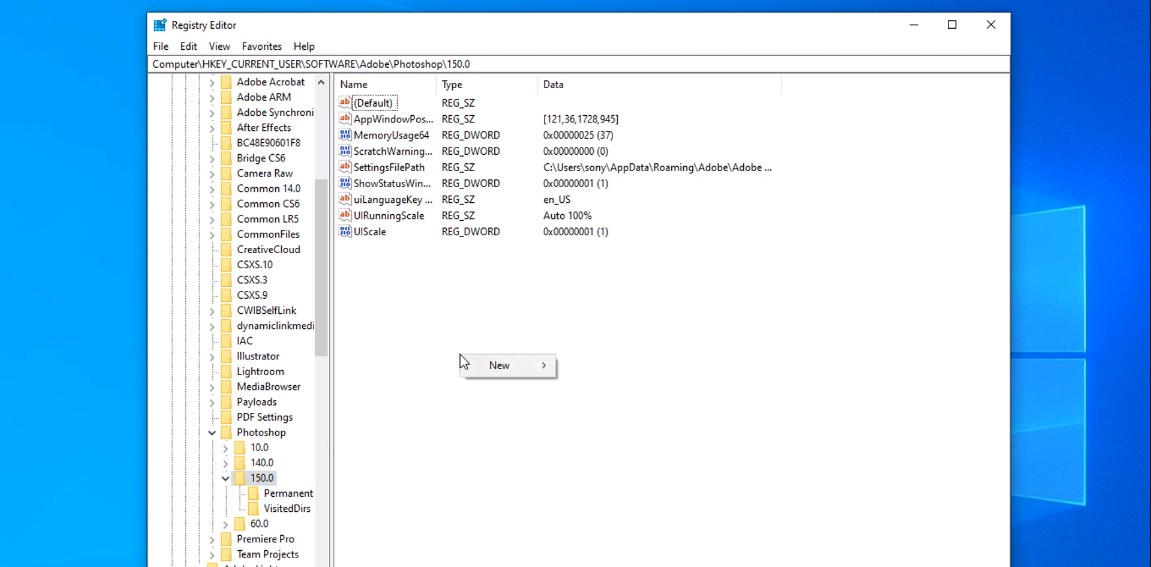
Step 2: Access the folder in the order of the path
Computer > HKEY_CURRENT_USER > SOFTWARE > Adobe > Photoshop > 150.0 (biggest number)
 Pay attention to the path!
Then you click on this folder, the file list will appear in the right window.
Step 3: Create a file that accepts GPU
In the right window, right-click an empty area, select New > QWORD (64-bit) Value.
Double click on the name of the newly created New file and rename it to AllowOldGPUS . Then close this window and turn on Photoshop!

When entering the software, try using the Rotate View Tool (shortcut is R) and will not see the error message board anymore! The fix was successful!
END
Above is a quick fix for the error “Could not complete your request because it only works with OpenGL enabled document windows”. Hopes this article would be helpful for you!