How To Enable 3D Menu In Photoshop Cs6. As you all know, with versions of Photoshop CS5, CS6, CC we can all make good use of the 3D feature. Since the release of Photoshop CC, Adobe requires all computers to have a supported graphics card configuration and OpenGL 2.0 library or higher to be able to use 3D features. Most people who use Photoshop after installing it lose this feature due to low computer configuration or incorrect settings leading to the 3D feature in the Menu bar being hidden. To meet everyone’s need to use 3D features in Photoshop, today Theartcult will show you how to enable this 3D feature in Photoshop.
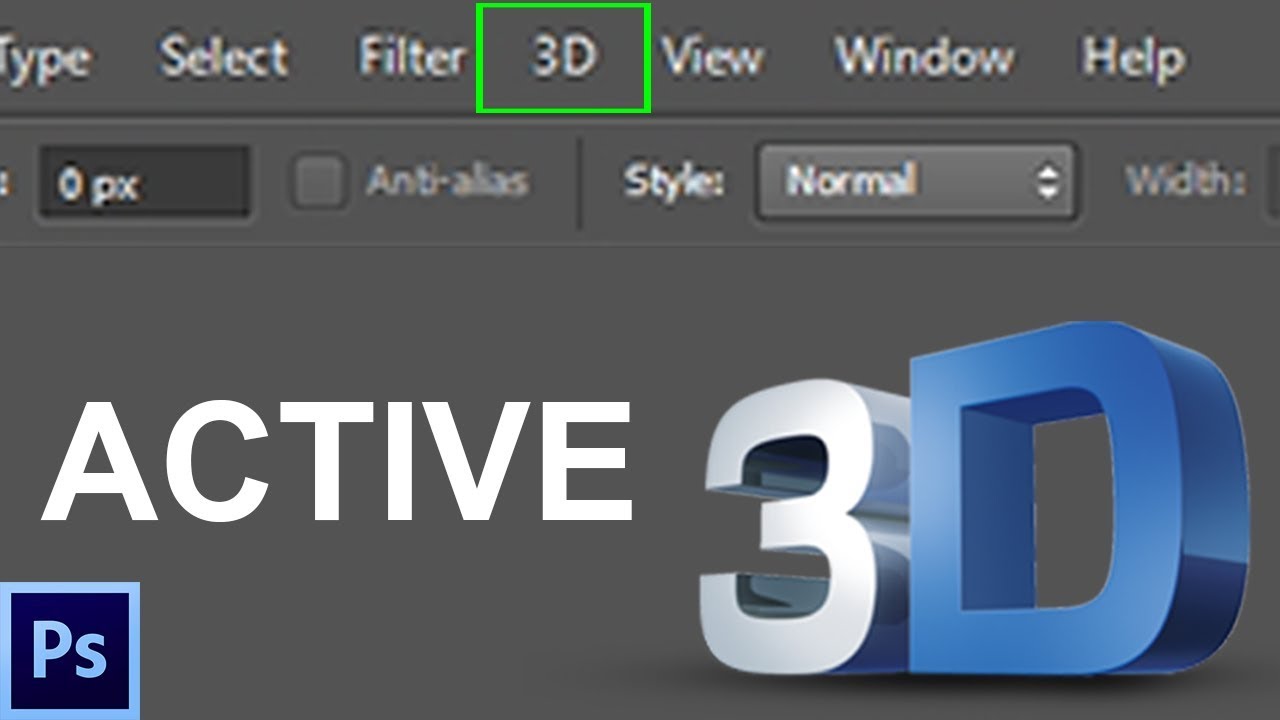
How To Enable 3D Menu In Photoshop Cs6
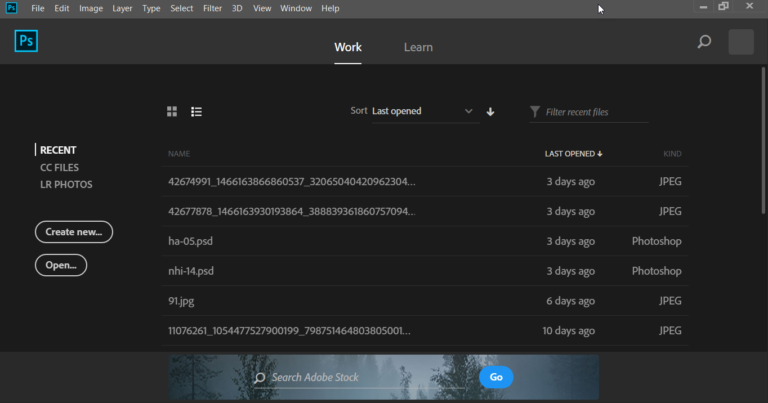
Method 1: Because your OS or GPU does not support 3D function, it is hidden.
You open Photoshop up => Edit => Preferences => Performance => GPU Settings => enable OpenGL Drawing
Only then can 3D be used, if the machine has a weak configuration or a weak VGA card, this place will be dimmed and cannot be marked.
If not, try installing the 32 bit cs5 version.
Method 2: By default Photoshop CS6 when installed for Windows operating system, the 3D function is hidden, we cannot find it on the Menu bar, Photoshop CS6’s 3D has many very attractive functions. Therefore, in order to fully use all design functions of Photoshop CS6, you must activate it, the method is quite simple. Now I will show you how to activate the 3D functions of Photoshop CS6 and up. Usage is quite simple, you just need to download the Tool provided below, then click run and it’s ok.
Step 1. At First DownloadPhotoshop 3D Activator Tool.
Step 2. After that Unzip the file then copy the file, find the Adobe folder where Adobe Photoshop install,s and paste it into the adobe photoshop folder.
Step 3. Click on the icon which is circled as shown below in the image and click on “Ok” button.
Note: The case that the 3D function cannot be activated can only happen when your card does not support it or the card capacity is too low.
Method 3 : After opening Photoshop CS6 and not seeing the 3D feature, then:
_ You should remove the Photoshop software to install it again (remember to turn off the network before installing). After the installation is complete, you do not have to worry about it, but you have to open that Photoshop for it to run, check to see if the 3D feature is displayed. This method is 100% successful. But then, for some reason, it suddenly disappeared, I used to have it.
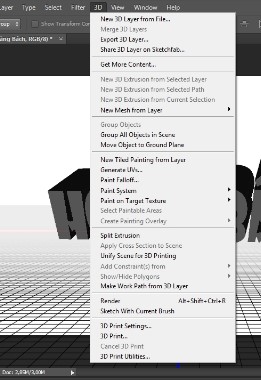
Method 4 : After installing photoshop cs, cc and showing the 3D feature in Photoshop’s Menu bar but the tools in that Menu are all blurred and can’t be clicked, please follow these steps:
Note: This guide is only for computers using Intel(R) HD Graphics integrated graphics cards!
Step 1: You go to intel’s Diver supply page
Find and select Driver for the graphics card that your computer is using.
Step 2: Choose the right operating system for your computer
Step 3: After the website has selected for us, we should download the latest Diver version.
Step 4: After the download is complete, you will extract the , we will have a folder containing the Driver, please remember the path to this folder.
Step 5: Next, we open the Manage management section, to be able to update the driver. Go to Start => Right-click Computer => Select Manage Step 6: In the Computer Management
window , select Device Manager > click the arrow next to the words Display adapters > Select Intel(R) HD Graphics on your computer > Right-click and select Update Driver Software…
Step 7: Update Driver Software window appears > Select Browse my computer for driver software .
Step 8: Click Browse > Find the driver folder we extracted earlier > then click Next to start the computer to update the Driver, as well as the OpenGL library for the computer.
Step 9: Wait a moment, let the computer update. After updating the Driver. You Restart the computer.
Ok. Wait for the computer to finish restarting, then turn on Photoshop and enjoy.
Here is the result.
Good luck!

- Check Photoshop Version: Ensure you have the “Extended” version. You can check this by going to
Help > About Photoshop(orPhotoshop > About Photoshopon a Mac). - Enable Graphics Processor:
- Go to
Edit > Preferences > Performance(orPhotoshop > Preferences > Performanceon a Mac). - In the Performance dialog box, ensure the [ ] Use Graphics Processor option is checked.
- If you enable this option, you may need to restart Photoshop for the changes to take effect.
- Your graphics card needs at least 512 MB of VRAM to reliably use the 3D features.
- Go to
- Switch to the 3D Workspace: Go to
Window > Workspace > Advanced 3D. This arranges your panels optimally for 3D work. - Open the 3D Panel: Alternatively, you can open the 3D panel manually by choosing
Window > 3D. - Create a 3D Object: With a layer selected (e.g., a text layer or a 2D image), you can go to the 3D menu and select options like
New 3D Extrusion from Selected Layer. Photoshop will then ask if you would like to switch to the 3D workspace.


