How to add handwritten signature in Word on Mac. Creating and inserting signatures right in Word on Mac will save you a lot of time. If every day there are dozens of hundreds of documents that need your signature, it’s exhausting, isn’t it? In this article, TheArtCult will guide you to “How to add handwritten signature in Word on Mac”.

How to add handwritten signature in Word on Mac
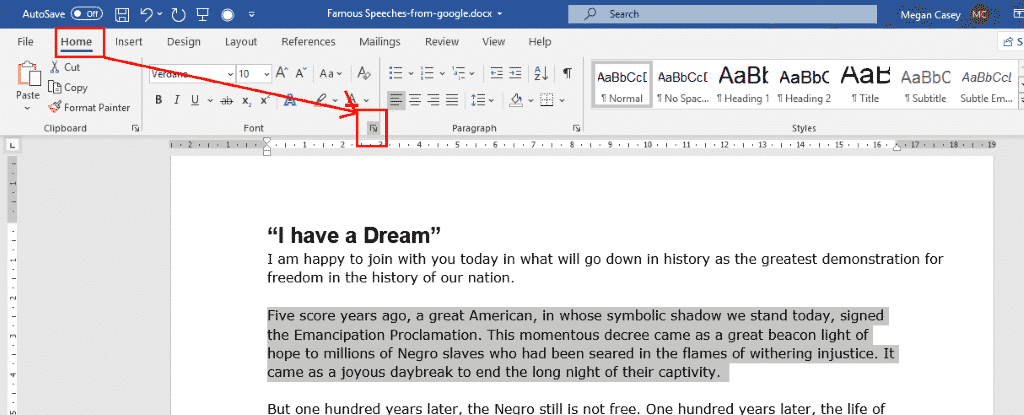
Step 1: Open the document you want to insert the signature in Microsoft Word.
In case you want to open a new document, open Microsoft Word, then select File and select New Document.

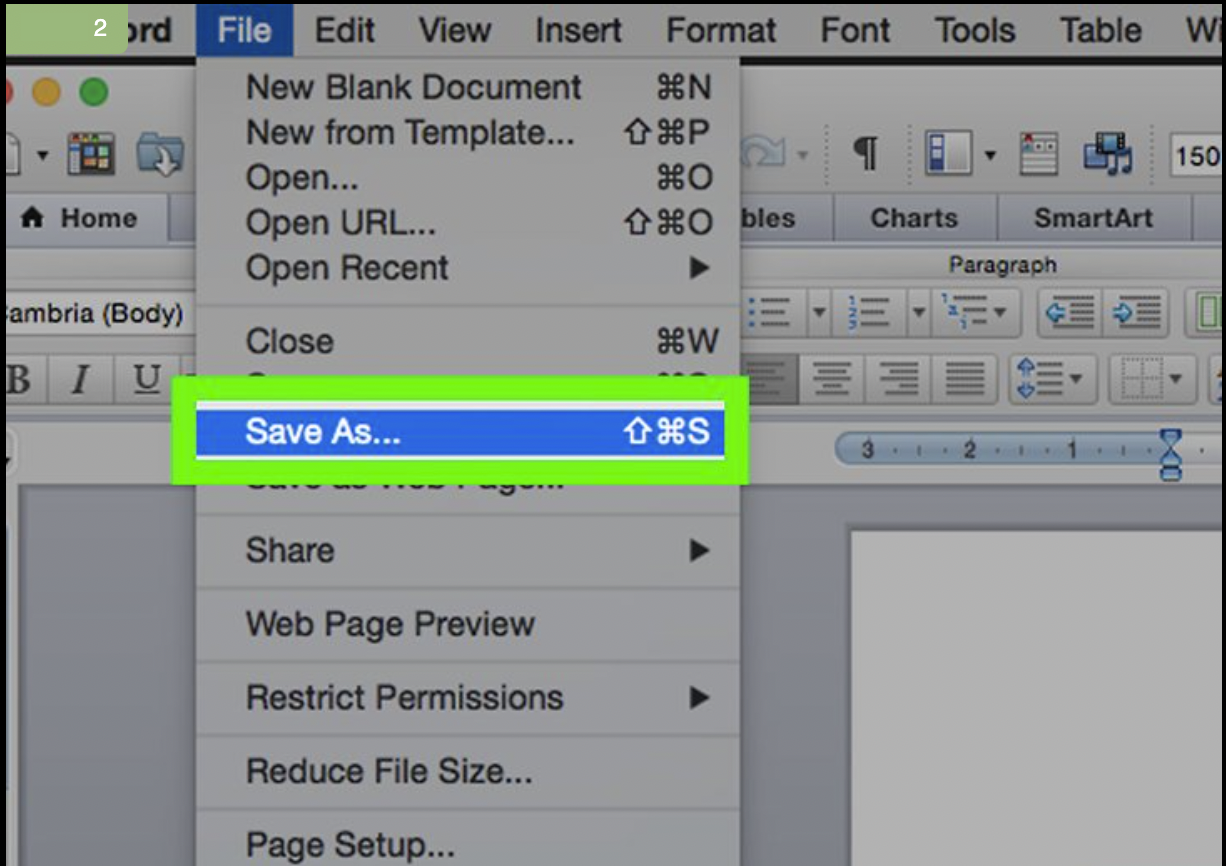
Step 2: Click File and choose to save File with Save as.
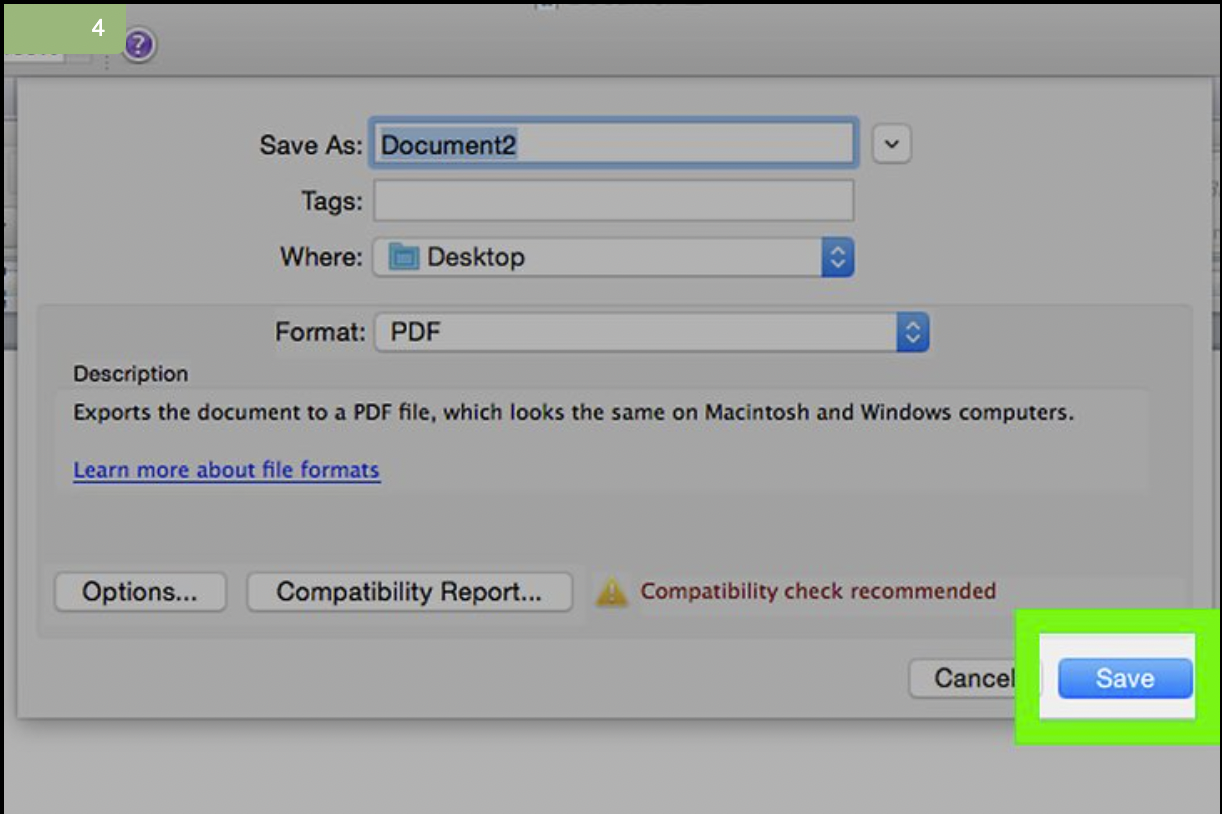
Step 3: You select the drop-down box with the file format “File Format” to select the PDF format.

Step 4: Select the file type and then click Save.
Step 5: Open Finder on the toolbar at the bottom of the screen to and the file just saved (This item has a half- blue and half-white icon).

Step 6: Right-click on the file and select Open With, then select Preview. At this point, your file will be opened in the Preview application for you to easily insert a signature into it.

Step 7: Click on the box-shaped icon on the left side of the search bar.
Step 8: Click on the icon similar to a handwritten signature next to the T icon.
Step 9: Choose 2 types: Trackpad or Camera. In case you use a laptop with built-in touch pad, you can choose Trackpad. If you do not use the touchpad but have a webcam, you can select the Camera item.
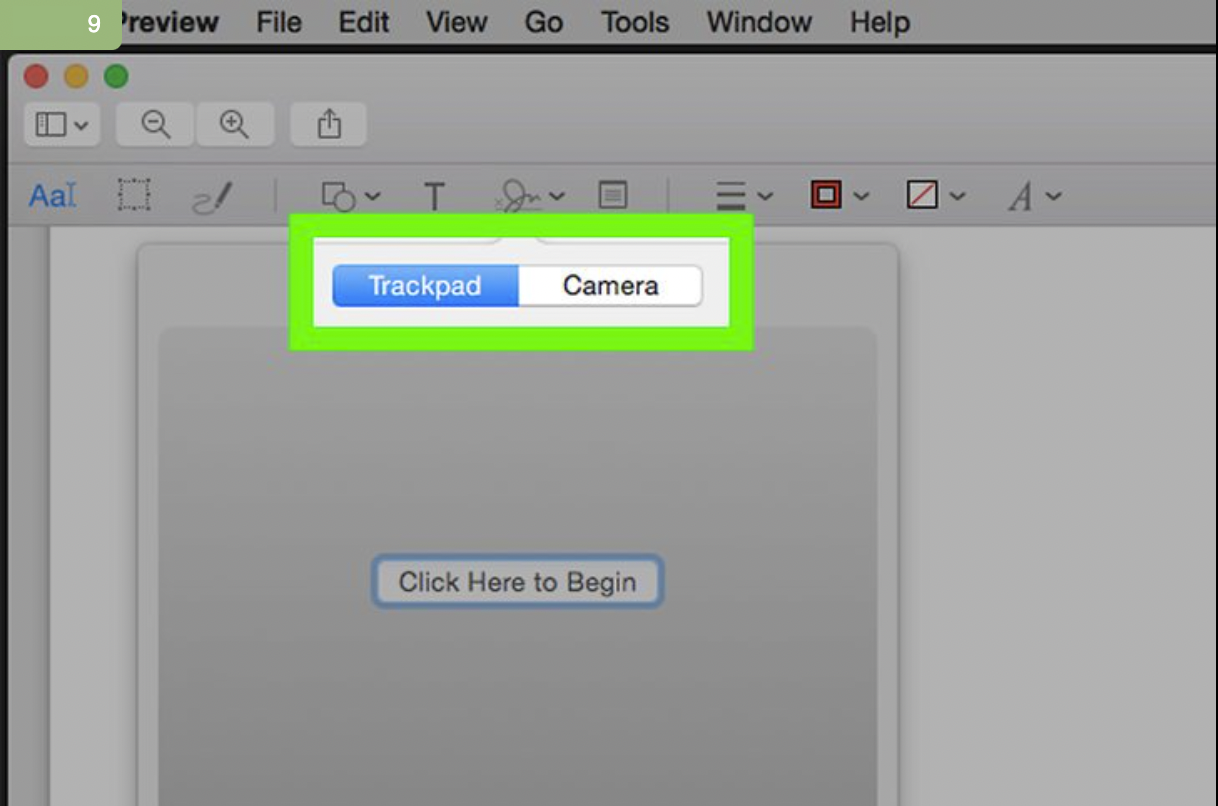
Step 10: Click on Create Signature to create a signature.

Step 11: How to create a signature with Trackpad and Camera as follows:
For Trackpads:
- You click Click Here to Begin ie click here to start
- Use your finger and write your signature on the touchpad
- Click a key on the keyboard
- Click Done to complete the signature
For Cameras:
- You use a blank sheet of paper and sign your name on the paper
- Bring the signed paper to the Camera
- Align the signature so that it is in a straight line
- Click Done to finish
Step 12: Select the newly created signature on the drop-down menu to put the signature in the center of the document.
Step 13: Drag and drop the mouse to change the signature position. You can now resize the signature by dragging or shrinking at the corners.
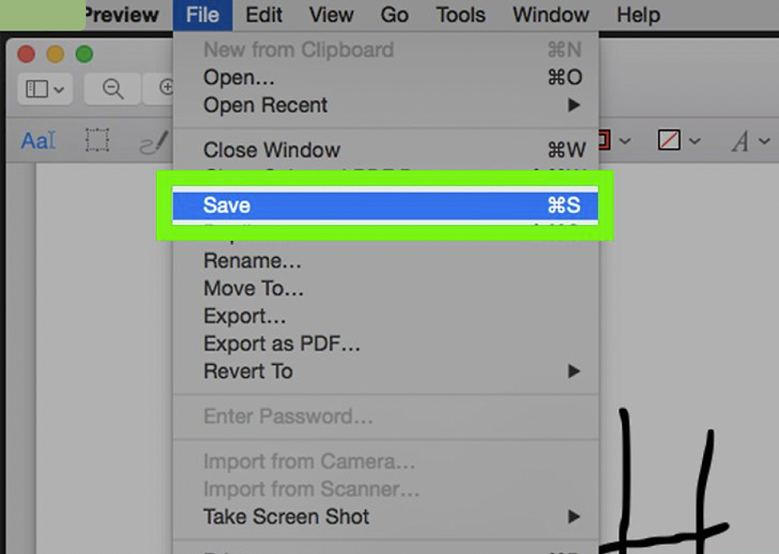
Step 14: Select File and press the Save button, then both the document and your signature are saved.
Video – How to add handwritten signature in Word on Mac
Conclusion
To conclude, to add handwritten signature in Word on Mac, you can go to the top menu bar and select “Insert.” The drop-down menu will list many types of items that you can insert. Select “Signature Line” and then “Add Signature Services.” The signature line will appear.