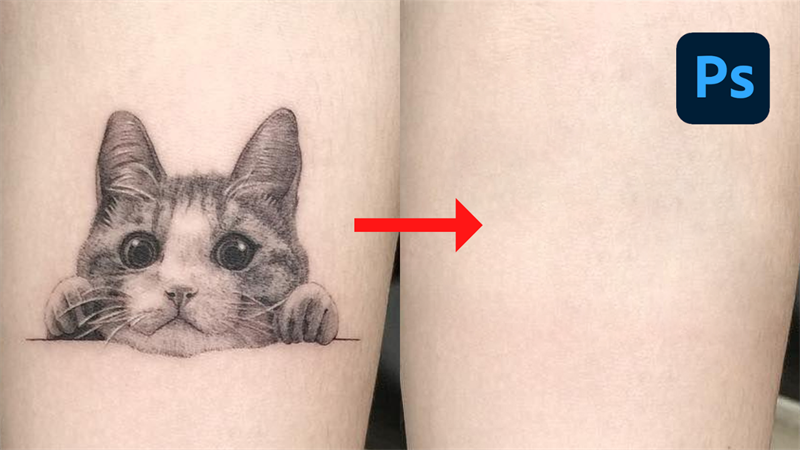
How To Remove A Tattoo In Photoshop. Are you afraid to take pictures because you have many tattoos on your body? Not confident when taking pictures? Don’t worry because soon I will share with you how to remove tattoos with Photoshop on a computer is extremely easy to do, anyone can do it! The steps are only done in a few notes.
How To Remove A Tattoo In Photoshop
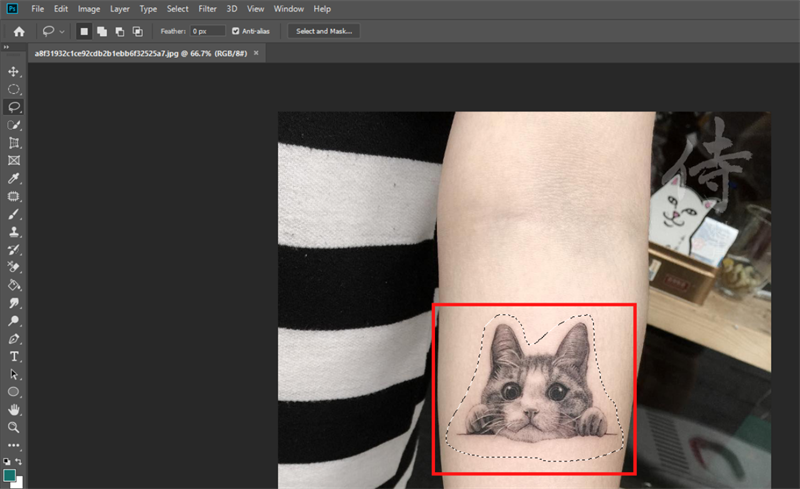
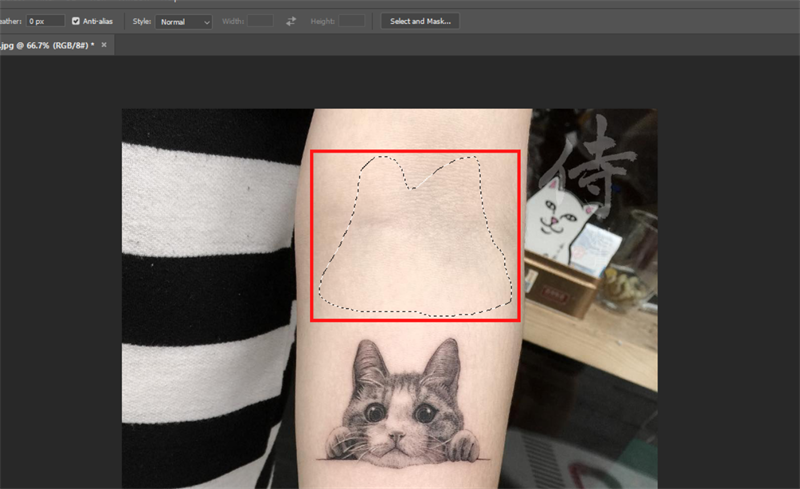
Step 1: Inside the Photoshop interface, press the L button to change to the Lasso Tool. Then draw a shape around the tattoo.
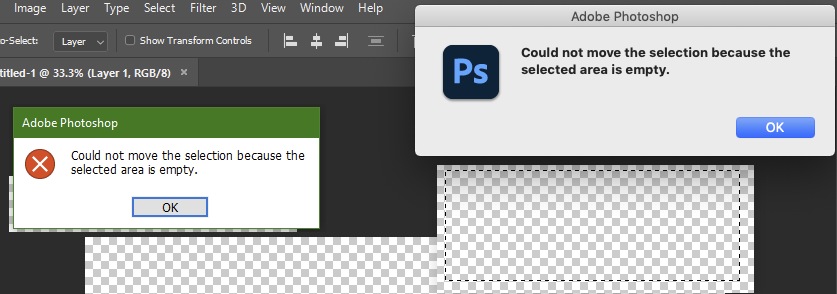
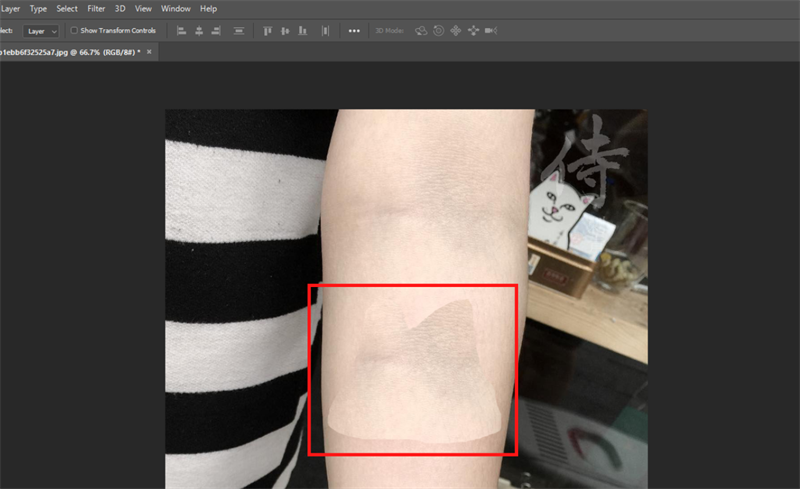
Step 2: Next, press the M key to open the Marquee Tool, click on the drawn area and hold the mouse to drag it out of the frame without the tattoo.
Step 3: Press Ctrl + C to copy the skin area > Ctrl + V to create a new skin area, then move the pasted skin over the tattoo and press Ctrl + E to merge the image tattoo with new skin.
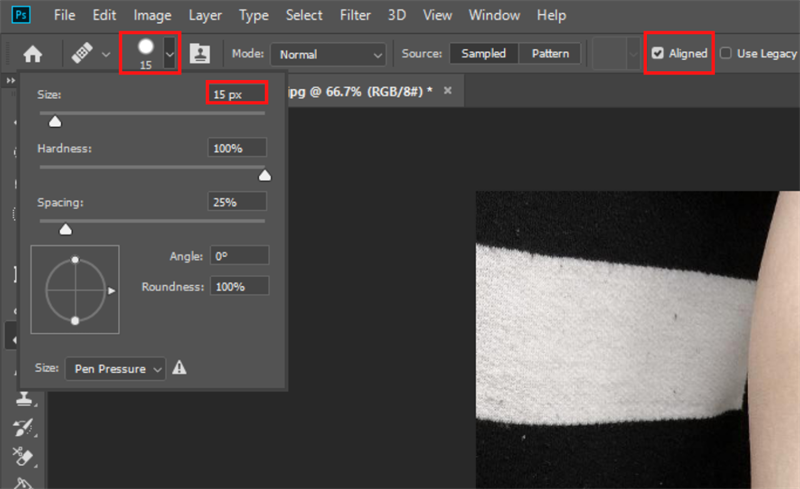
Step 4: Press the J key on the keyboard to change to the Healing Brush tool, set the brush size to 15 > select Aligned.
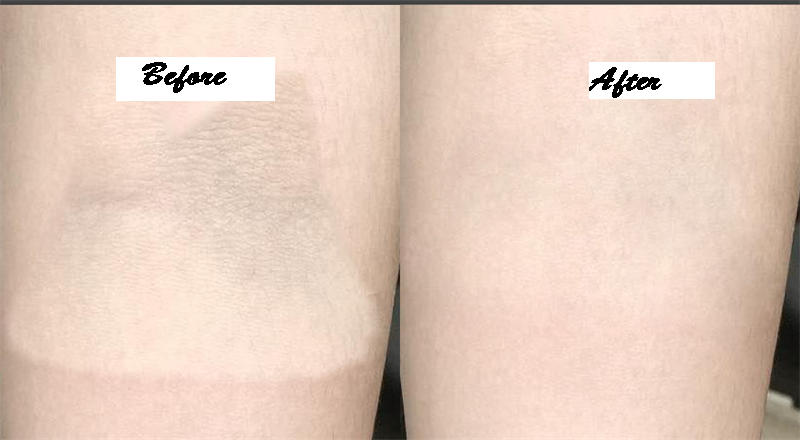
Step 5: Place the mouse pointer outside the newly created skin area about 20 pixels. Then press Alt key + left click to get the skin area. You move the mouse pointer to the edge of the new skin and left click to cover the just taken skin on this edge.
Step 6: Come here, look at it, it’s not quite complete. Continue using the Healing Tool, press Alt + click on the outer skin and apply it all over this new skin!
So that’s the basic steps to be able to remove tattoos in Photoshop. Now, removing tattoos on the body is not difficult anymore, right!
How to put tattoo Photoshop
Before you start creating a tattoo composite.
Use these sample images or practice with your own.
Step 1: Prep your image
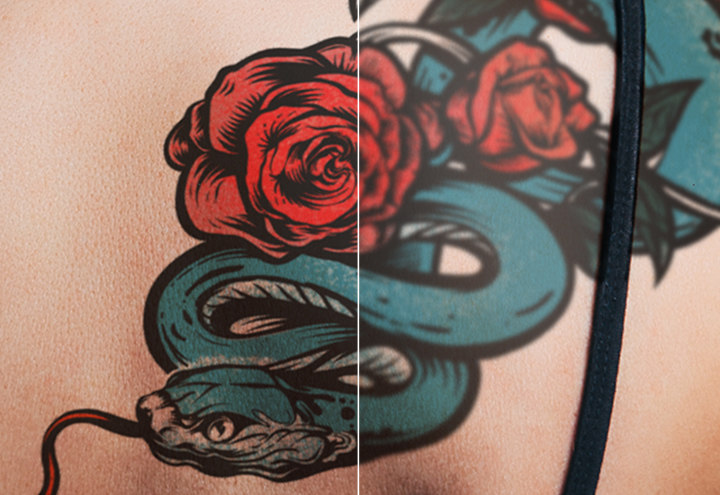
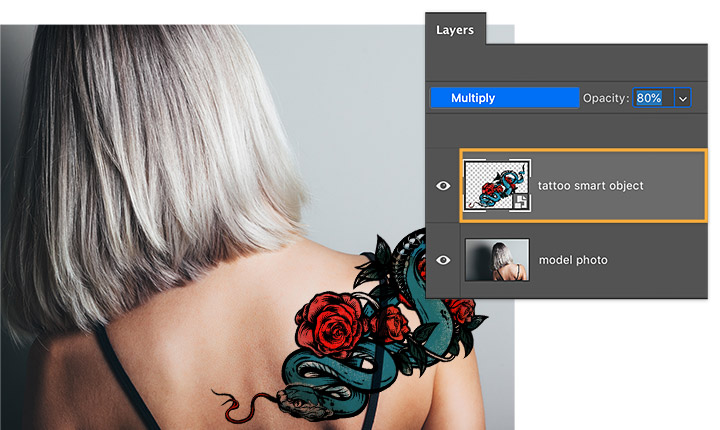
Start by opening the model photo in Photoshop and move the tattoo art wherever you’d like. In the Layers panel, Larson set the Blend Mode of the tattoo layer to Multiply and reduced the opacity to meld the tattoo onto the model’s shoulder.
Step 2: Clean up
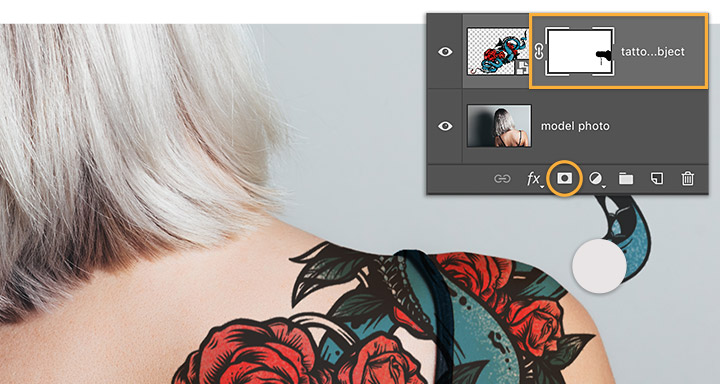
Next, Larson added a layer mask to the tattoo. With the layer mask selected, she used the Brush tool and painted with black to hide those areas of the tattoo that are off the shoulder.
Step 3: Realistic lighting
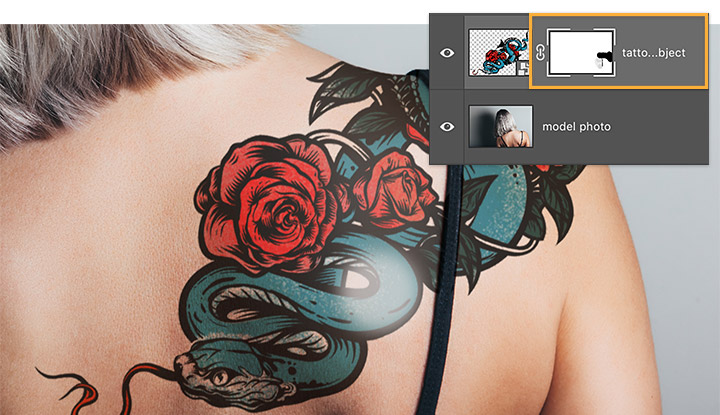
To create a realistic lighting effect on the tattoo, Larson reduced the brush opacity to 10 percent and painted with black over the part of the image she wanted to highlight.
Step 4: Wrap around
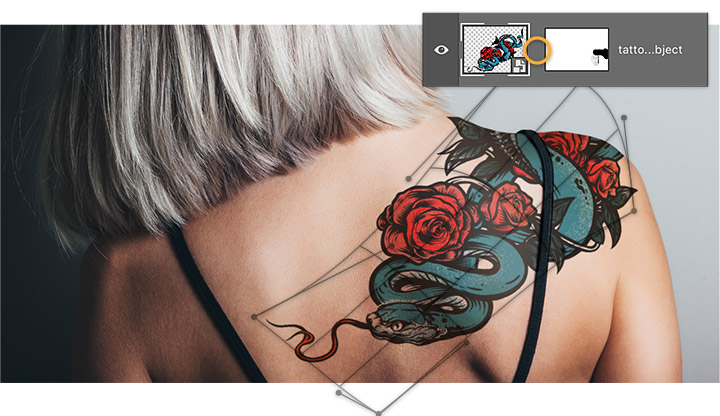
Fitting the tattoo around the model’s contours is key. First, unlink the tattoo image from its mask. Next, click on the tattoo thumbnail to edit the image independently of its mask. To finish, select Edit > Transform > Warp, and drag the grid and handles to warp the tattoo wherever you want.
Step 5: Blend in
To make the tattoo look as realistic as possible, Larson selected the tattoo layer and chose Filter > Blur > Gaussian Blur. She then adjusted the radius to create a subtle blur.