How to create Smoke effect in Photoshop. There are quite a few Smoke Brushes in the Brush store for you to download and use. However, you also need to know how to create your own proprietary smoke effects, because the right “resource” for you to use may not always be available.
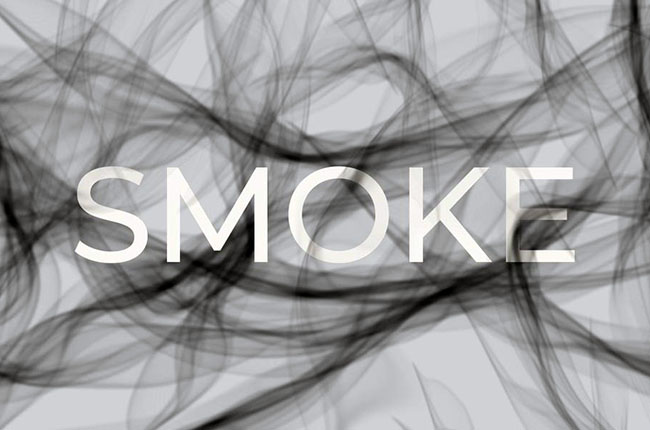
How to create Smoke effect in Photoshop
You do not need to be a professional in using Photoshop software, you can completely create mystical works of art with smoke through these simple steps:
Step 1
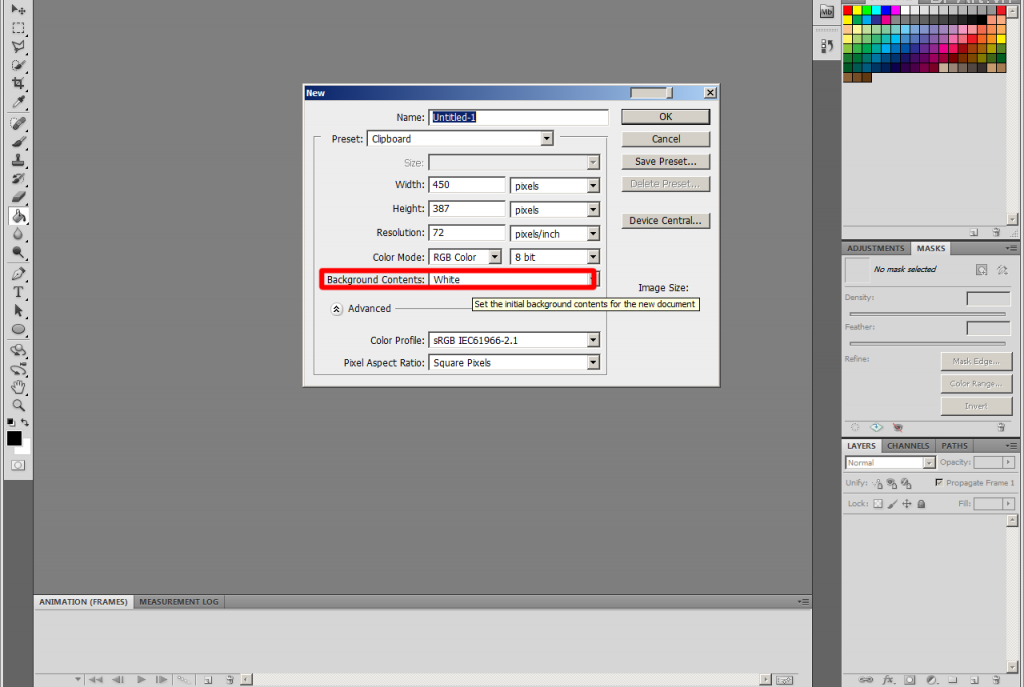
For the first step in the smoke effect tutorial, go to File > New and set any size you want. In the Background Contents section, select “White” and then click OK.
Step 2
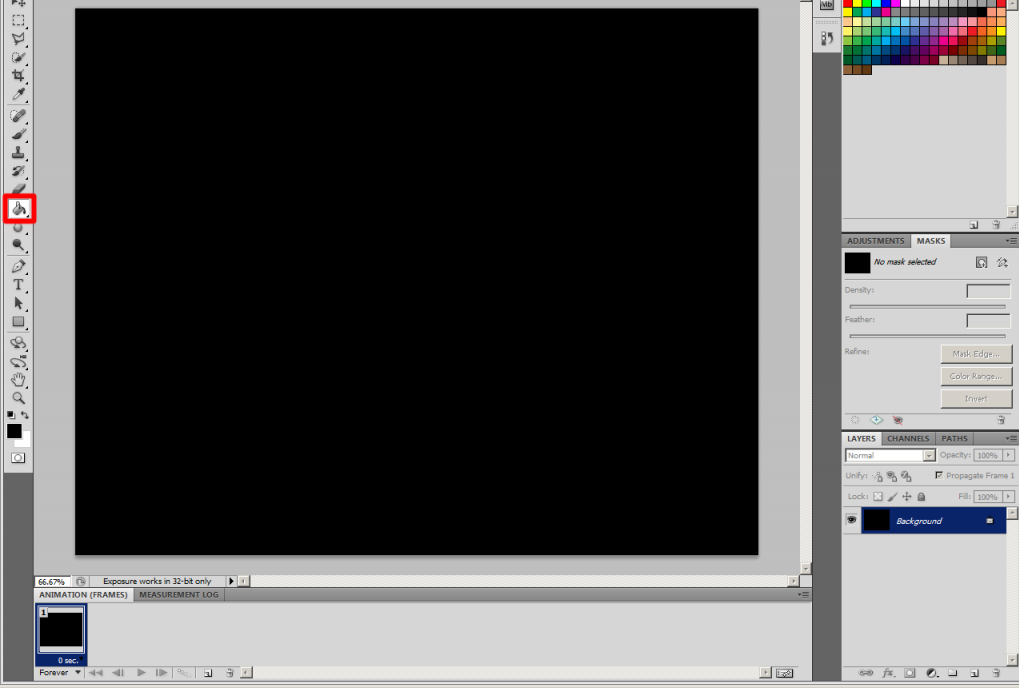
Use the Paint Bucket Tool (keyboard shortcut G) paint the newly created layer with black
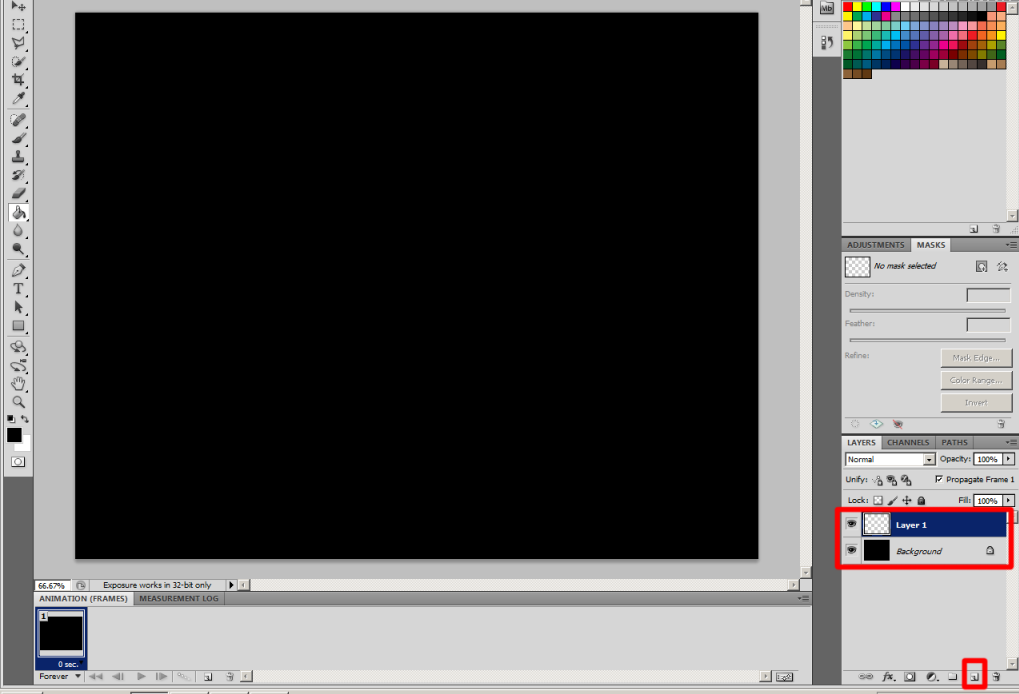
Then create a new transparent layer.
Step 3
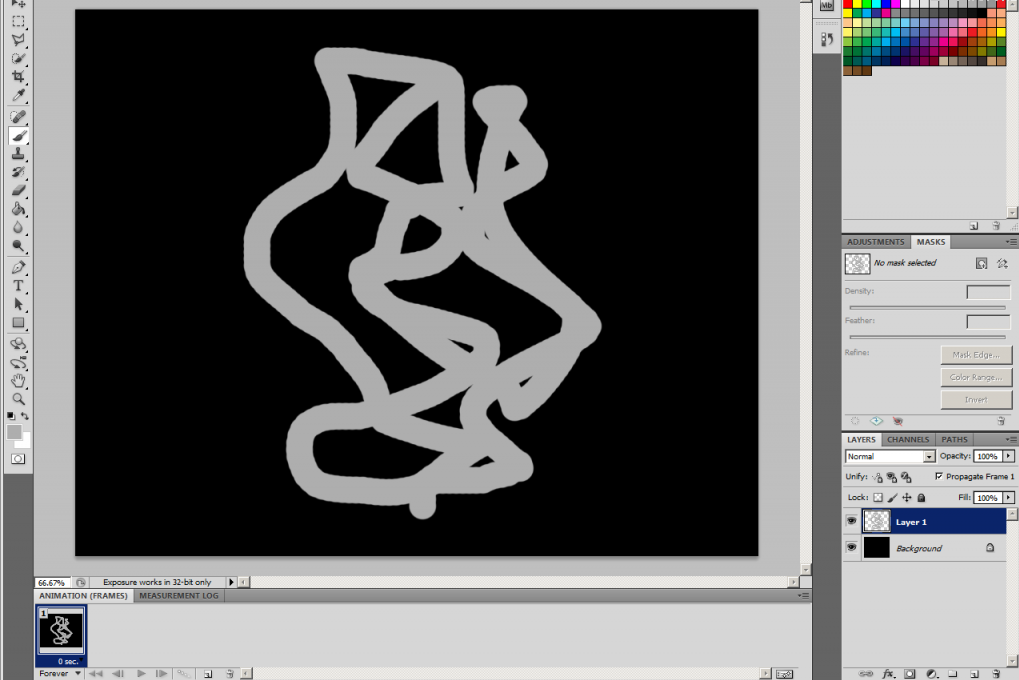
In the transparent layer, you use gray to draw doodles similar to the image. Use multiple brush sizes to continue sketching squiggly lines where there’s space.
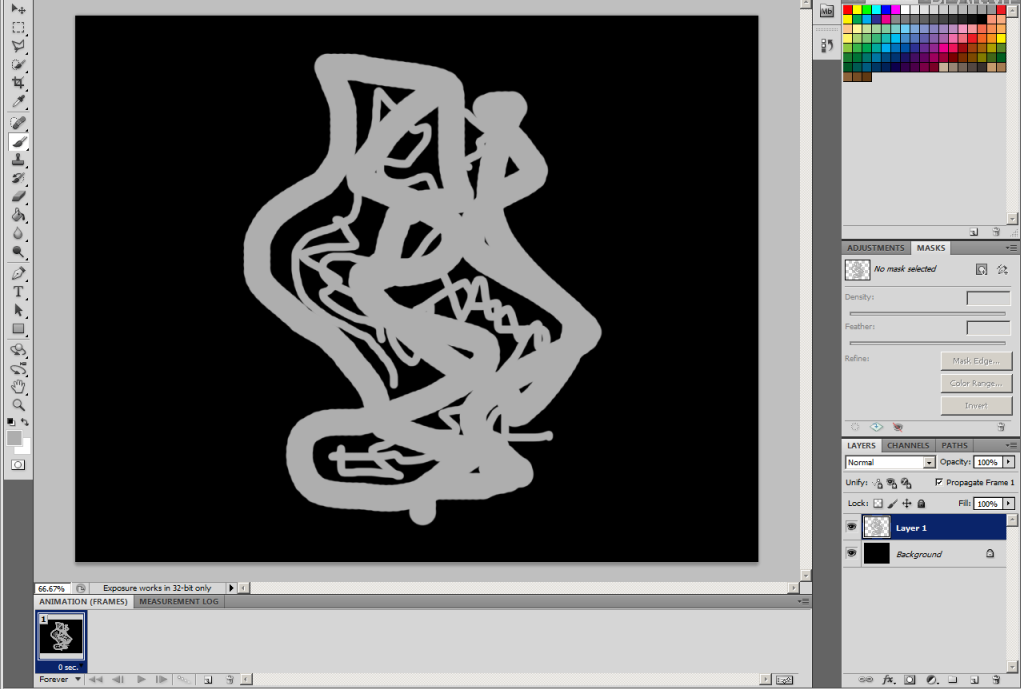
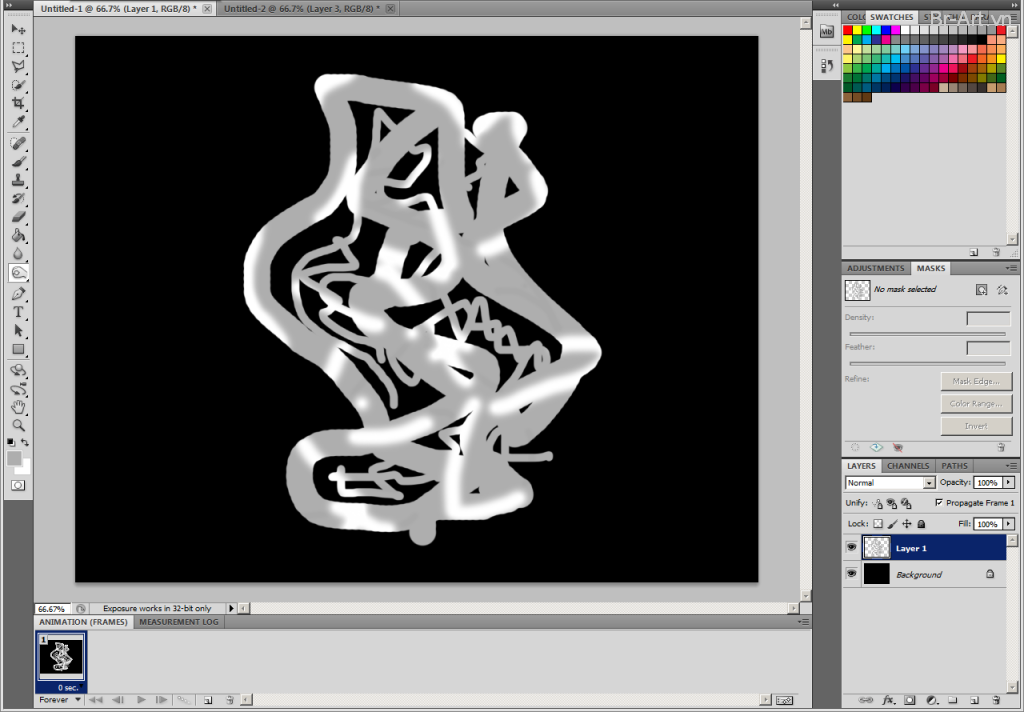
The next work to do in the steps of creating the smoke effect is to use Dodge and Burn tool. You use those 2 tools to randomly brush parts of the drawing. If it is difficult to imagine, you can refer to the image below
Step 4
This is the step to create the “magic” for the work.
- On the Menu bar, select Filter > Blur > Gaussian blur. When the dialog box appears, you set the parameter for the Radius box to be 9.
- Go to Filter > Other > Maximum and again set the Radius to 9.
- Still go to Filter > Distort > Wave and then click Randomize until you feel satisfied
- Go to Edit > Fade Brush Tool and set the Opacity to 50%
- Repeat steps 3-5 until you create a satisfactory smoke effect.
This is the result of the “squiggly lines” above after performing the previous steps. It’s “magical”, isn’t it?
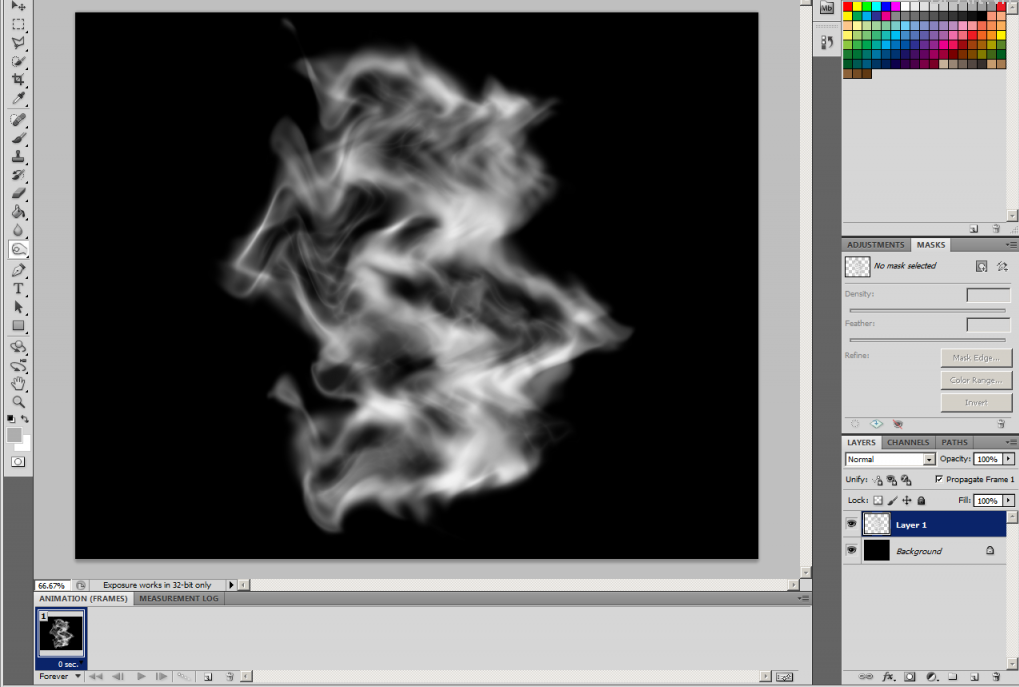
So you don’t have to be a professional or good at drawing, you can also create your own smoke effect, which is both unique and “magical” and extremely simple.
With our simple tip on How to create Smoke effect in Photoshop, we wish you enjoy your experience with Photoshop!


