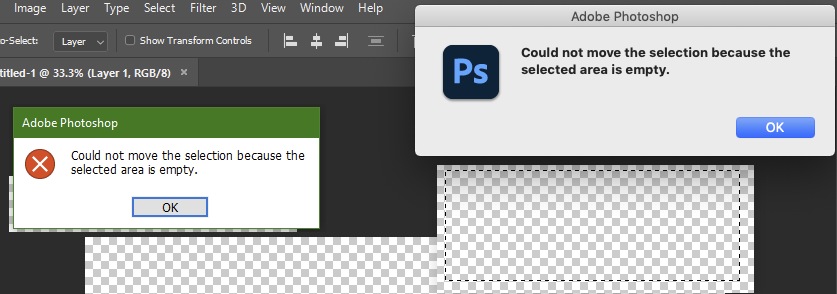
Fix Could not use the magic wand because the target is a fill layer. Question: “I want to use the magic wand tool in Photoshop CC to select the sky in a picture. Unfortunately, it does not work like shown in tutorials I have seen. When I click somewhere in the picture, the entire picture gets selected. It does not make any difference when I change the tolerance to 1 or 255. Does someone know how I can solve this problem?” In this article, TheArtCult will introduce you how to Fix Could not use the magic wand because the target is a fill layer in Photoshop.
Fix Could not use the magic wand because the target is a fill layer
Solution 1
It sounds like you may be trying to use the Magic Wand on a layer that doesn’t have the pixels you want to select – likely a blank layer. Make sure you’ve clicked on the layer (make sure it’s “highlighted” – kind of a different gray than the other layers), so Photoshop knows that’s the layer from which you want to select pixels.
Solution 2
Use Ctrl + click on layer’s thumbnail to load selection from transparency.
![]()
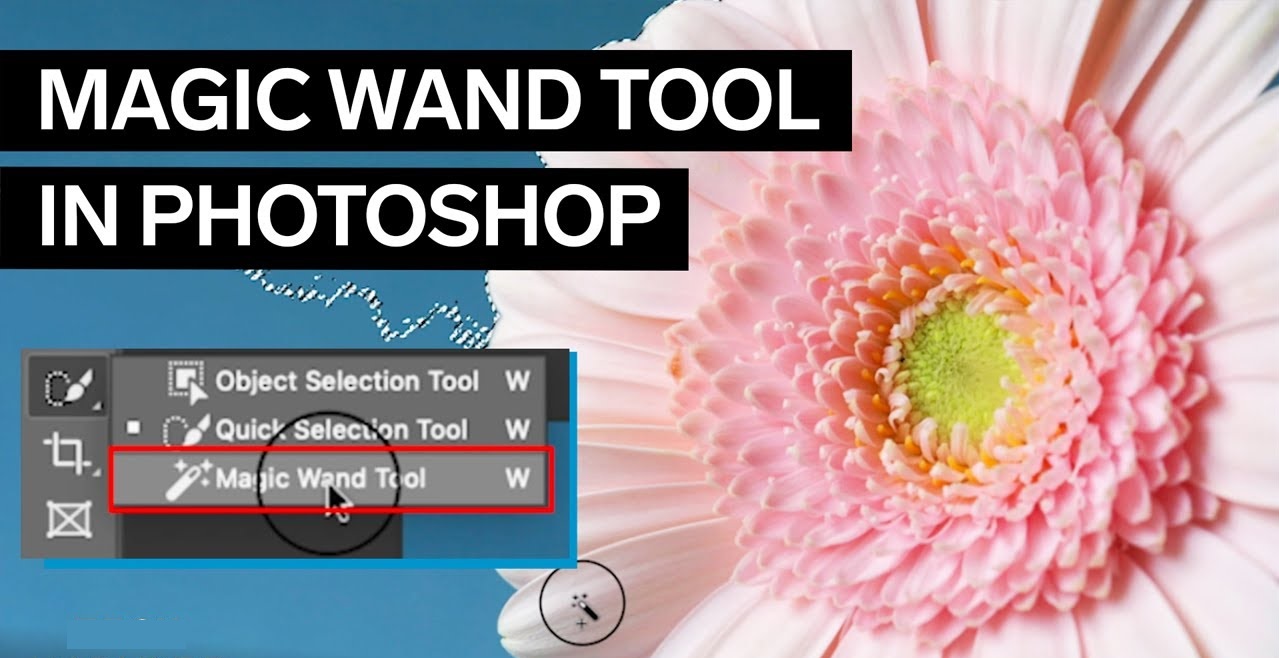
How to use the Magic wand tool in Photoshop
Step 1: Select Magic Wand
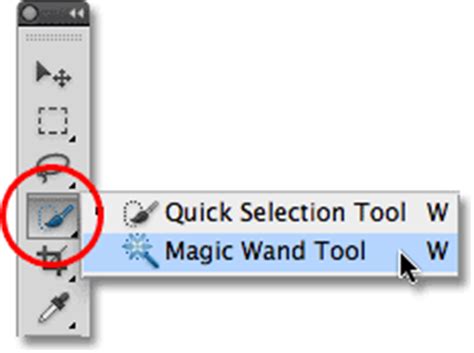
– First, select the Quick Selection Tool in the tool palette.
– Then hold the mouse button for 1 to 2 seconds until the drop-down menu appears.
– For versions from cs6 you just need to right click on the toolkit. Besides, to select this tool, you can also use the keyboard shortcut W or the key combination shift + W.
Step 2: Adjust the tolerance of the Magic Wand
– Tolerance (tolerance) of the Magic Wand tool is understood as the difference in color of consecutive pixels. For example, when you select the tolerance to be 0, then when you select the blue pixel, the new blue colors will be selected.
– But if the tolerance is larger, lighter or darker blues are also automatically selected.
– Tolerance specific to the Magic wand tool in Photoshop will be displayed based on the control bar.
The Tolerance tool in Photoshop represents different levels of the color tone of a pixel. From the area that you click will help it bring into the selection.
– The default Tolerance value is set to 32. This is understood that it will select any pixel that has the same color as the one you clicked on and any pixel that is darker or lighter in color.
– If you adjust the precision of the selection, you can change this parameter.
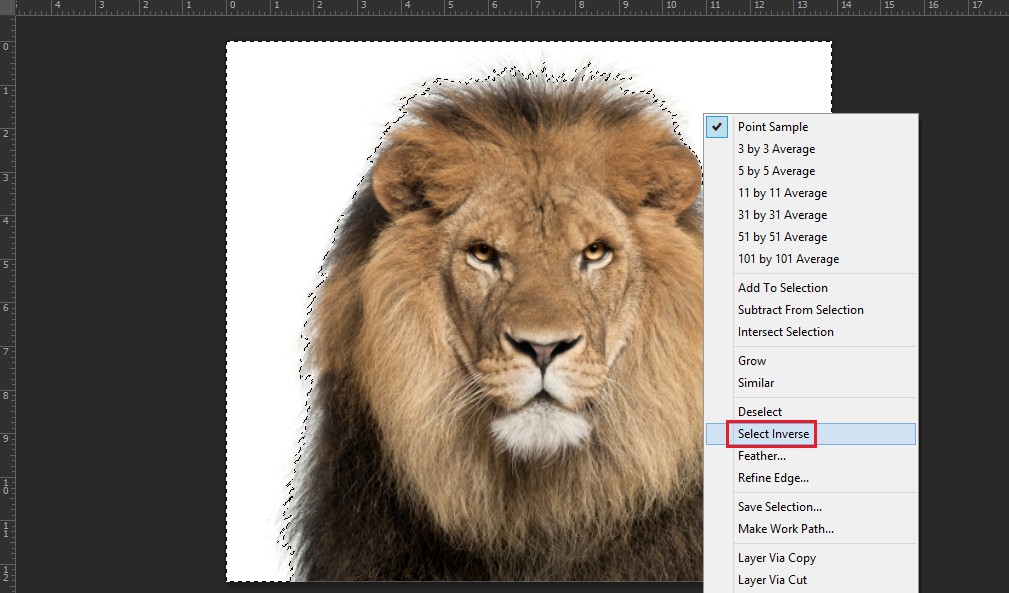
Separating the background image in the Magic wand tool
Step 1: Go to new selection. Then use the Magic wand tool to select the detailed background in it.
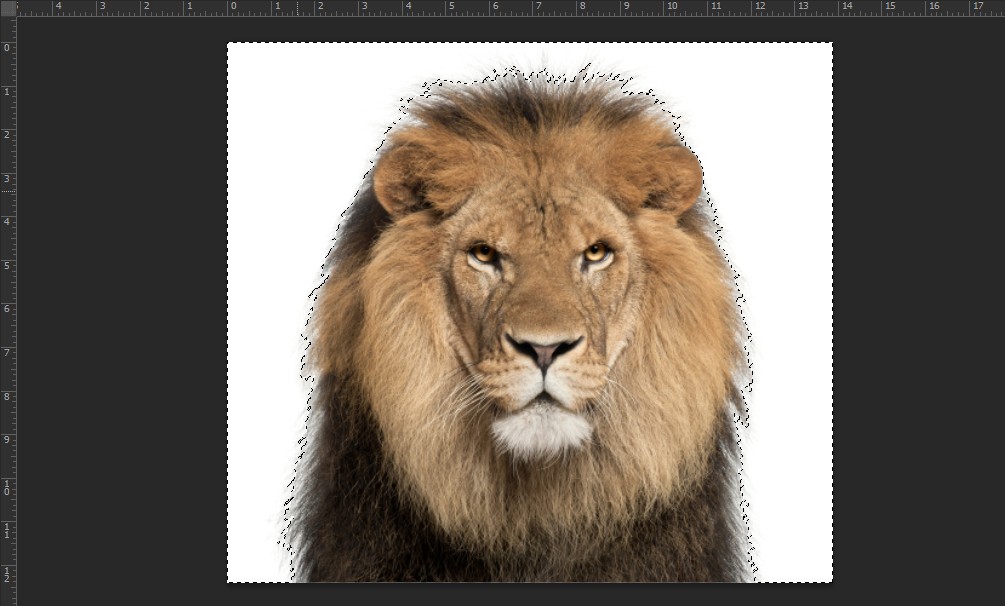
To invert the selection, go to Select > Inverse or you can use the Shift + Ctrl + I key combination.
Step 2: You go to the Refine Edge interface, click the inverted triangle icon in the View section, Turn On Black mode (B).
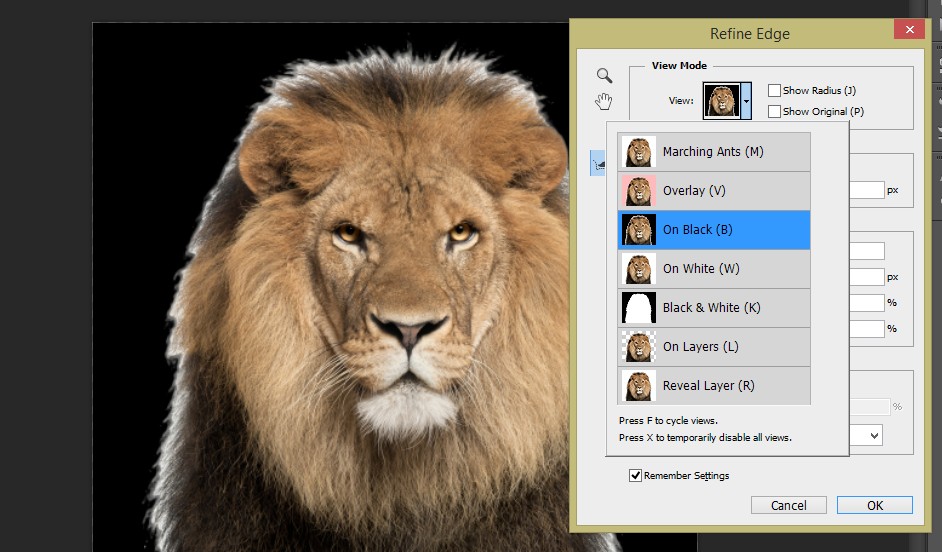
When you use this command, in areas where the Magic Wand Tool is not used, the Refine Edge feature is only used in this case.
Right click, select the Refine Radius Tool (E) to customize the indicators as shown in the image.
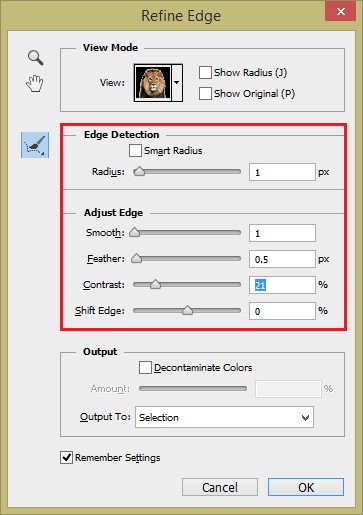
You go to select > select Modify > select Feather or use the Shift + F6 key combination to soften the selection
Step 3: You press Ctrl + J to cut and transfer the image to a new layer.
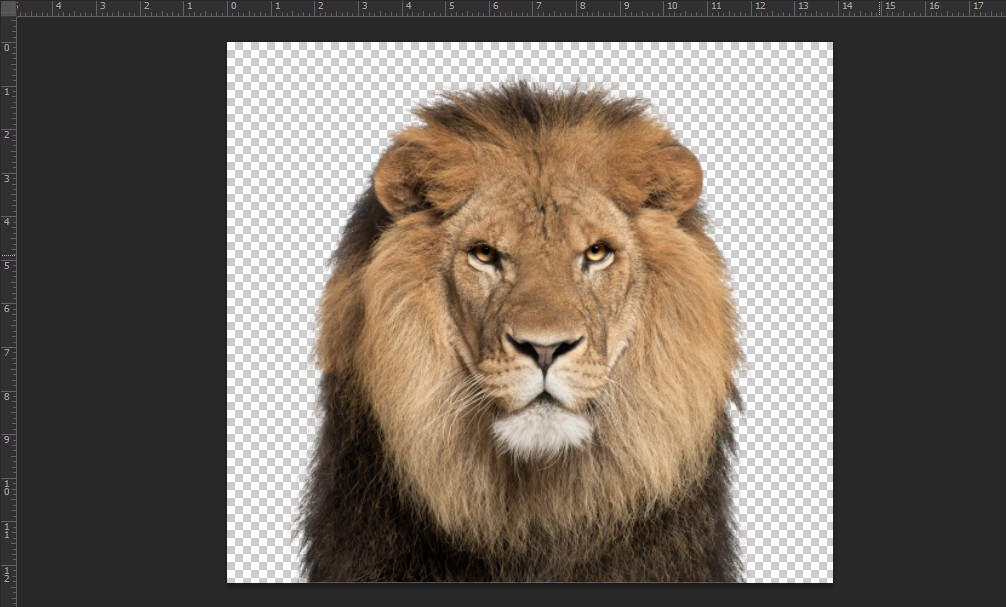
And this is the result
And this is the result, so simple, isn’t it!