Coloring in Photoshop for beginners. Coloring in Photoshop is a basic trick for beginners. But did you know, each design needs to use different coloring and color correction. Today, TheArtCult will show you the best 3 steps to color in Photoshop.
Coloring in Photoshop for beginners
Step 1: Select the fill area in Photoshop
This is the first and also very basic step for you to accurately select millimeters of areas to color. You can choose 1 of 3 ways:
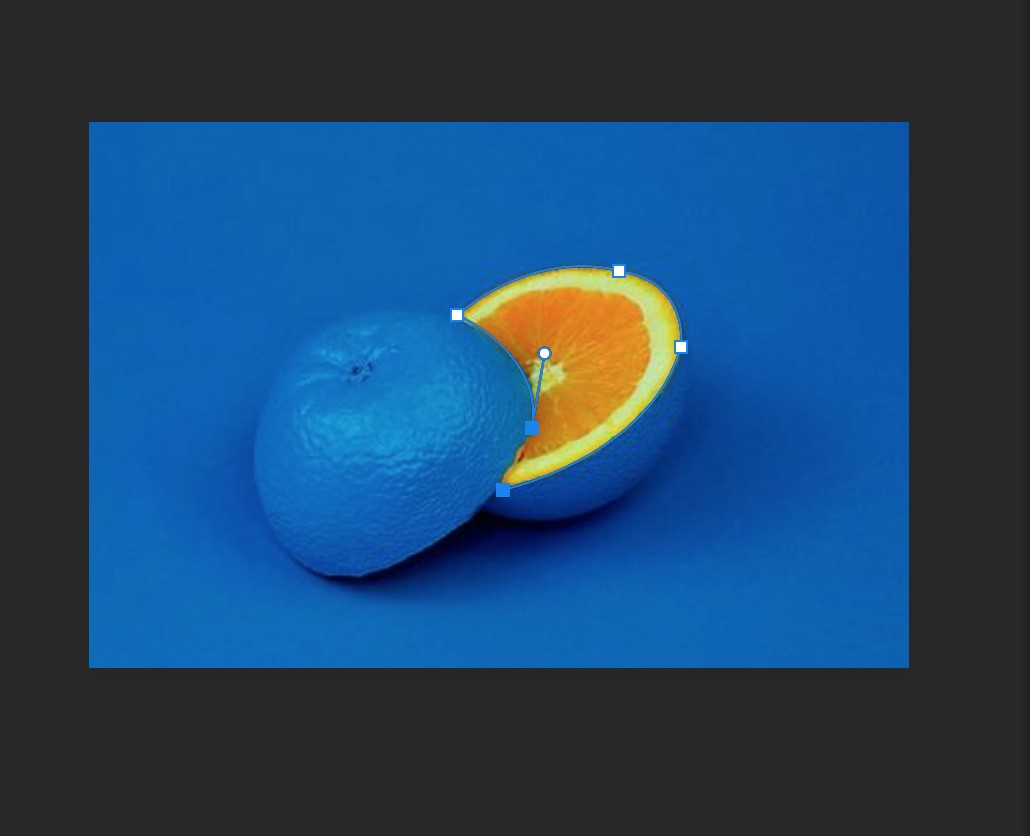
a. Use the Magic wand tool (Shortcut W)
This is the most basic coloring tool. Magic wand tool selects areas and points – based on the color of the image pixels. That is, when you click the Magic Wand Tool on a color point, it will select pixels of the same color.
One note is that before selecting and painting, you need to adjust the ‘Tolerance’ parameter of the magic wand tool. The larger the ‘tolerance’, the higher the tolerance and the more distinct the selected pixels will be in chroma. For example, if the ‘tolerance’ is set to 32, and you click the magic wand tool on the blue color, then the lighter blue or slightly darker blue pixels will also be selected.
b. Quick selection tool
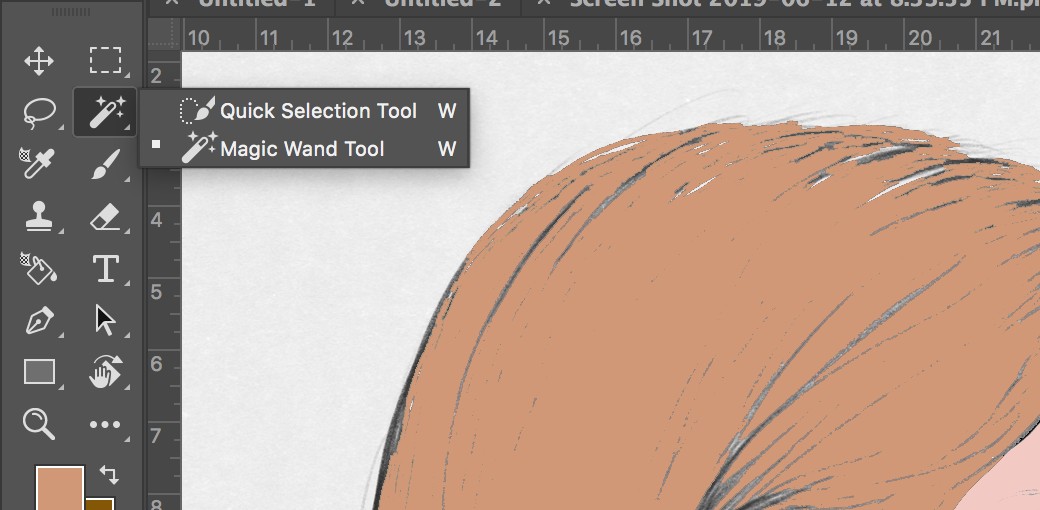
The difference of Quick selection tool is that after selecting the tool, you need to move the mouse to select the desired area, not depending on a pixel color like the Magic wand tool.
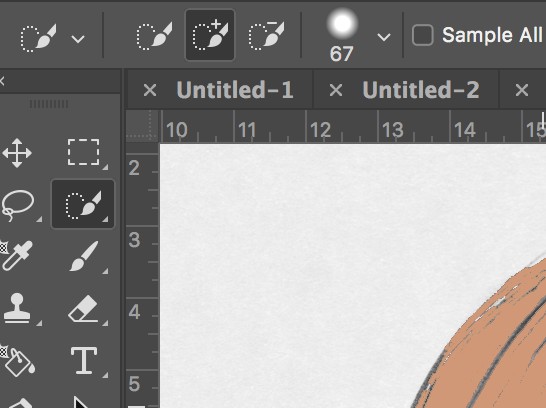
With the Quick selection tool, there will be 3 options for the tip of the pen as above. The plus sign is to select more selections, and the minus sign helps you delete the selection if you are ‘overdone’. Also, remember to adjust the size and style of the brush above to select the correct area!
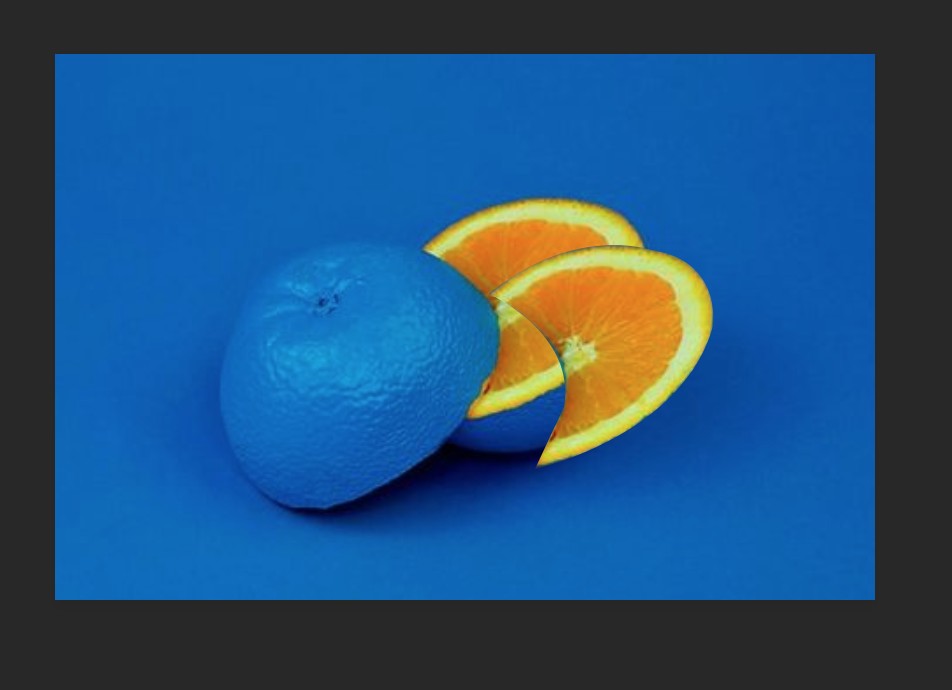
c. Pen tool
With images with basic lines, to select the correct area, you should use the pen tool before coloring in Photoshop.
In addition to selecting areas, the above tools can be used to crop images. After selecting the area with the pen tool, press Ctrl/Command + Enter to create a selection. To crop an image in photoshop, press Ctrl/Command + J to duplicate the selected layer, so you can crop the image already!
On another note, if you want to invert the selection in Photoshop, after selecting the area, right-click the selection, and invert the selection by selecting on the menu bar Select -> Inverse. You have successfully inverted the selection in photoshop!
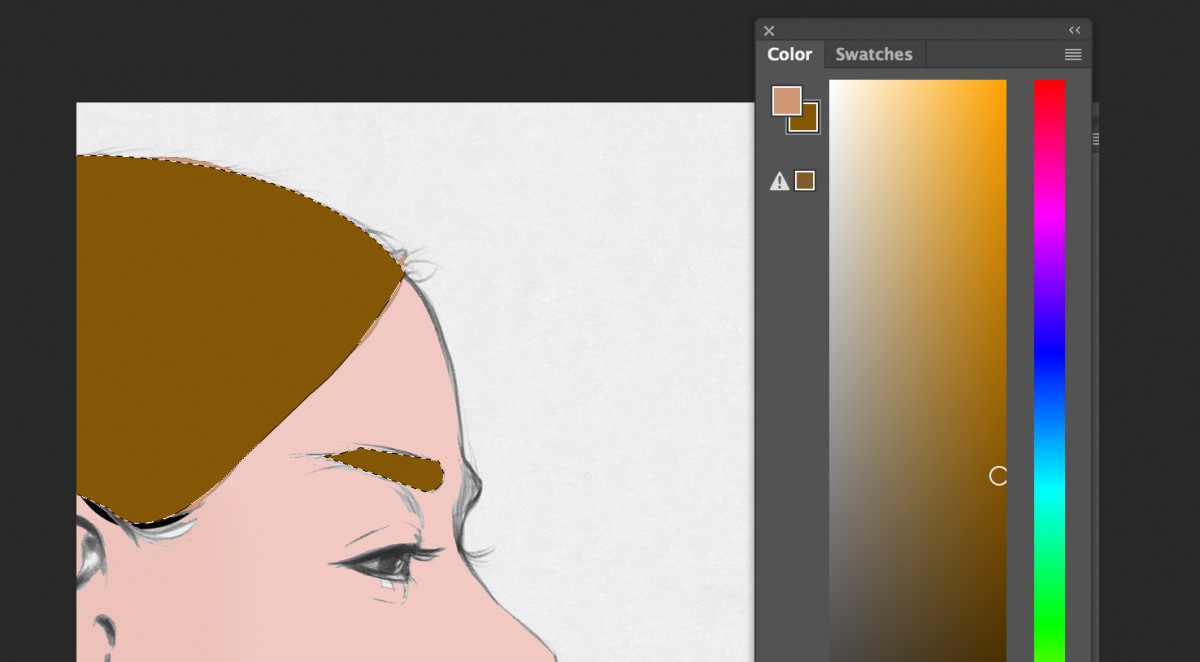
Step 2: Color in Photoshop
-First, you need to keep the selection and fill color as it is because it helps you color in the correct range, not encroaching on other parts of the image.
-Choose colors to paint:
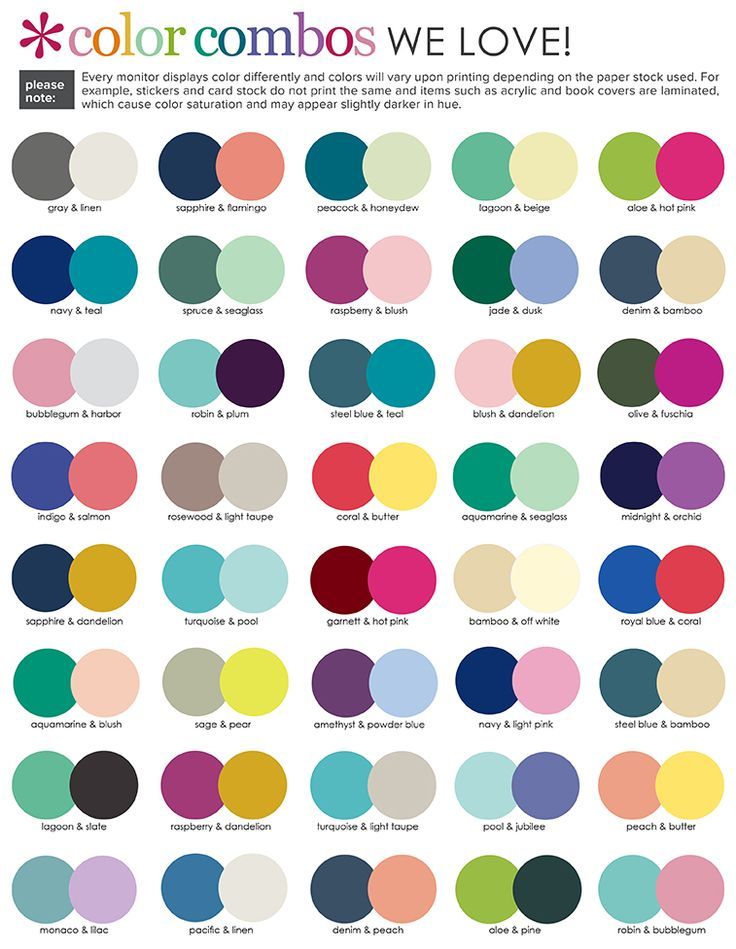
+In coloring, quite a few ‘newbies’ make mistakes in combining and applying colors. In order for a color to match the meaning of the design, you need to know the meanings of these colors.
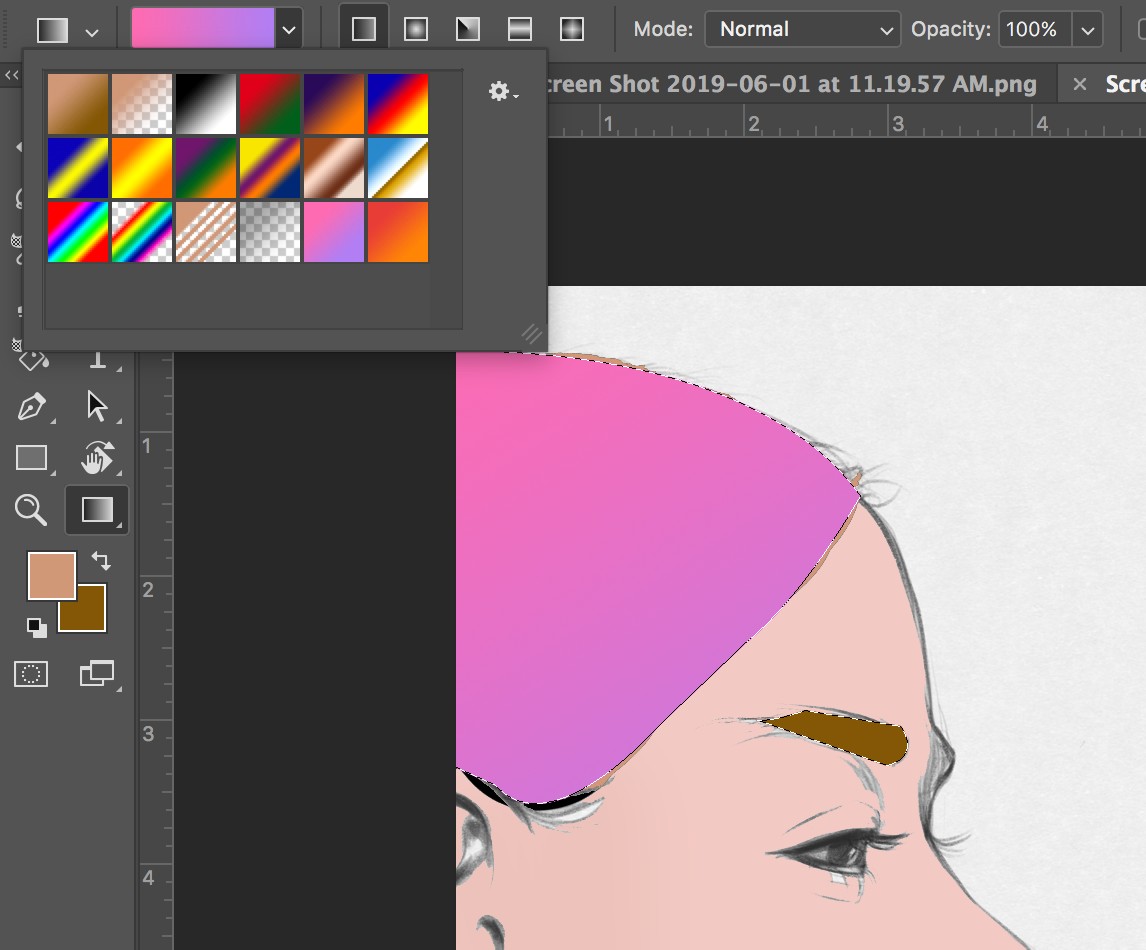
+ Monochromatic colors sometimes make the design boring. Then apply Gradient – the latest color trend. After having a selection, press the keyboard shortcut G (Gradient) and select the appropriate gradient color in the table as shown below. Next, to fill with gradient, you select a point and stretch to create the desired gradient direction. So the selection has been colored with a very accurate and beautiful gradient.
Let’s explore more of these beautiful gradient colors too!
-Paint Tool: Brush (Shortcut B). With Brush, you can color freely with a lot of parameters to choose from from pen size, type of crayon, opacity…
-To try to paint 2 colors at the same time: sometimes you have 2 colors in your hand and confused which color is suitable?! Then there is a way right here. In the image below, you will see 02 squares in the Color Panel, including Foreground Color and Background Color.
If you are confused between two colors, choose those two colors that correspond to the foreground and background colors. Afterward:
+If you press Alt + Delete: the selection will be colored foreground
+If you press Ctrl/Command + Delete: the selection will be filled with background color.
After you have colored in Photoshop to your liking, press Ctrl/Command + Delete to finish the coloring process.
EPILOGUE
The above article has provided you with 02 simple steps to color correctly and beautifully in Photoshop. At the same time, you can also explore more tutorials on color correction in photoshop or cropping in photoshop besides coloring. We wish you many beautiful designs in the future!