How to fix Turn on wireless capability Dell, Wireless capability is turned off. . How to fix wifi problem not connect on dell laptop:dell wifi not working windows 10,
Dell laptop lost wifi, My inspiron 1750 took an epic crap this week. in the same day my lcd screen stopped working (LCD cable problem) and my wifi card stopped working.
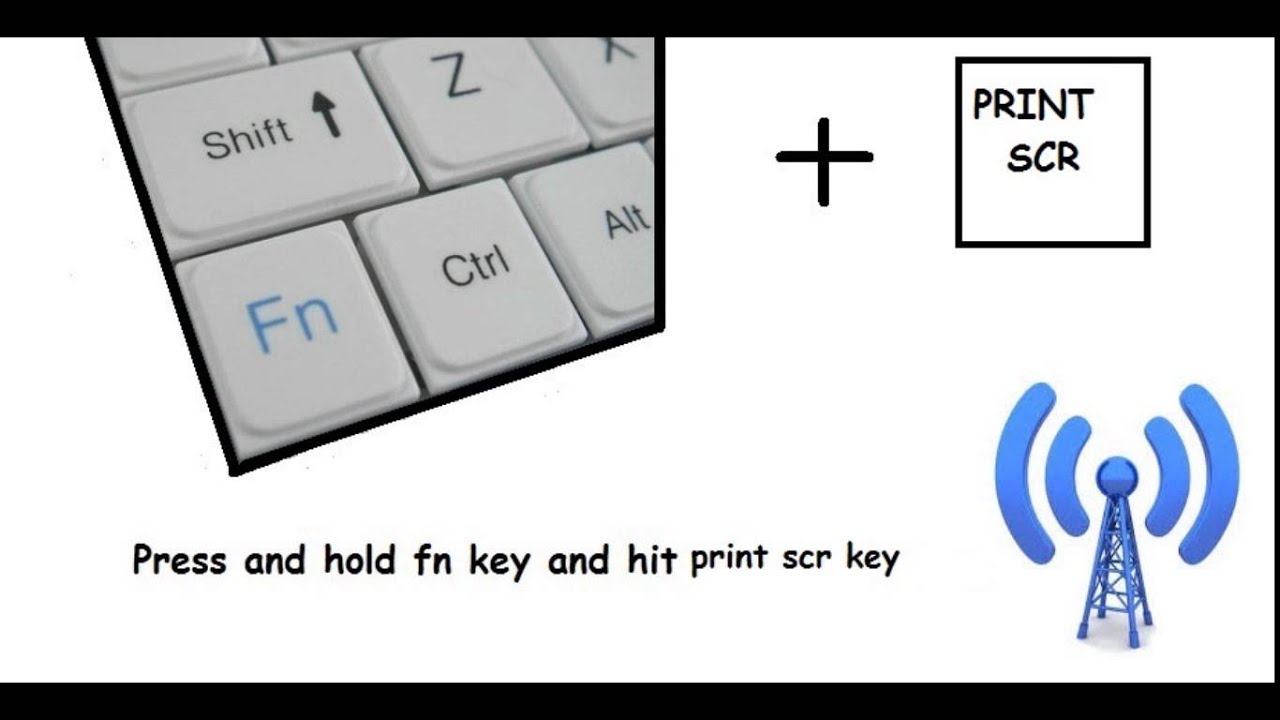
Wireless capability is turned off
Now after hours of research i seem to have figured out the wifi problem. I believe when i was hooking up the external monitor (so that i could use my laptop while waiting for a new lcd cable) that i acidentally disabled the wireless card in my bios settings. The problem im having now is the fact that, when you boot the computer with an external monitor, it doesnt show anything on your screen until windows starts to load. So i was wondering if one of you kin gentleman (or ladies) would be ever so kind to guide me through the exact procedure to enable my wifi card again. by this is literally mean a step by step on each exact key you press to get to where.
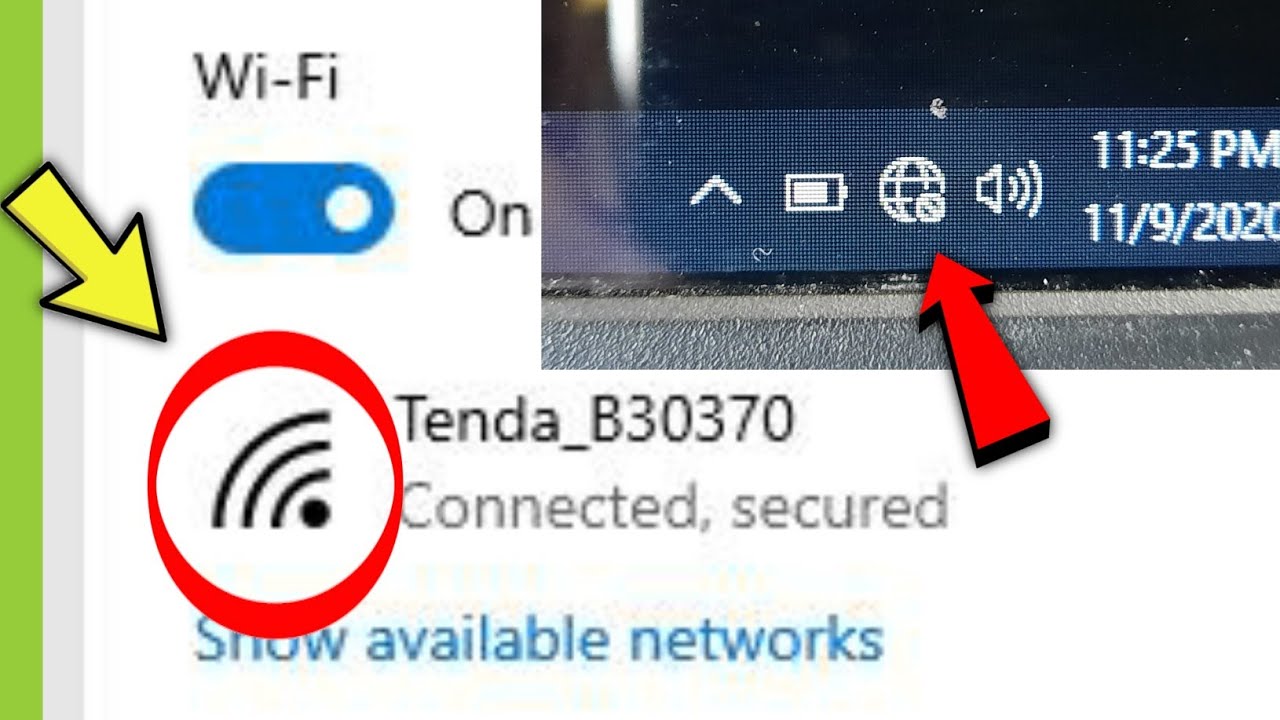
How to fix wifi problem not connect on dell laptop
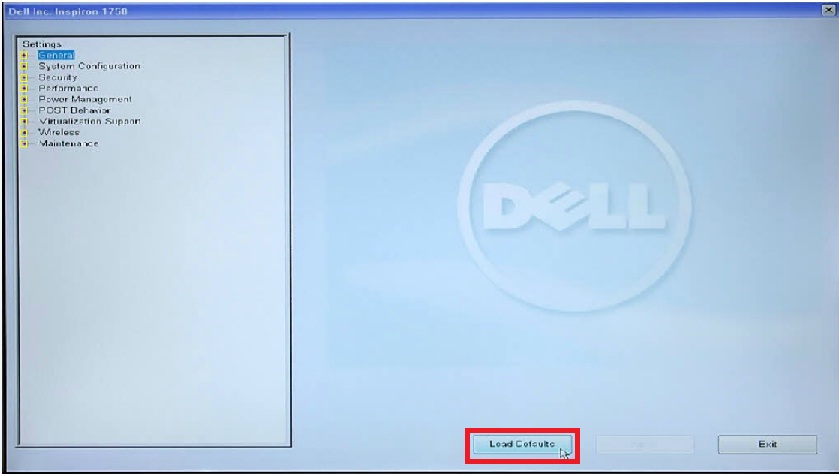
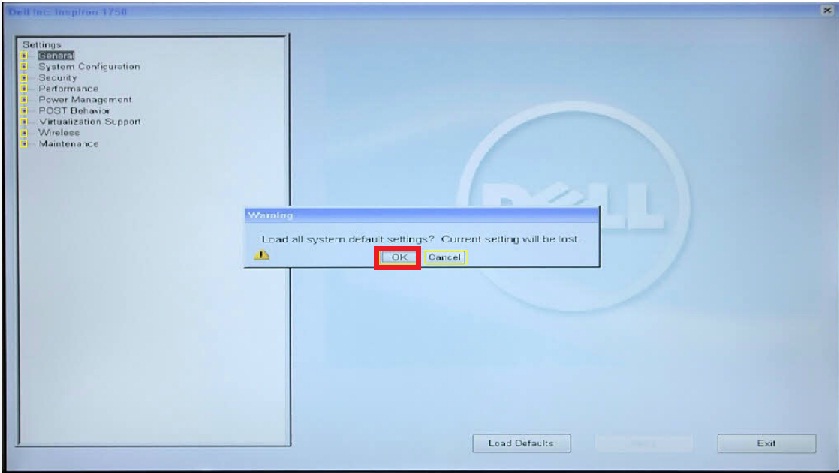
Loading the BIOS to defaults should enable the wireless card again. Here are the steps to do so:
- Restart the computer and keep tapping the F2 key to enter BIOS.
- Use the Up and Down arrow key to select “General”.
- Click “Load Defaults”.
Restart the computer for the changes to take effect.
Alternatively, the other way to enable the Wireless card in the BIOS is:
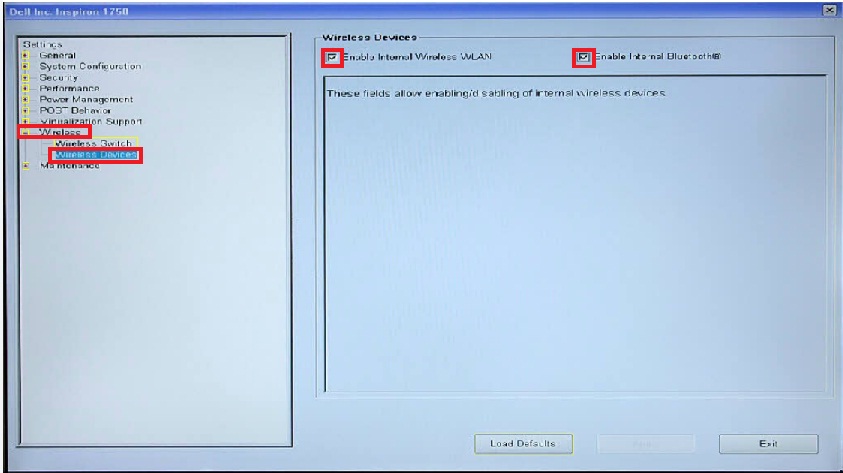
- Restart the computer and keep tapping the F2 key to enter BIOS.
- Expand the “Wireless” tree.
- Click “Wireless Devices”.
- Ensure that the “Enable Internal Wireless WLAN” and “Enable Internal Bluetooth” options are checked.
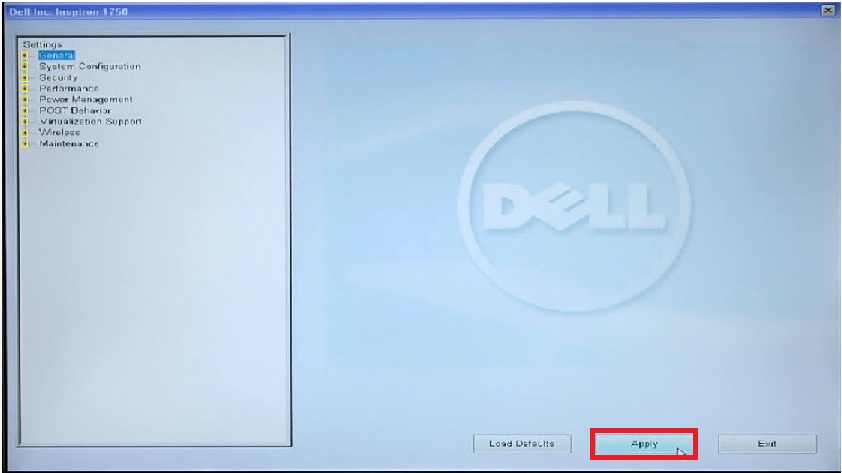
- Click “Apply”.
Restart the computer for the changes to take effect
method 2: How to fix Turn on wireless capability Dell, Wireless capability is turned off
Considering all the troubleshooting you’ve done, there’s one more thing to look at that might be the culprit. The error ‘Wireless capability is turned off’ happens because power management turned off the wireless capability when not in use, or when your battery can’t cope up with the power that needs to be supplied. Fortunately, you can change this setting:
- Open Network Connections.
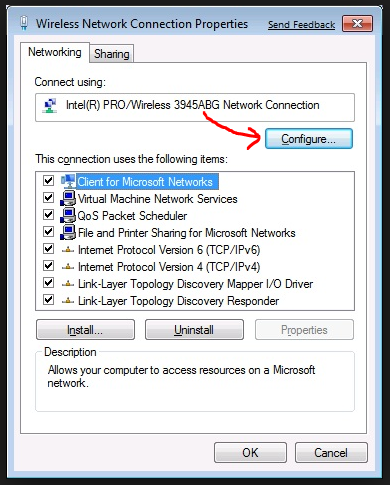
- Right-click on the wireless connection and then select Properties.
- Click Configure next to the wireless adapter
- Click the Power Management tab.
- Uncheck “Allow the computer to turn off this device to save power“.
- Click OK.
Windows 11
Method 1: Uninstall the existing network driver from the computer and restart the computer to load the generic drivers.
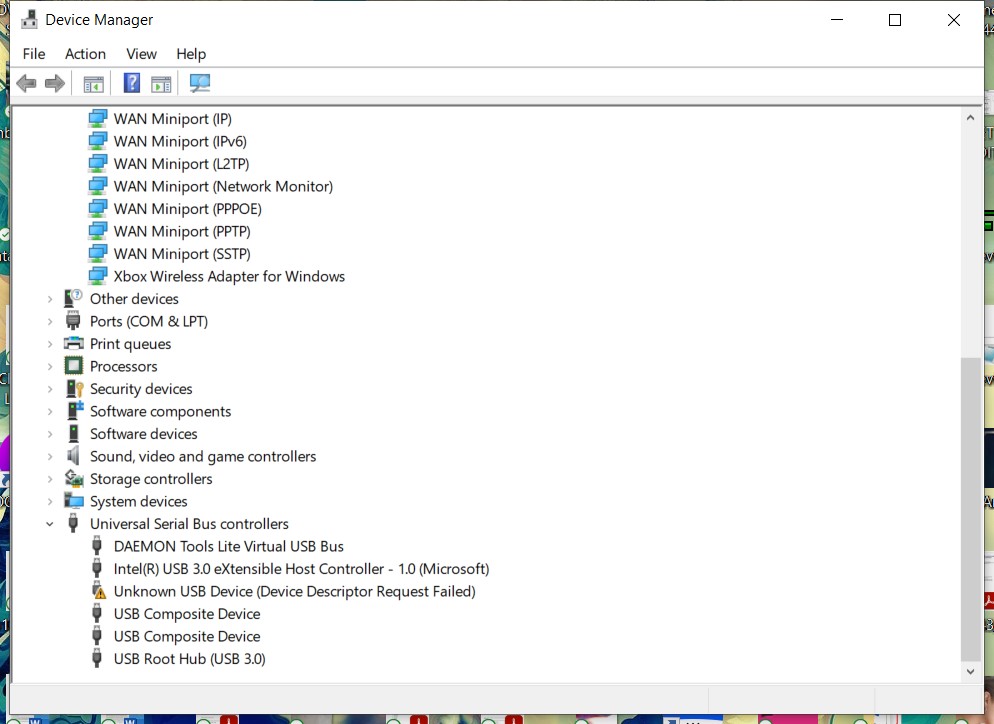
a. Press Windows + R on the keyboard, type “devmgmt.msc” in the run windows and press enter.
b. Right click the network driver and select “uninstall”.
c. Restart the computer to load the generic drivers. Check if it works.
2. In services windows scroll down to locate “WLAN AutoConfig” .
3. If the startup type is not automatic, right click the service and change the startup type to “Automatic”
4. Click Apply, Ok.


