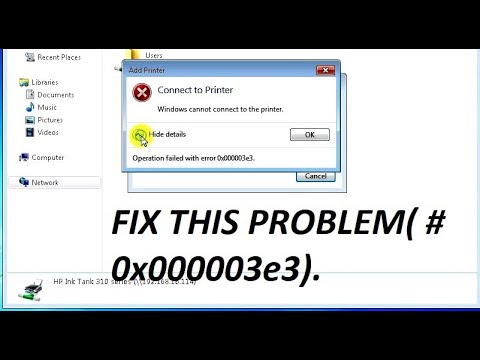
operation failed with error 0x000003e3 – windows 10, how to fix error 0x000003e3, download (0x000003e3) repair utility, error 0x000003e3 windows 7, connect to printer error 0x000011b, operation failed with error 0x00004005, error 0x000004f8, operation failed with error 0x00000c1 How to fix operation failed with error 0x000003e3 -cannot connect to printer in windows 10 64bit pro . cannot connect to printer in windows 10 64bit pro
My recommendation will require reinstalling the printers but I’ve had similar printing issues. This is how I fix them…
1. Stop print spooler service.
2. Open Regedit
3. Navigate to HKLM/System/CurrentControlSet/Control/Print/ — Backup entire key in case the following breaks things worse than they currently are.
4. Under Environments, go to the correct architecture. Under Drivers/Version 3/, I delete them all.
5. Go back up to HKLM/System/CurrentControlSet/Control/Print/
6. Under Monitors, I delete all keys. Under Pending Upgrades, I delete all keys. Under Printers, I delete all keys. Under providers, I delete all keys.
7. Restart spooler, add printer, try printing again.
Restart the print spooler service
Press WIndows Key + R
Type services.msc and press enter
Look for Print spooler service and click “Restart”
Run Keyboard Troubleshooter
Windows Key+I > Update & security > Troubleshoot >
Printer> Run the troubleshooter
Windows Key+X > Device Manager> Printer> Right Click > Properties > Driver Tab >Roll Back – If Roll back driver is enabled, roll it back
Once done restart you pc for the changes to take effect.
If issue persist go back to device manager
Windows Key + X
Click Device Manager
Expand the Printer driver
Right click “Update”
Click “Browse my computer for drive software
Let me pick from the list of driver software
Try to use the old driver.
Restart.
MEthod 2
operation failed with error 0x000003e3 – windows 10, download (0x000003e3) repair utility, mengatasi error 0x000003e3, error 0x000003e3 windows 7, epson lx 310 windows cannot connect to the printer, connect to printer error, operation failed with error 0x00004005, operation faile
MEthod 3
Its possible the shared driver is not compatible with Windows 10 1803:
What is the make and model of the printer you are trying to add over the network?
From the computer you are sharing the printer, press Windows key + R
Type: control printers
Hit Enter
Select the printer
Click Print Server Properties
Select Sharing
Click Additional drivers
Sharing Printers over the Network in Windows 10
Before you can share a printer, it must first be set up, connected, and powered on. Click Start > Settings > Devices, then open the Devices and Printers link. Right-click your printer, then click Printer properties.
Click Start > Settings > Devices, then open the Devices and Printers link. Right-click your printer, then click Printer properties.
Select the Sharing tab, then check the box to share your printer.
Users should consider that if you are sharing a printer with multiple devices running a mixture of Windows client architectures – 32 or 64 bit-you should enable the “Render print jobs on client computers” option. This will ensure other users can easily install the printer when connecting over the network.
Connect to a Windows 10 Shared Printer
After setting up your shared printer, you can connect to it multiple ways. The first method is from within Devices and Printer. Click the Add Printer button, then click the link, The printer that I want isn’t listed. Choose the Select a shared printer by name radio box, browse to the printer on your network, and click open.
You will be prompted to install the driver. Click Next to complete the installation of the printer.
That’s it! The printer will now show up in Devices and printers as a local device.
Another way you can connect to a shared network printer is from within File Explorer. Open the Network folder, browse the shared printer’s computer, right-click it, then click Connect.
Conclusion
And there you have it. Sharing printers over a Windows 10 network is a great way to hook up multiple devices to the same printer. This lets you print files and documents without emailing them between devices. This is just one of the ways you can easily share files, storage, and printers in Windows 10.