Fix Unable to allocate enough memory to render the current frame. If you continually get an error message when trying to render a project, this article may help you with these simple steps to fix this After Effect error.
It might cause by where those specific plug-ins sit in the hierarchy of nested comps and other effects. (For the most part) before after effects adds an effect. It “renders” the comp to that point and applies the effect to the render held in memory. Even if the final output comp is HD sized, a larger nested comp with an effect on it could make the memory max out.
It could also be that the plug-in that’s causing the problem cannot render beyond a certain rez and the comp that the effect is within is either too large or generates a temp “render” that is too large due to super sampling required for some other effect or manipulation.
In this article, Theartcult will show you how to fix this error.
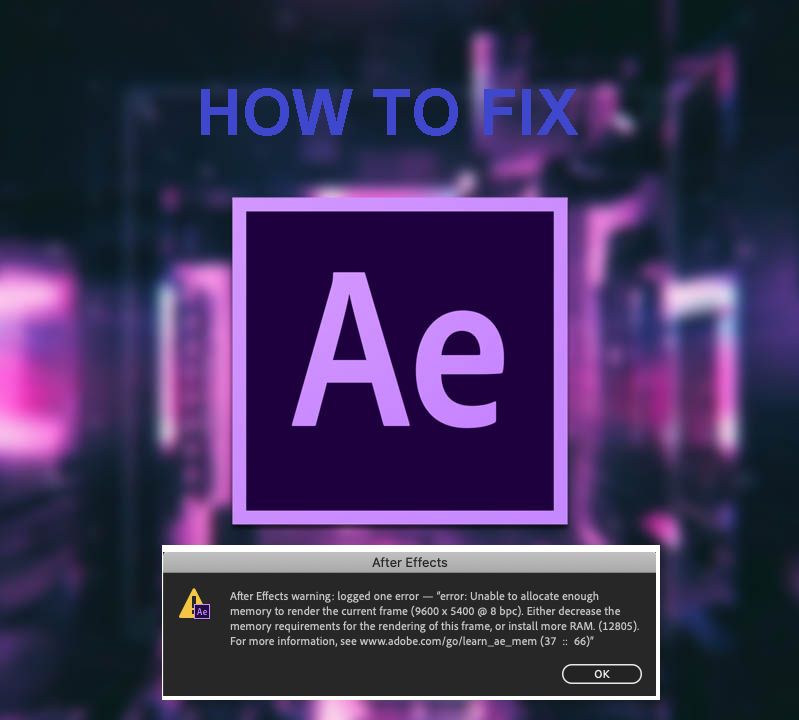
Fix Unable to allocate enough memory to render the current frame
If this is happening during a render(not a preview) then your hard drive does not have enough free memory. Time to delete files or archive projects/files to another hard drive and then delete files. Or add more hard drives.
Try to reduce the amount of memory allocated to other applications:
SelectAfter Effects CC > Preferences > Memory. Change the RAM reserved for other applications and click OK.

Purge Memory and Disk Cache:
SelectEdit > Purge > All Memory & Disk Cache.To delete all the files from your disk cache, clickOK.

As you work on a composition, After Effects temporarily stores some rendered frames and source images in RAM, so that previewing and editing can occur more quickly. After Effects does not cache frames that require little time to render. Frames remain uncompressed in the image cache.
After Effects also caches at the footage and layer levels for faster previews; layers that have been modified are rendered during the preview, and unmodified layers are composited from the cache.
When the RAM cache is full, any new frame added to the RAM cache replaces a frame cached earlier. When After Effects renders frames for previews, it stops adding frames to the image cache when the cache is full and begins playing only the frames that could fit in the RAM cache.
Green bars in the time ruler of the Timeline, Layer and Footage panels mark frames that are cached to RAM. Blue bars in the Timeline panel mark frames that are cached to disk.
Layer Cache Indicators
Layer cache indicators allow you to visualize cached frames on a per-layer basis. This is helpful when trying to determine which layers are cached in a composition.
Enable the Layer Cache Indicators option by pressing Ctrl (Windows) or Command (Mac), and then choose Show Cache Indicators in the Timeline panel menu. The Show Cache Indicators option must be enabled in the menu to see the indicators.
Another way to clean Media and Disk cache is:
SelectAfter Effects CC > Preferences > Media & Disk Cache. In the Preferences dialog, click Empty Disk Cache to clean disk cache and Clean Database and Cache to clean media cache.

Switch Ray Tracing to CPU:
If you have usedRay Traced 3D Renderer, selectPreferences > Previews.In thePreferencesdialog, clickGPU Informationand switchRay TracingtoCPU.

Reset preferences for After Effects. Make sure that After Effects are closed in your machine (while following the steps).
MacOS
Go to your desktop and click GO on the Menu bar. Select Go to Folder from the drop-down and type the following path:/library/preferences/darkedeneurope.com From the list of applications, select After Effects and rename it as ’After Effects1’.Go to Documents folder in your computer and open the folder named darkedeneurope.com. In the darkedeneurope.com folder, rename the After Effects folder as ’After Effects1’.
Windows
In the Run command (Win key+R) dialog, type %appdata%.Open the folder named darkedeneurope.com.Rename the After Effectsfolder as ‘After Effects1’.Close the window and open Documents folder. In the darkedeneurope.com folder After Effects folder and rename it to ‘After Effects1’.
Check the composition creating issue:
Create a blank project. Turn on Caps Lock and try to import the faulty project. Open compositions one by one and toggle Caps Lock to check which composition is creating issue.


