How to reduce space between lines in Word 2010. Line spacing in Word is understood as the distance between two lines of text. This distance may vary depending on the text format and is not fixed. But the default distance for the most comfortable reading is 1.15. However, Microsoft also gives users the option to customize the line spacing in Word to best suit their needs. This article will share with you the fastest and most effective way to adjust line spacing in Word.
What is 1.5 spacing in Word?
Simply put, it means that word will create a space between lines 1.5 times single spacing.
Single spacing is a specific gap between lines as you type.
1.5 spacing is single spacing plus half of a single spacing.
So if you imagine a ruled notebook. If single spacing were the distance between those lines.
1.5 spacing would be if you were to increase the gap of those lines by half of the original gap’s size.
A single spaced document can get twice as many lines on it as a double spaced document. A document that is one and a half spaced is halfway between single spaced and double spaced.
How to make 1.5 line spacing in Word
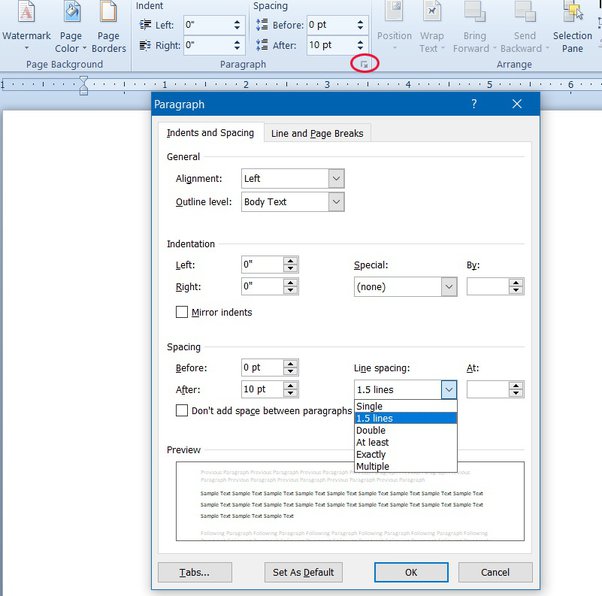
Select the Page Layout tab.
In the Paragraph section, click the right diagonal downward arrow to the right of Paragraph at the bottom.
When the Paragraph window opens, click the Line Spacing drop down near the center of the window. Select 1.5 and click ‘OK’.
How to reduce space between lines in Word 2010
Line spacing in Word for a certain paragraph of text
Step 1: Highlight the text that needs to be stretched.
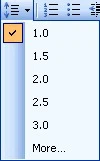
Step 2: Click on the line extension icon in Word right on the Paragraph toolbar .
Step 3: Select the line spacing in Word.
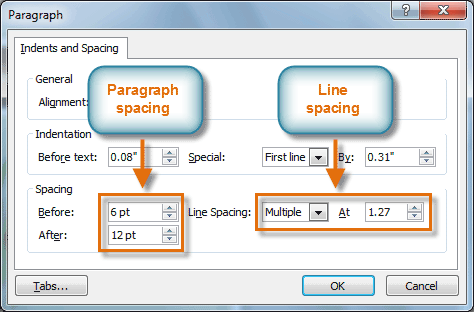
In case you want to choose other line widths, you can click on the Line Spacing Options item to open the Paragraph dialog box . Another way to open the Paragraph dialog box is to click the arrow icon in the lower right corner of the Paragraph toolbar .

In the Indents and Spacing tab, find the Line Spacing section. Now you just need to pay attention to the Line spacing option and enter the line spacing parameters in the At option. Click OK to finish adjusting the line spacing in Word.
Note: On Word 2003, the line extension icon in Word is located in the right corner of the toolbar and next to the text alignment options.
How to adjust line spacing in Word for the entire text
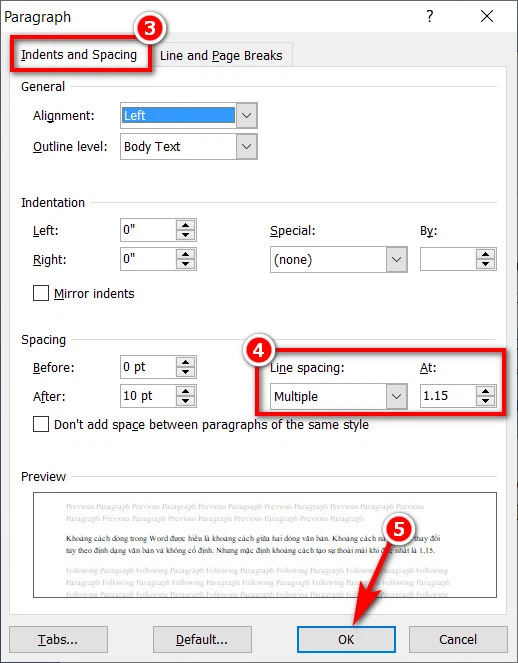
Step 1: Access the Paragraph dialog box as instructed above.
Step 2: Enter the line spacing to be stretched in the At option in the Line spacing section .
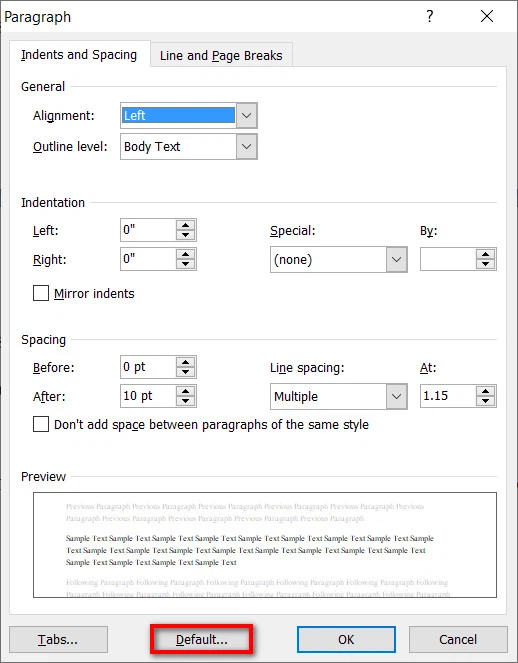
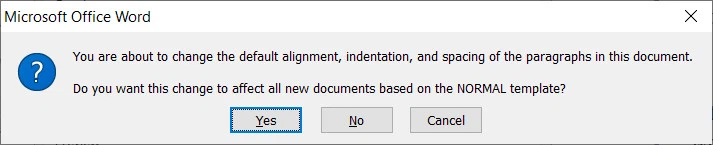
Step 3: Click the Set as Default/Default item. This will display a dialog box asking if you want to apply this line spacing to the entire text you are about to type or are typing. You need to click Yes to complete the line spacing in Word.
Note: Unlike other versions of Word, Word 2003 has a slightly different way of accessing the Paragraph dialog box. To enter Paragraph , you need to click the Format tab > Paragraph. Subsequent operations are generally not different from later versions of Word.
Wish you success with the trick to adjust the line spacing in Word. In addition, you can see more tips on TheArtCult to master technology devices more effectively.