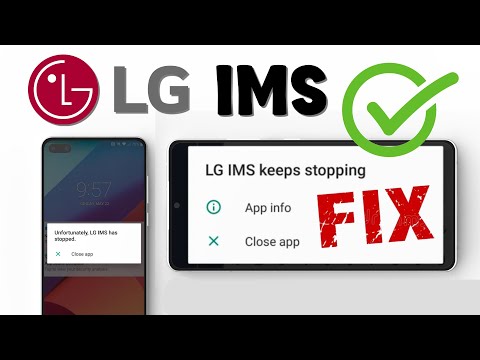
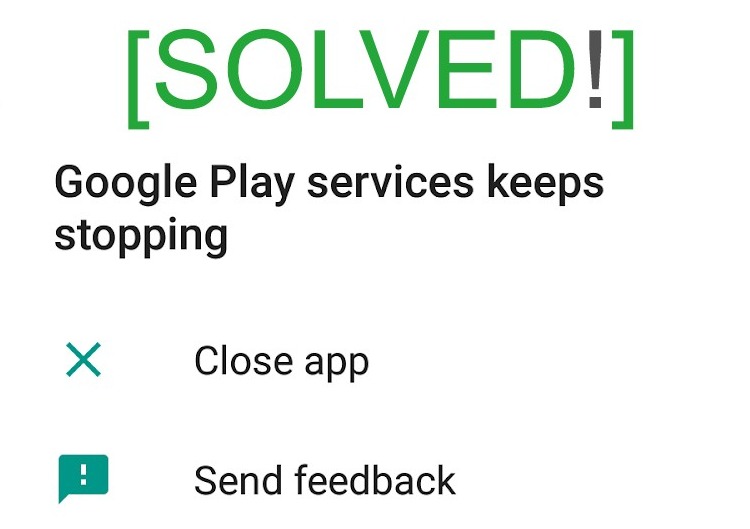
How to effectively fix Google Play services keep crashing. Error “Oops! Google Play Services has stopped”, “Google keeps stopping” is one of the common CH Play errors on Android phones and makes it difficult to solve. Let‘s find out how to fix it by following the methods below!
1. Update Google Play Services
One of the possible causes of the Unfortunately Google Play Services Has Stopped error could be that you have not updated to the latest version of Google Play Services.
Therefore to fix this error you can update to the latest version of Google Play Services on your Android device. Go to Settings => Apps (or Application), click Google Play Services and then select Uninstall updates .
Then proceed to download the latest version of Google Play Services to your Android device and install it.
You can visit here to download the latest version of Google Play Services to your device and install.
2. Clear Google Play Services cache and data
To clear the Google Play Services cache, follow the steps below:
– Go to Settings .
– Click Apps (on some other Android smartphones, it may be Manage Apps, App Manager or Applications).
– Find and select Google Play Services .
– Next, click Force Stop .
– Click Clear Cache .
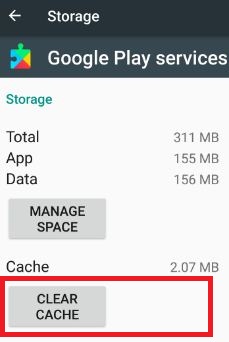
If clearing the cache does not solve the problem, proceed to clear Google Play Services data by:
Go to Settings => Apps => Google Play Services and then click Clear Data .
3. Clear Google Services Framework Cache and Data
To clear the Google Services Framework cache, follow the steps below:
– Go to Settings.
– Click Apps .
– Click on Google Framework .
– Click to select Force Stop.
– Click Clear Cache .
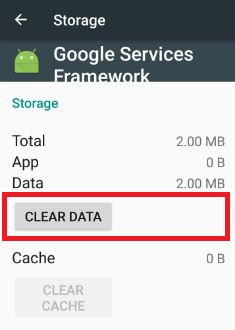
If clearing the cache still doesn’t fix the error, proceed to clear the Google Services Framework data:
Go to Settings => Apps => Google Services Framework and then click Clear Data.
4. Clear Google Play Store cache and data
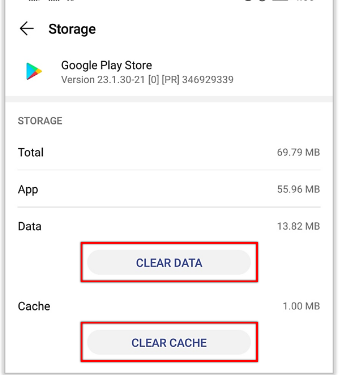
To clear the Google Play Store cache, follow the steps below:
– Go to Settings.
– Click Apps.
– Click to select Google Play Store .
– Click to select Force Stop .
– Finally click Clear Cache .
Clear Google Play Store data by:
Go to Settings => Apps => Google Play Store => select Clear Data.
5. Restart your Android device
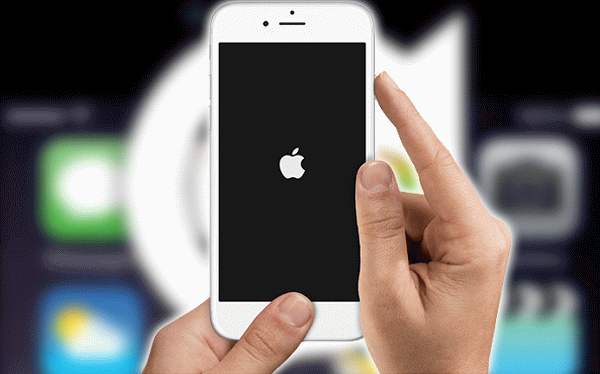
In some cases when encountering any problem or error, the fastest and simplest way to fix the error is to restart your device.
Press and hold the Power button on your device until a small Menu appears on the screen. There you click the Restart option and you ‘re done.
6. Wifi and mobile data connection
Sometimes in some cases the cause of the Unfortunately Google Play Services Has Stopped error can be an Internet connection problem.
In this case, you go to Settings, then proceed to turn off Wifi and mobile data, then proceed to reopen Wifi and mobile data to check if the error has been fixed or not?
7. Reset the app
Sometimes resetting the application can help you fix the Unfortunately Google Play Services Has Stopped error. All you need to do is:
– Go to Settings.
– Click Apps.
– Click on the icon of 3 dashes in the top right corner of the Menu.
– Click on Reset app preferences.
– Then click Reset apps.
8. Turn off Location Services (location services)
Go to Settings => Location services and turn off the option.
Finally check if the error Unfortunately Google Play Services has stopped is still there.
9. Re-add Google account
All you need to do is delete your Google account then re-add your Google account.
– Go to Settings.
– Click on Accounts .
– Find and click to select the Google account, then select the Remove account option to remove the Google account on your Android device.
– Go back to Settings => Accounts and then click Add account.
– Enter your Gmail username and password.
10. Reset data to factory default state
Note: Backup your data before proceeding to reset the data to its original state.
All files, personal settings and 3rd applications will be wiped clean after the reset.
To do this, go to Settings, scroll down to find and click Backup and Reset , then click Factory data reset => Reset device.
Conclusion – How to fix Google Play Services keeps stopping error
Hope these above steps would help you to fix the error. Wishing you the best experience with your Android phone!


