Photoshop tutorial: How to Paint Digital Portraits. One of the most important pieces of advice for painting a portrait is to draw what you see, rather than what you think you see.
It’s very easy as an artist to start drawing in details that you assume are there, altering the image without realizing it – however, this will leave you staring at a finished piece that bears no resemblance to your model, wondering why you can’t get a good likeness. If you constantly analyze your reference throughout, you’ll have a much stronger piece at the end.
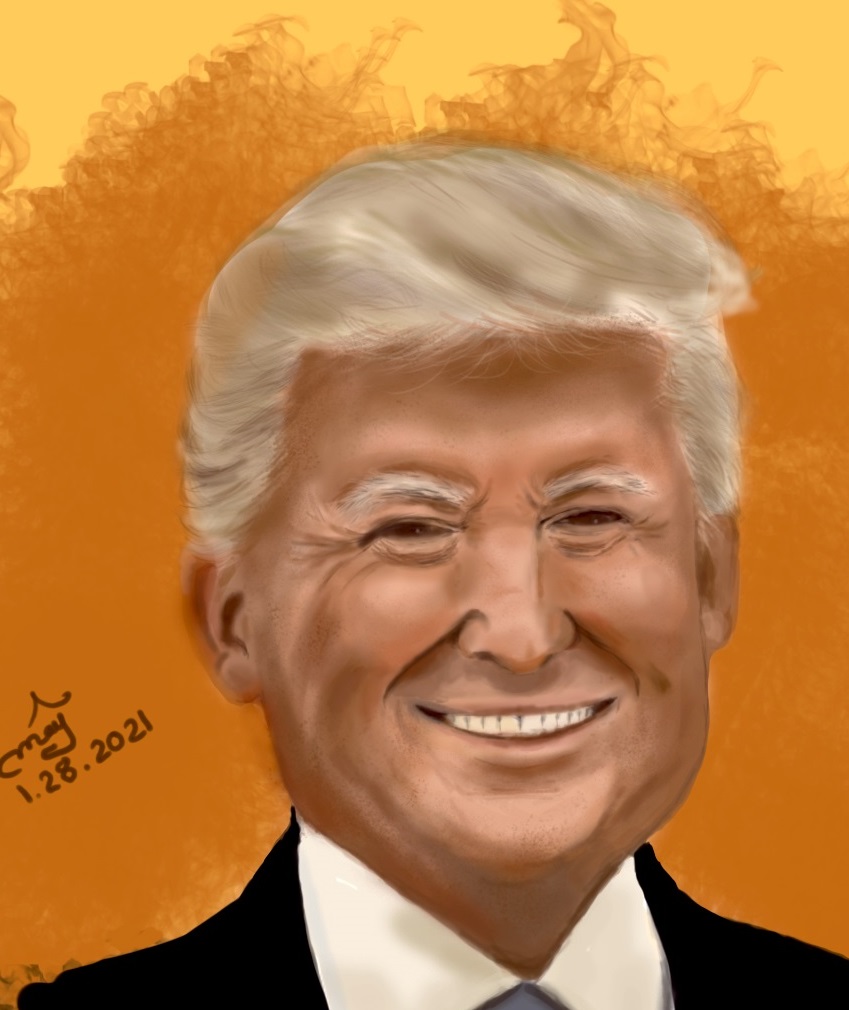
Author’s Note: This painting does NOT necessarily mean any political involvement. I am NOT Trump supporter or non supporter.
How to Paint Digital Portraits: Software used
Adobe Photoshop
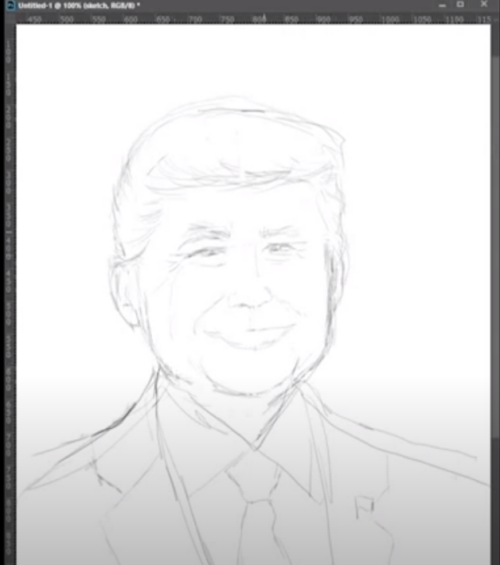
Step 1:
Open the reference photo alongside a new A4 300dpi file and create the layers named ‘background’, ‘sketch’, ‘lines’, ‘base color’, ‘hair’, ‘blends’, and ‘above’.
On the sketch layer, use the round brush to sketch before drawing your final lines on the ‘lines’ layer. Don’t worry about your final lines being perfect – most of them will be painted over.
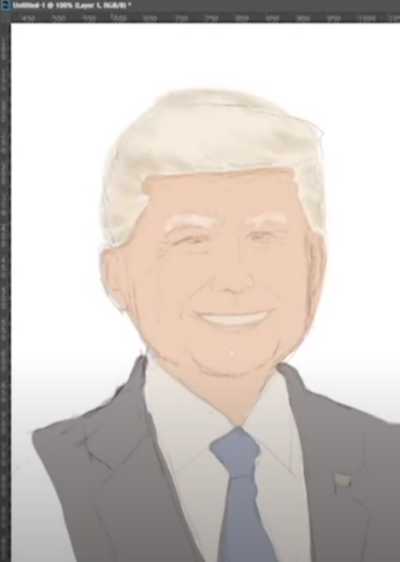
Step 2
Still using the round brush, lay out the flat colours on the relevant layers (so paint the skin tones onto the ‘skin’ layer). Keeping the colours on separate layers allows us to make selections easily, so make sure there are no adjacent colours.
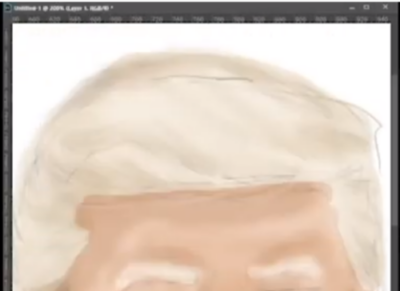
Step 3
On the ‘hair’ layer, use one of the custom hair brushes we’ve supplied at 60% opacity to start building a base for the hair. Start with darker colours first, because these will show through to the top layers of hair. Build up with a variety of colours including greys, purples and browns.
Don’t get too concerned with detailing individual strands at this point – just focus on the general shape and form of the hair.
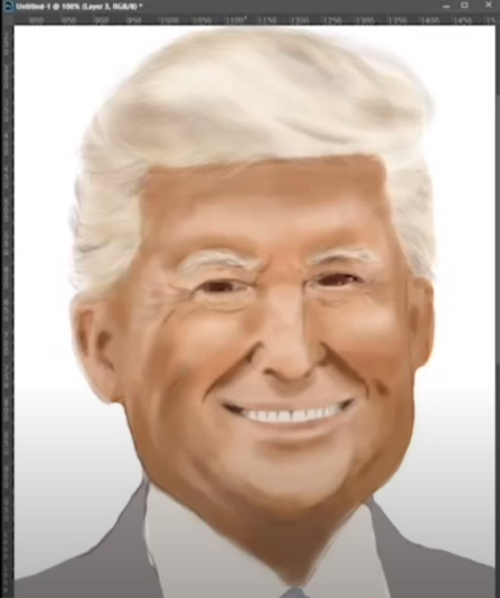
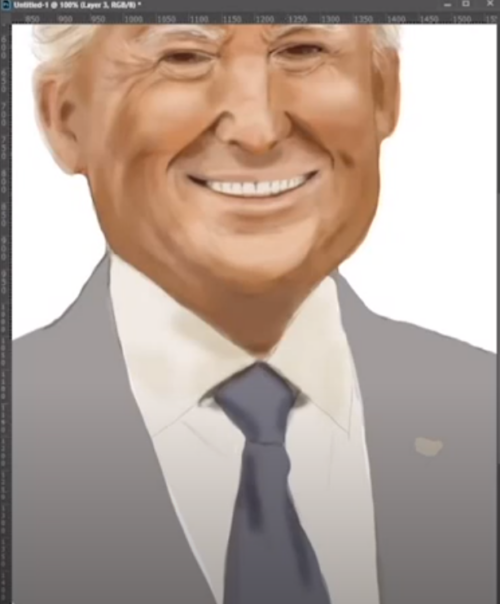
Step 4
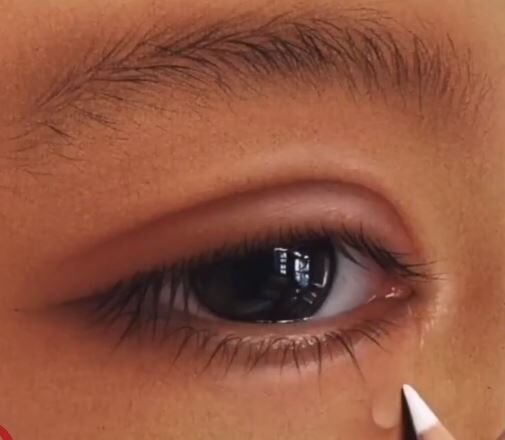
When rendering the face, observe the form and shadows carefully. Notice as the lips get closer to the corners of the mouth, they lose a definite outline and become much softer. Use an airbrush to avoid any hard edges at this point.
Step 5
Paste in paint texture.jpg above the ‘clothes’ layer and set the layer to soft light. Cmd/Ctrl click + the ‘clothes’ layer thumbnail (this will highlight all the pixels on that layer) and then add a layer mask to the paint texture (click the circle in square icon in the Layers palette). On the clipping mask linked to the ‘clothes’ layer, use the inking opacity brush to add highlights and reflections to the clothes.
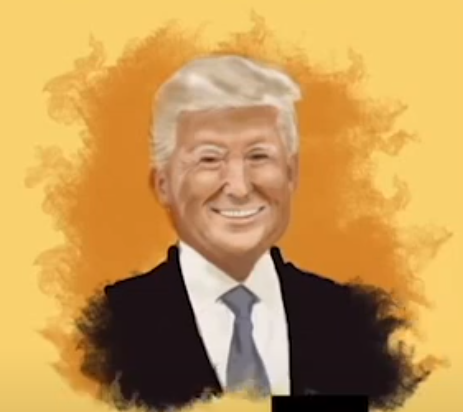
Step 6: How to Paint Digital Portraits – Final Step
Clipping mask layer, make it look warmer. On the ‘above’ layer, add some white messy effects with the ‘Fire brush’. Make any final adjustments.
Photoshop tutorial: How to Paint Digital Portraits