How to Install fingerprint driver Windows 11. On today’s modern laptops, most manufacturers are equipped with a fingerprint unlock feature. This feature helps you unlock much faster, and also increases the security of the device when only you can open the device thanks to your fingerprint. Here, I will guide you on how to install fingerprints for Windows 11 laptops.
Note: The fingerprint unlocks feature only works when your computer is equipped with a fingerprint sensor.
What causes the error Windows 11 fingerprint not working?
1. Liquids or dirt
Before assuming that your fingerprint sensor is not working due to a hardware or software error, you should first check it and clean it as nicely as possible.
Any trace of liquid or dirt may affect its normal usage. In addition, for long-term resistance, always make sure that your hands are not wet or dirty.
2. Temporary bugs
Some hardware or software components might run into trouble due to random and temporary bugs, which are usually caused by viruses.
It is inevitable to sometimes experience it, but there are solutions to fix this problem in a few seconds.
3. Poor updates
Another reason why your Windows 11 fingerprint sensor might not work is related to poor hardware and software updates.
How to fix the error Windows 11 fingerprint not working
Update the related drivers
- Press Windows Key + X and select Device Manager.
- Expand Biometric devices, then right-click on the needed driver, and select Update driver.
- Select Search automatically for drivers.
- Follow the on-screen instructions to complete the process.
Uninstall and reinstall the related drivers
- Press Windows Key + R and enter devmgmt.msc. Press Enter.
- Expand Biometric devices, then right-click on the needed one, and select Uninstall device.
- Click on Uninstall to confirm.
- Restart your computer.
- Windows will automatically install a new related driver.
Add another fingerprint
- Click the Start button in the Taskbar.
- Open Settings.
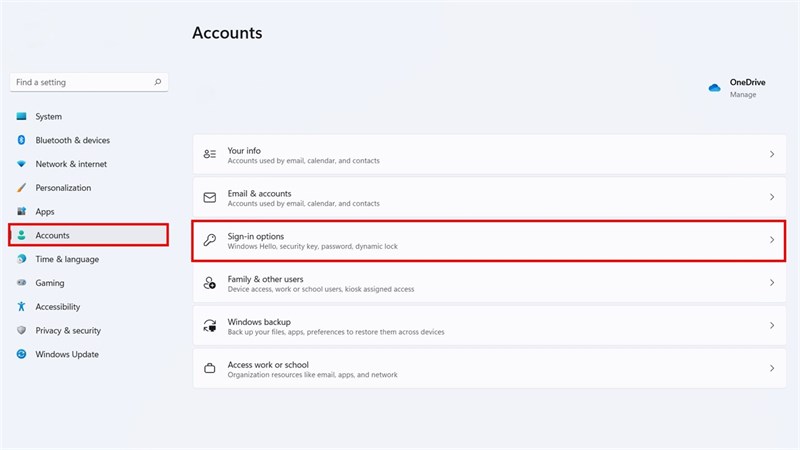
- Go to Accounts, then select the Sign-in options.
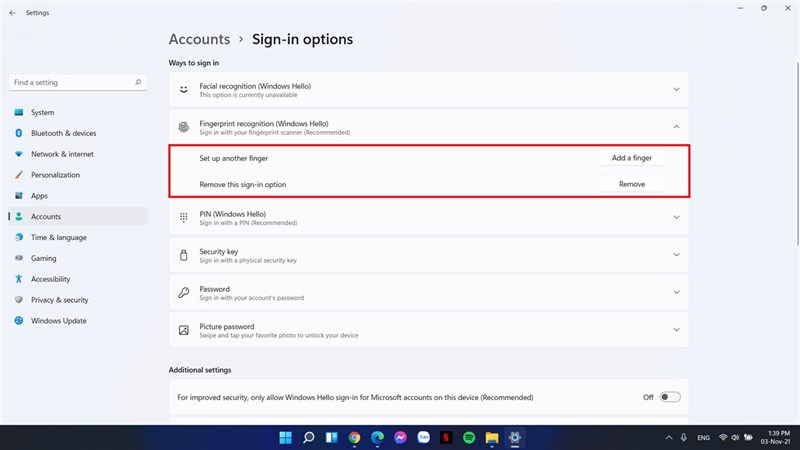
- Expand Fingerprint recognition, look at the Set up another finger section, then click on the Add a finger button.
- Follow the on-screen instructions.
- Try to use your device with the new added fingerprint.
Check for Windows updates
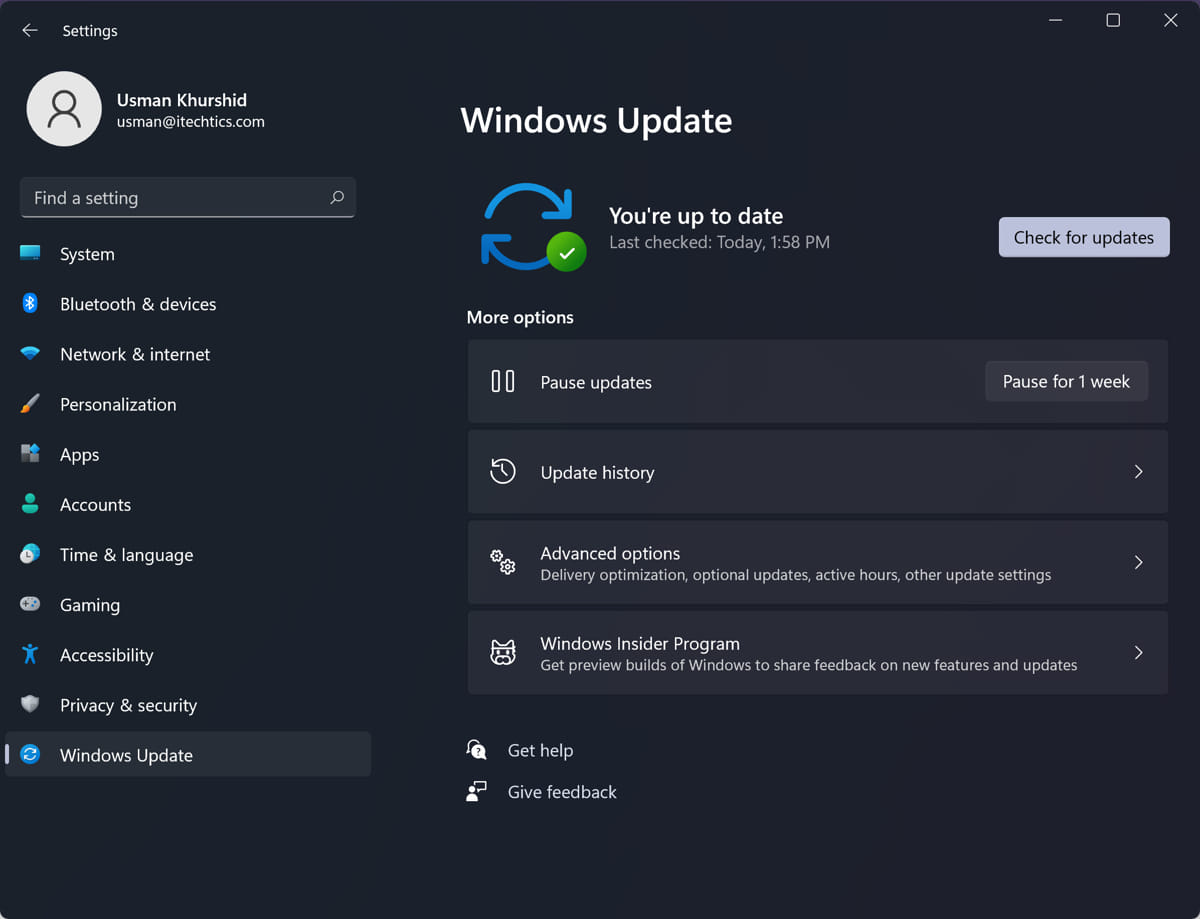
- Click Start in the Taskbar and select Settings.
- Go to Windows Update.
- Select Check for updates.
Install fingerprint driver Windows 11
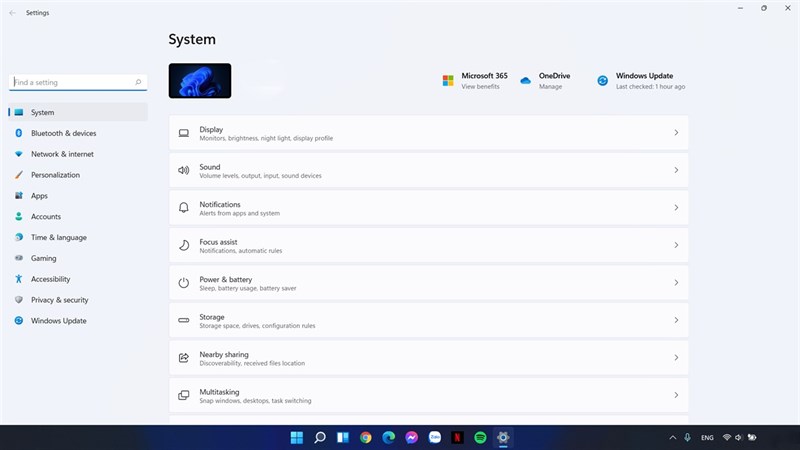
Step 1: Press the Windows + I key combination to quickly open the Setting application.
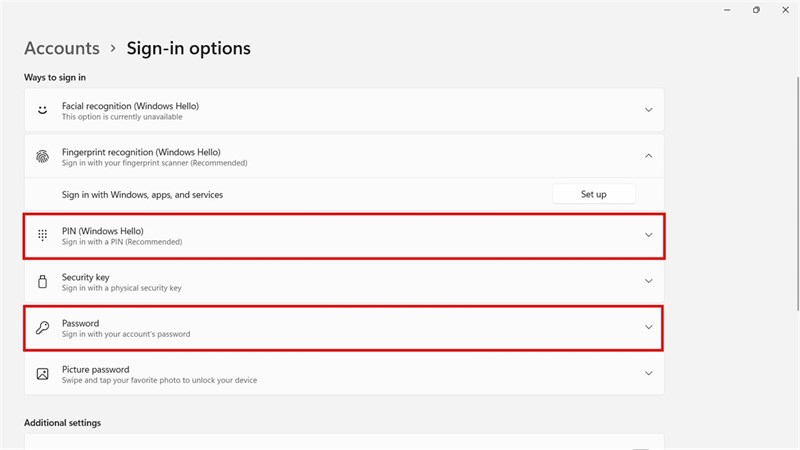
Step 2: Select Account, then select Sign-in Options.
Step 3: To set up fingerprint unlock, you must first set a password to unlock the device in the PIN and Password section.
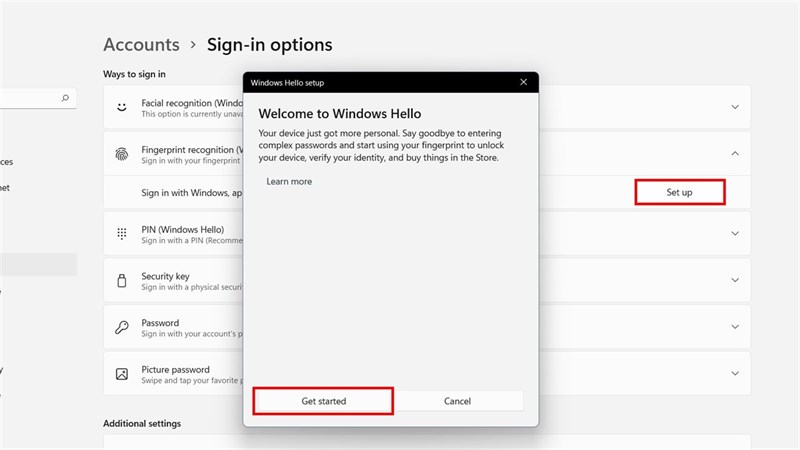
Step 4: After setting the password, to proceed with the fingerprint installation, select Fingerprint recognition and select Set up, then select Get Started.
Step 5: Next, to add your fingerprint, you must re-enter the PIN to confirm. Once confirmed, simply place your finger on the fingerprint sensor to register a new fingerprint.

In addition, you can register more fingerprints by selecting Add a finger or removing fingerprints at Remove.
How to update fingerprint driver Windows 11
- Open Device Manager.
- Go to Biometric devices.
- Right-click on your fingerprint reader.
- Select Update driver.
- Search automatically for drivers and install the latest driver version.
Did you find this article helpful to know How to Install fingerprint driver Windows 11? If you find it interesting and useful, don’t forget to leave me a like and share to support me in the following posts.