How to free up Disk space Windows 11. Low memory can affect your computer’s performance: Typically when the hard drive is full, your computer inevitably slows down. And that’s bad news, as it’s become a big deal on every level, whether you’re streaming video games or simply checking your email in a web browser. Luckily, if you’re running Microsoft Windows, there’s an easy way to free up space. And if you’re worried about getting rid of unimportant files – read this article for the solutions.
How to automatically free up space on Windows 11
On your Windows 11 computer, go to Settings -> System -> repositories. If this is your first time visiting this page, please wait a few seconds for the computer to analyze your data storage. Once Windows has gathered the information you need to know, you should be able to see your total free memory at the top of the page. Below that, you’ll see a breakdown of your storage, broken down into apps and features, Temporary profiles, and other. You can also click Show more categories to see more analysis.
However, the setting that interests us is Storage-aware, which automatically frees up space on your computer whenever your disk space is running low. It does this by deleting temporary files, emptying your Trash, and getting rid of old downloads, in the background, without you having to do it manually.
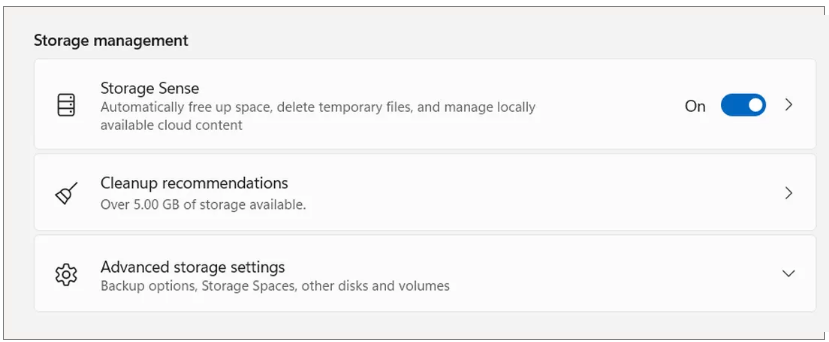
Enable Storage-aware , just turn it on here. If you click on settings, you can configure several features:
- Run Storage Sense : Run Storage Sense when disk space is low (default) or daily, weekly or monthly.
- Delete files in my trash if they have been there for too long : Choose 1 day, 14 days, 30 days (default) or 60 days.
- Delete files in the My Downloads folder if they haven’t been opened in more than : Choose never (default), 1 day, 14 days, 30 days, or 60 days.
These Storage Sense settings can help you better optimize what files get deleted and when they get deleted, so you don’t have to worry about any important files being deleted from your computer.
At the bottom of the page, you can click Run Storage Sense Now to use the feature then and there.
And if you want to get rid of more files to free up space, use Cleanup Suggestions under Storage Sense. If you click it, it will scan your system and suggest files for you to delete manually, such as temporary files, large/unused files, files synced to your cloud and unused applications.
Method 1 – Use Disk Cleanup tool
The Disk Cleanup Software tool is provided with Home windows to effectively clean junk files from the drive.
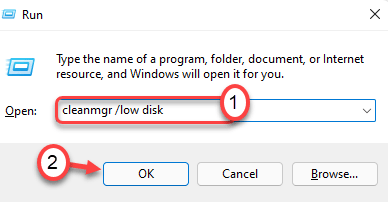
1. Press Home windows + R keys together.
2. Then write this command and press Enter .
cleanmgr /low disk
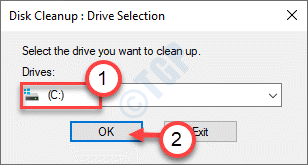
3. When the Disk Cleanup: Select drive window appears, click the “Drive:” button.
4. Now, click on the drop-down menu and select the “ (C:) ” driver.
4. Then, click “ YES ”.
Wait a while for your computer to analyze the amount of junk files.
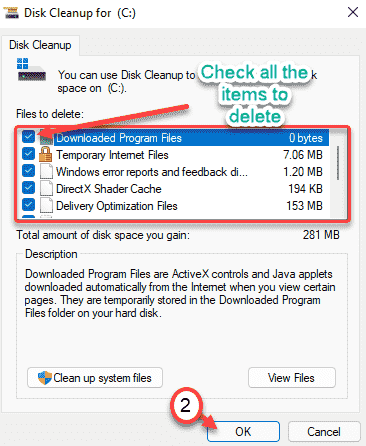
5. Now, under “ Files to delete: ”, tick all the boxes one by one.
6. Then, click “ YES ” to start the cleanup process.
7. You will see a prompt asking for your permission to delete the items.
8. Just click “Delete files ” button to remove these.

9. Now, once again open the drive cleanup tool.
10. This time click on clean up system files.
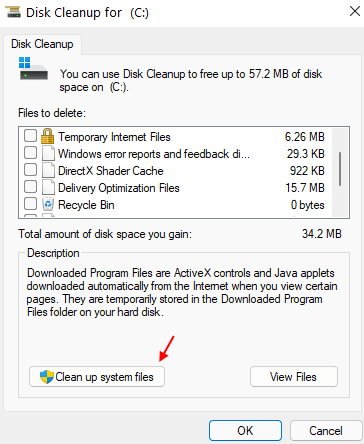
11. Select C Drive again.
12. select files like old and unsafe home windows installation useful to delete system files this time.
13. Click OK to delete the files.

Disk Cleanup will remove all junk files from the C: drive.
Method 2 – Clean Temp folder
The Temp folder contains temporary data of applications and browsers that can take up a lot of space.
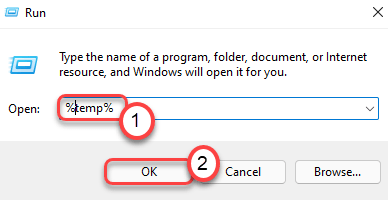
1. At first press the Windows Home Key together with the ‘ NS ‘ Key.
2. When Run terminal pops up, write “%temp%“. Just click “YES ” and Temp folder will appear.
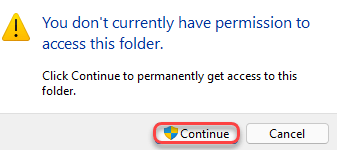
3. Click “Continue” if a warning message appears.
4. Once the Temp folder appears, press ‘Ctrl + A‘ together. All folders and files inside Temp folder will be selected.
5. Then press the ‘Delete key’ button to empty Temp folder.
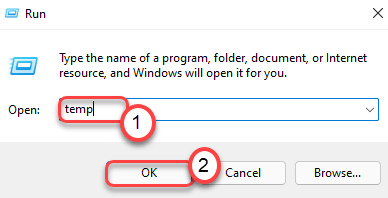
6. Now, once again press the Windows Home Key + R keys together.
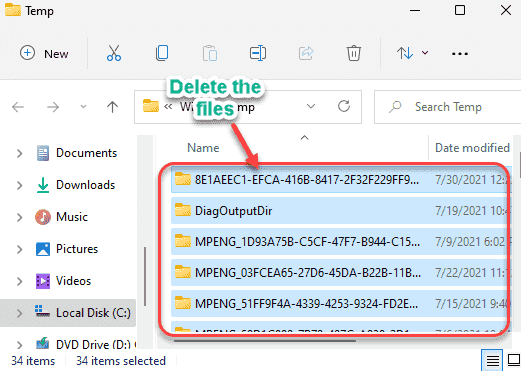
7. Furthermore, write “temp” and type Enter.
8. Delete everything inside the folder.

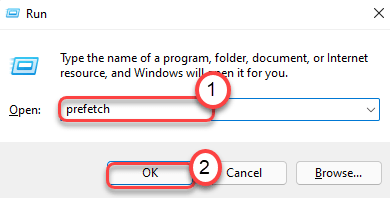
9. When you are done, press the Windows Home Key + R key again.
10. Then type “prefetch” and hit Enter .
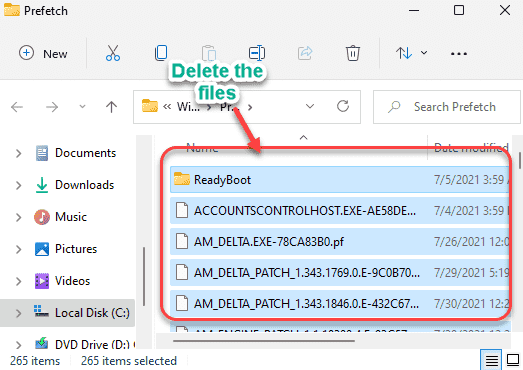
11. Select all the contents inside the folder and press the ‘ Delete key’ button to delete all the content.
Once you have done all this, check if this improves the free space in the C Native Disk drive.
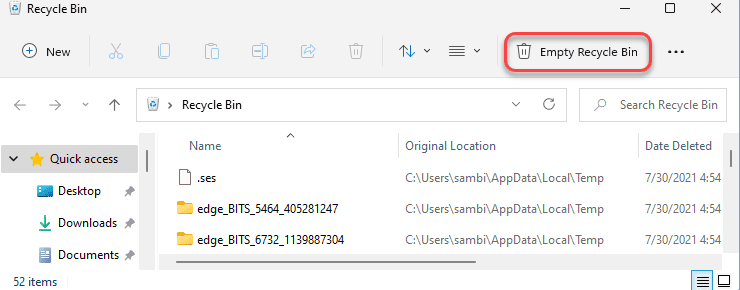
Method 3 – Empty Recycle Bin
The Recycle Bin contains files that have been deleted from your File Explorer. Empty Trash to save space.
1. Click the search icon and search for “ Trash ”.
2. Then, tap the “ Trash ” button from the search results to access it.
3. When the Recycle Bin opens, click “ Empty Trash ” to empty it.
This will delete all files, applications, data from the Recycle Bin. Now check the free space on your system.
Method 4 – Uninstall apps from C drive
If you have installed large third-party applications on your Native Disk C drive, you may feel a low memory problem.
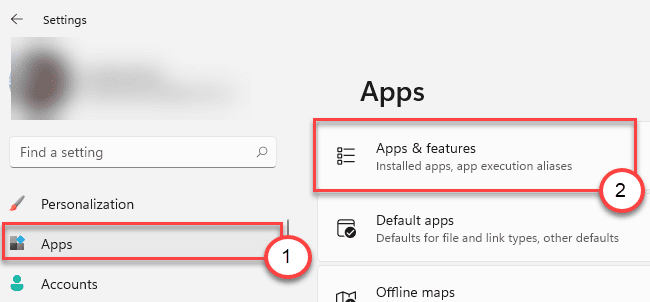
1. Open the Settings window.
2. Then, tap the “ Apps ” button from the left pane.
3. Then, click on “ Apps and Features ” from the left hand side.
4. Then on the right hand side you will find the list of apps.
5. Next, click the “Sort by” button and select “By Size” from the drop-down menu.
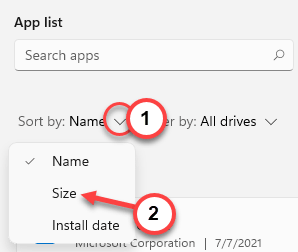
This will sort the apps by their size in descending order.
6. At the top of the list, you’ll find apps that contain the larger portion of Native Disk (C:).
7. Simply click the three-bar icon on the app you want to uninstall, then click “Uninstall” to remove it from your device.
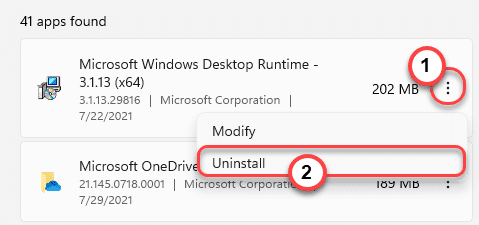
Now, follow the easy on-screen instructions to remove the app from your computer.
NOTE
Try not to install any third-party app on the Local Disk (C:). Install those on other partitions to save up lots of space in the C drive.