How to fix Color problems in Photoshop. Many people often use the color correction feature of photos to create beautiful photos on the computer. However, what if one day Photoshop has a color error that makes the image have an unexpected color? Today Theartcult will show you how to fix it.
How to fix Color problems in Photoshop
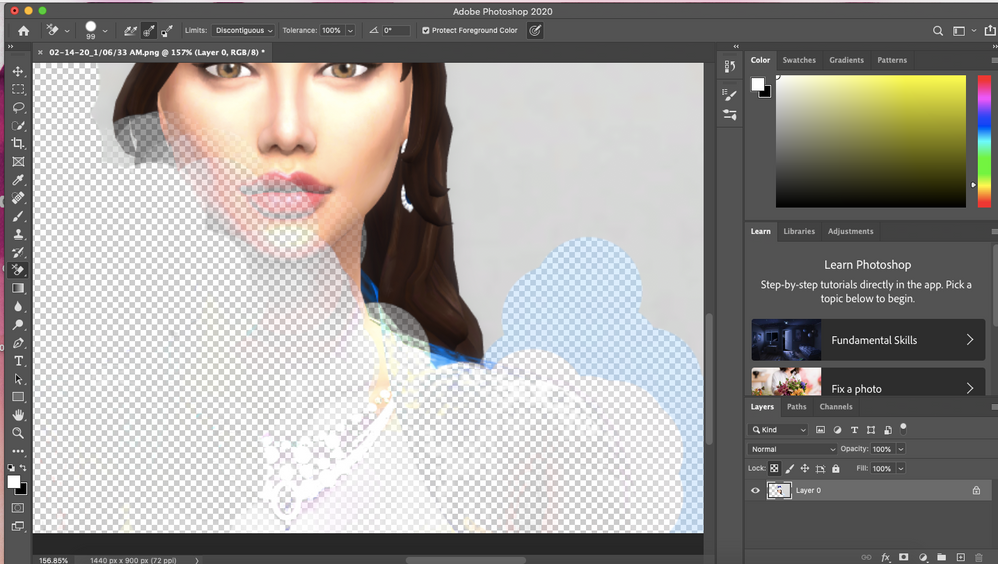
1. Image color loss error in Photoshop
Image loss error is when you correct the color of the image, the image will turn gray or black, with no other color.
To fix this error, go to Image > Mode > Check what mode the color is in, if it’s in Gray, switch back to RGB or CMYK. This will restore the color to the image.

2. Color deviation when editing images
This error has many causes, it can be caused by the system, by the machine, by other users, or by you changing the color system during work or by 3rd party applications that interfere with the problem. this state. But you can fix the above error in 2 ways:
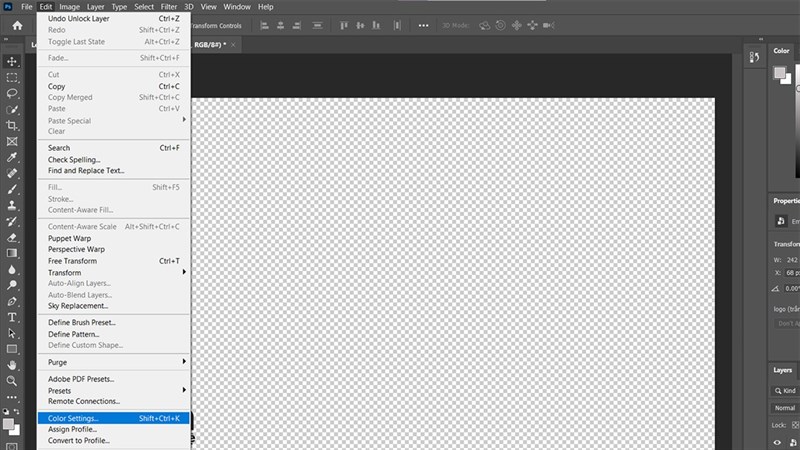
Method 1: Reset Color Settings
Reset your Color Setting according to the image below, by going to Edit > Color Settings (this can help you keep your individual preset settings, not having to reconfigure the whole Photoshop)
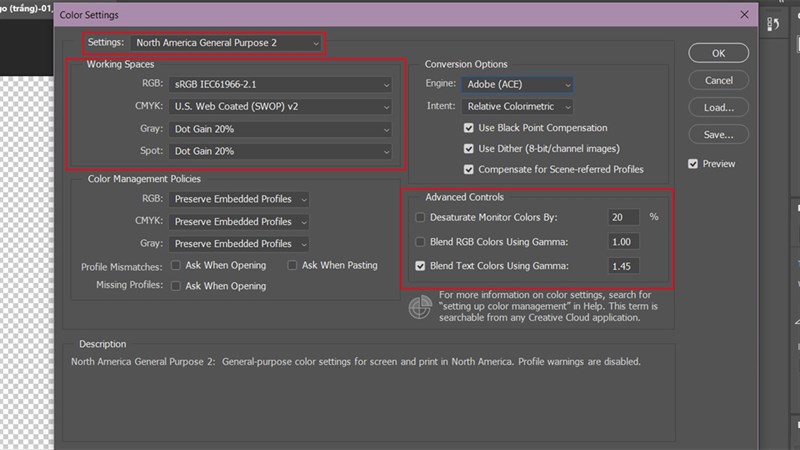
Then, in the Settings section, choose a different color version. In addition, you can also adjust the color palette with the Working Spaces section and the Advanced Controls section.
Method 2: Reset all Photoshop settings
Step 1: Open Photoshop > Edit > Select Preferences > Select General.
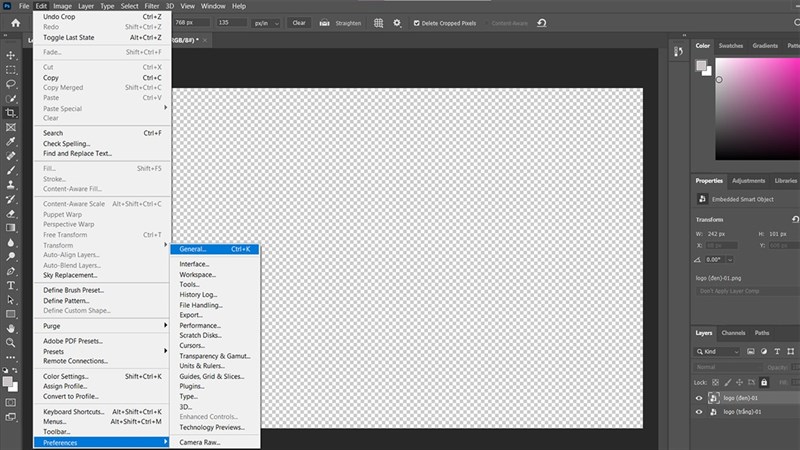
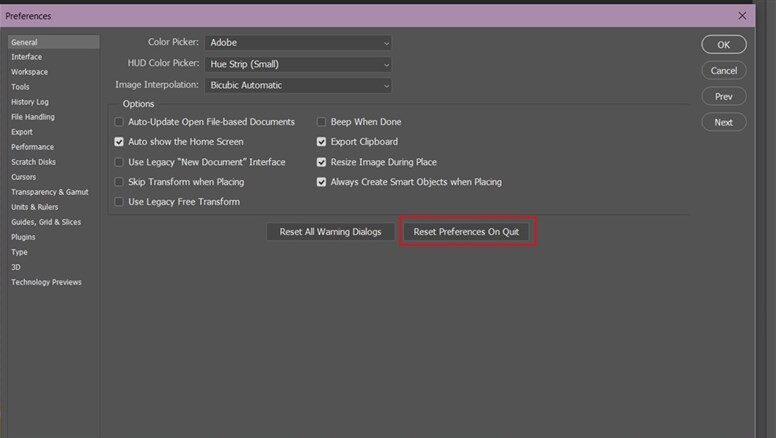
Step 2: Continue to select the General item in the Preferences window > Select Reset Preferences On Quit > Select Yes.
Step 3: After this Reset process, turn off Photoshop and open it again before using it.
3. Error exporting image file with changed color
The condition that the output image file has a changed color only occurs on your computer, but when you bring it to another computer, it will see the same color as the image, this is because Photoshop will display the wrong color if you are missing the Driver for your monitor.
Go online and immediately download the driver for your monitor and this error will be fixed extremely easily.
4. How to fix yellow tint in Photoshop
The cause of the image on Photoshop is yellowing because the screen color profile on your computer is having a problem.
The simplest way to handle this situation is to reset to the default Profile. Proceed as follows:
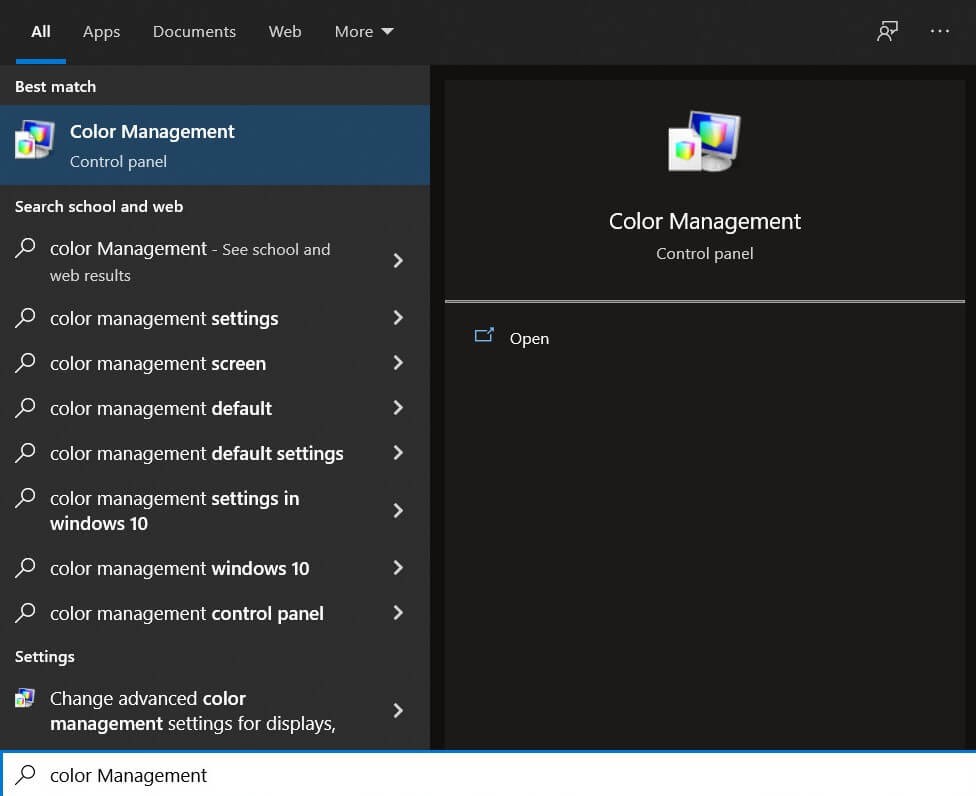
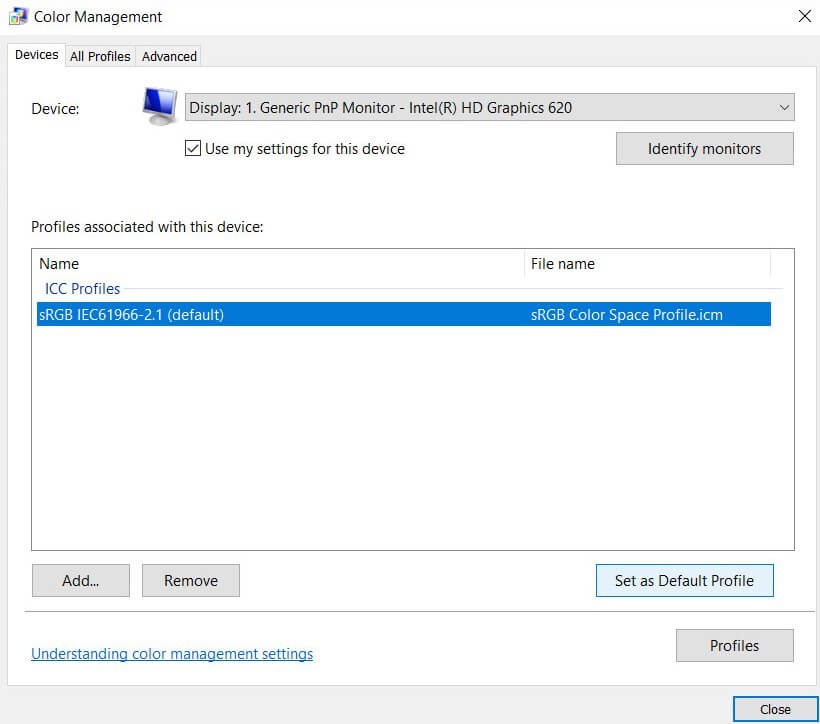
Step 1: Open Color Management: Select Color Management on the Start menu
Step 2: Click Add in the Color Management window and select Profile sRGB IEC61966-2.1 -> OK
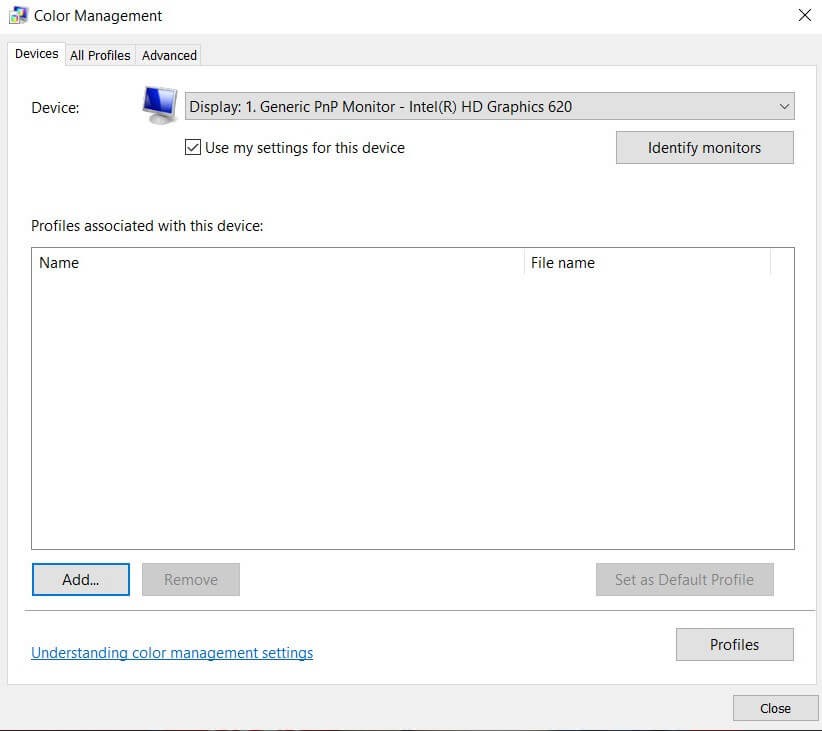
Select Profile sRGB IEC61966-2.1
Step 3: Select Profile sRGB IEC61966-2.1 -> Set as Default Profile -> Close
Step 4: Restart Photoshop, create File.
4. Photoshop error can’t fill color
This error can happen when you are working with a selection but forget to deselect the selection , and then you select another shape to adjust or fill color. At this point, the layer you need to fill can’t fill, but another layer is filled with color. You just need to press Ctrl + D to remove the selection and work normally!
Above are some errors, as well as some fixes that I know, wish you success in overcoming this annoying error of Photoshop. If you find this article interesting, please give it a like and share.