How to find Windows 11 Temp folder location. Have you ever heard of the Temp folder in Windows? What is the Temp folder? Today’s article will help you better understand the Temp folder, where it is in Windows 11 and how to access it.

What is Temp folder?
There are many temporary files on the system. These files range from error and data logs, launch configurations, browsing data, application data, window updates, settings files and cached data, etc. stores certain data to reduce load times and give you a smoother experience. This cached data will be moved to the Temp folder.
The size of the folder varies for all users depending on various factors. But as a general rule, the longer you install the operating system and the more apps you have, the larger the size.
This is a list of file types that contain temporary directories.
- Windows Upgrade Log Files
- Recycle Bin
- Downloads
- Previous Windows Installations
- Windows Update Cleanup
- Windows ESD Installation Files
- Temporary Files
- Temporary Internet Files
- Device Driver Packages
- Thumbnails
- Microsoft Defender Antivirus
From downloads and thumbnails to temporary internet files, the temporary folder accumulates files even as you browse the internet. Then there are the temporary files that various applications need to function smoothly.
Can you delete the Temp folder?
Although the computer uses those files for certain tasks, they are by no means important to the operation of the computer.
In fact, some of these files were cleaned up a long time ago. Many applications on my system do a great job of cleaning up the temporary folder after they’re done with temporary files. Sometimes, even after you’ve uninstalled an app, you still have its temporary files left to deal with.
Therefore, it is imperative that you delete these files from time to time to prevent them from taking up too much space. They can also slow down the computer. So while the folder itself is limited, the contents within it can and should be periodically deleted.
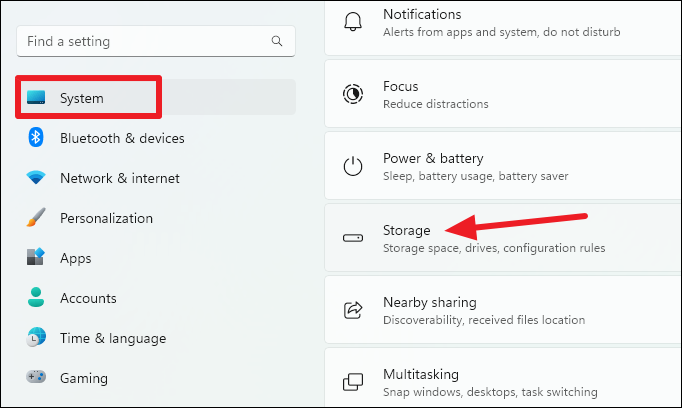
If you want to know how much space the temp folder is holding, open the settings app on Windows 11. You can open it from the Start Menu or by using the shortcut Windows logo key+ i.
Then while you are at the ‘System’ option in the navigation menu on the left, go to ‘Storage’ from the right.
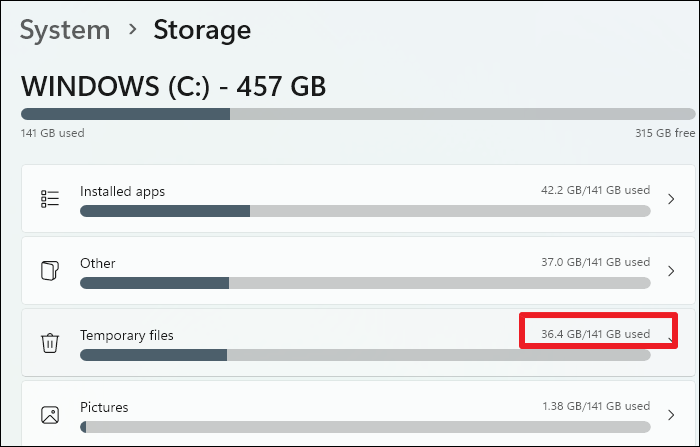
Wait for the stats to load and you should be able to see the total amount of space ‘Temporary files’ is taking up.
Access the Temp . folder
The location of the temp directory is pretty straightforward. You can find it at the following address:C:\Users\<YourUserName>\AppData\Local\Temp
You can navigate to the above address manually. Or you can open File Explorer, use shortcut Windows logo key+ Eto open it. Then paste the above address after replacing <YourUserName> with the actual username on the computer in the address bar.
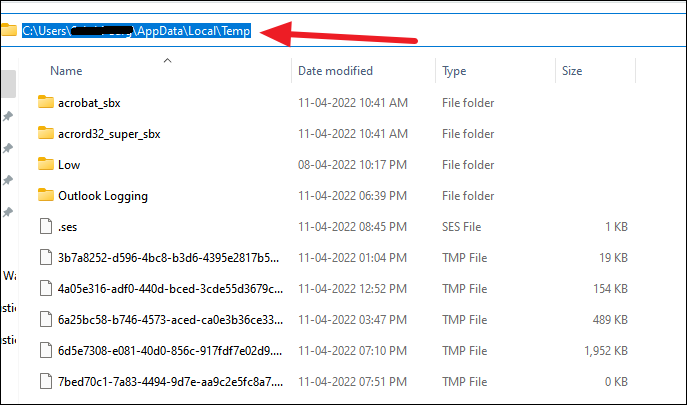
The Temp folder will open, showing you the files in it. You can select all these files; use Ctrl+ Ato select them. And then, hit the delete button.
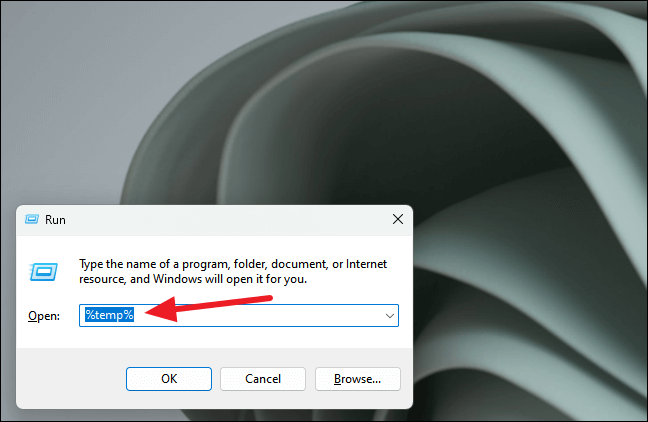
You can also use the Windows Run program to access the Temp folder. Use the Windows logo key+ shortcut Rto open the Run window. Then type %temp%in the text box and press enter key. The temporary folder will open.
Remove Temp files from settings
There are other ways to delete temporary files on your PC that don’t involve opening the temp folder in the first place. If you’re afraid that you might accidentally delete something that you shouldn’t, you can use this alternative method. It’s one of the fastest and easiest methods, aside from deleting the contents of the folder itself.
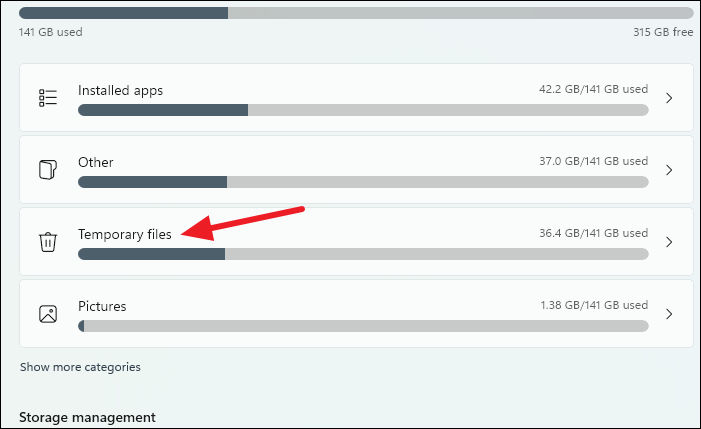
You can also clear the used option to check the actual size that temporary files are working on. Open the ‘Storage’ option from the system settings. Then, once the stats are loaded, click on the ‘Temporary Files’ option.
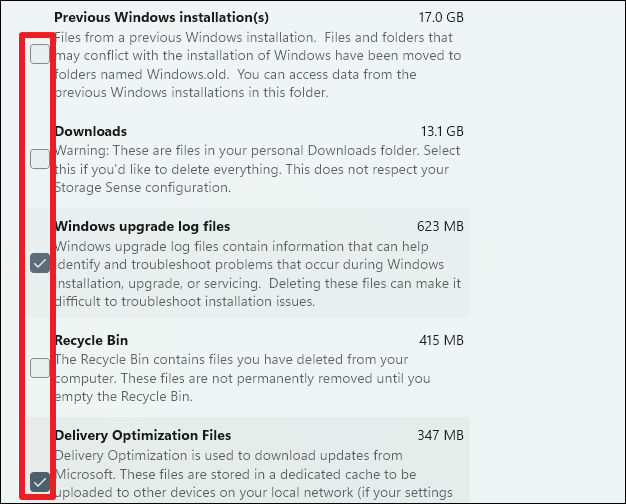
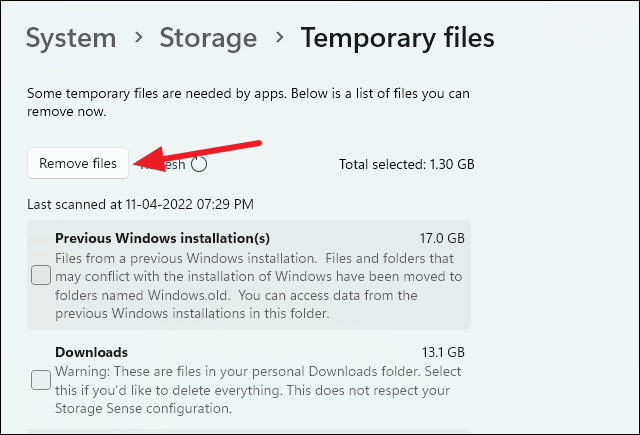
Select the files you want to delete. Windows will automatically select some files for you while deselecting others. The total amount of space you will free up by deleting the files you have selected will be mentioned on the right.
Click the ‘Remove files’ button.
Use Storage Sense to automate tasks
If you find that manually deleting temporary files every few weeks or months is too annoying, you can use Storage Sense to do it for you. While the default configuration for Storage Sense is to run when disk space is low, you can instead configure it to run at certain intervals.
From the Storage settings screen, scroll down and click on the option for ‘Storage Sense’.
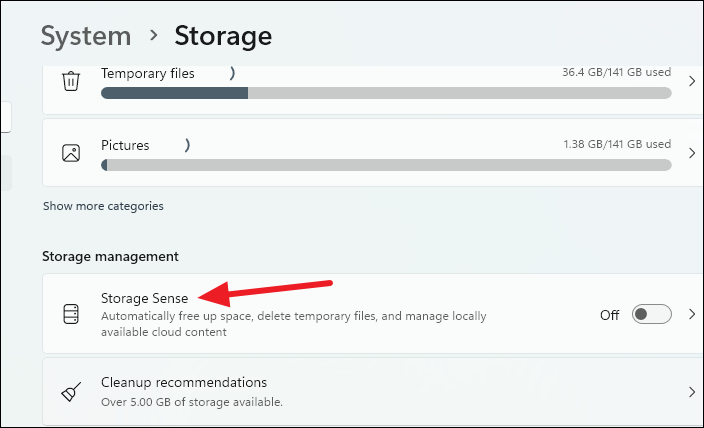
Turn on the switch for ‘Automatic User content cleanup’. You can also enable the toggle for ‘Storage Sense’ first and then click on it to configure the rest of the settings.
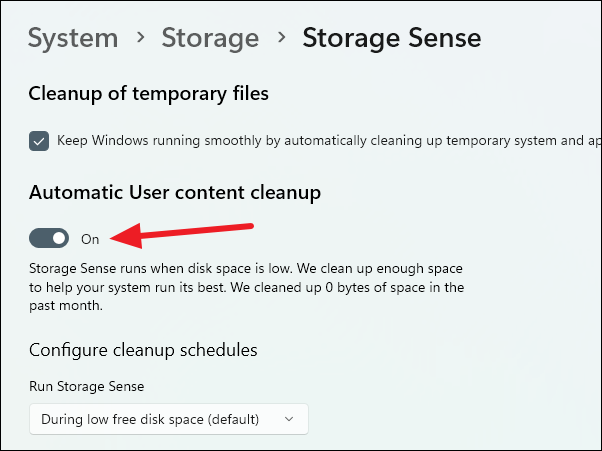
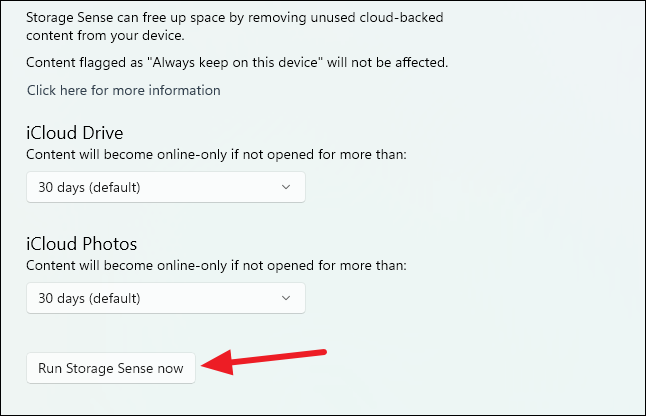
Configure the rest of the settings. First, choose how often you want it to run. Options include ‘Every day’, ‘Every week’, and ‘Every month’.
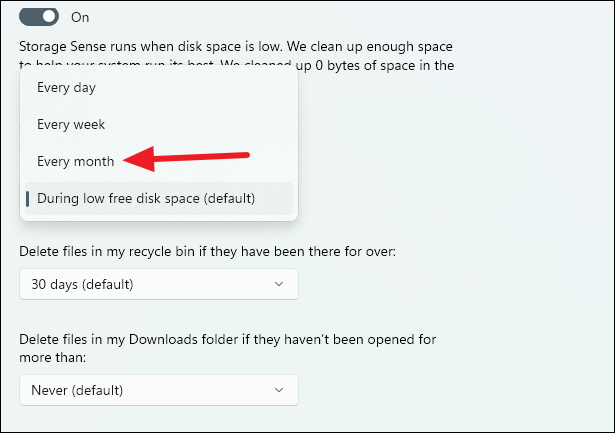
Then decide how often you want Storage Sense to delete files from the recycle bin and whether you want it to delete files from the downloads folder. If you want, you can choose the time period accordingly.
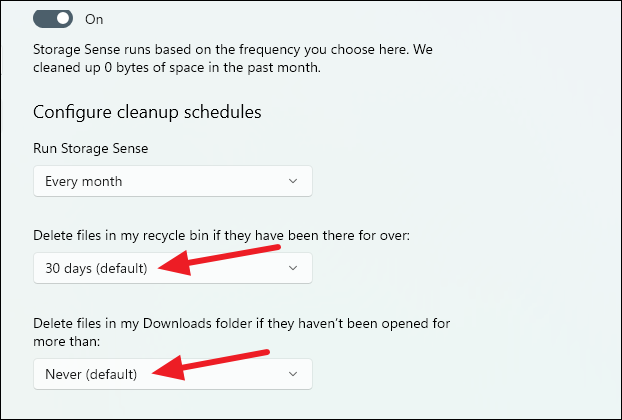
Storage Sense will run according to the scheduling configuration. If you want, you can also click the ‘Run Storage Sense’ button at the bottom to run it right after.