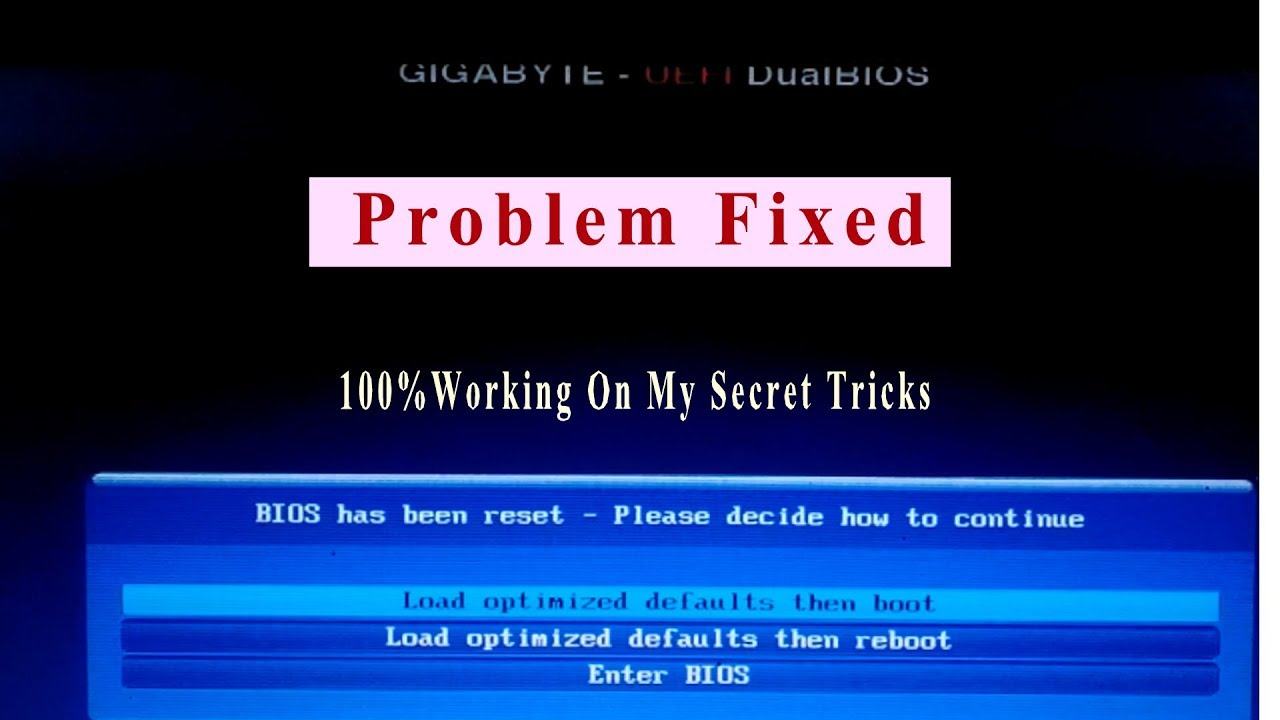
bios has been reset please decide how to continue: Load optimized defaults then reboot . How to fix the error✅: BIOS has been reset – Load Optimized Defaults✅. Hi every one- to day i will to introduce you how to fix the error BIOS has been reset – Load Optimized Defaults. This case may be due to your main BIOS fails to conduct
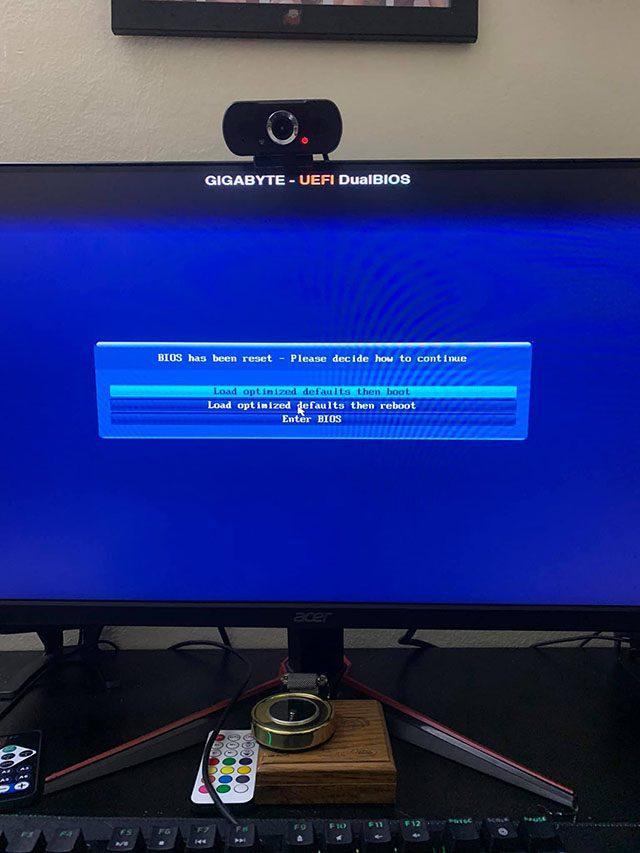
This is the messenger of error:
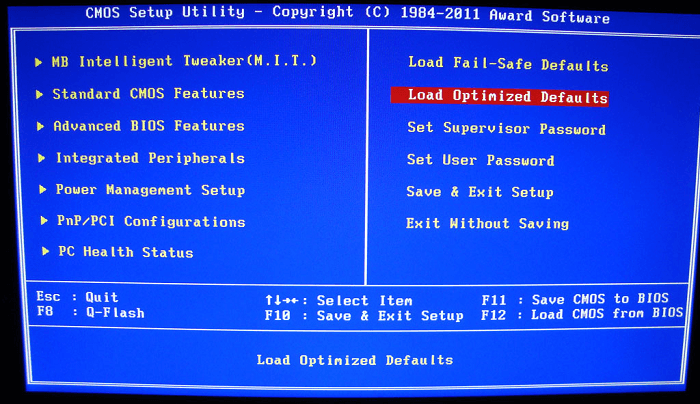
“BIOS has been reset – Please decide how to continue
– Load optimized default then boot
– Load optimized default then reboot
– Enter BIOS” (In Main Gigabyte: bios has been reset please decide how to continue )
bios has been reset please decide how to continue 2021
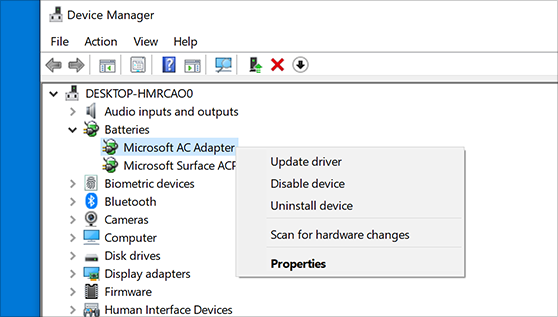
Actually, this is not an error, in the motherboard (ie mainboard) of the computer has a cmos CR2032 battery, its task is to save the BIOS settings. When that battery runs out, each time you turn on the computer it will reset itself, that’s why it has the message as shown below.
You just need to select line 2 and press Enter to restart it to be used normally. Functions are not broken.
The new fixed load optimized defaults then boot 2021:
The time on your clock keeps changing to the wrong time. First, make sure your clock is set to the correct time zone. If your time zone is correct you may have a bad CMOS battery but you can get around it by having the system sync more often with the internet time..
STEPS
1] WHEN PC SHOWS YOU [BIOS HAS BEEN RESET – AND THEY WILL SHOW YOU 3 OPTION YOU NEED TO CLICK
ON 1st option [load optimized then reboot]
2] AFTER PC START PRESS [del] BUTTON WHEN YOU COMPUTER STARTS
3] THEN YOU WILL SEE [GIGABYTE-UEFI BIOS] SETTINGS CLICK ON PERIPHERALS AS SHOWN IN VIDEO
4] THEN YOU WILL SEE FROM LAST TO SECOND [SATA CONFIGURATION] CLICK IT THEY WILL SHOW YOU
TWO OPTION 1.IDE & 2.AHCI YOU NEED TO CLICK ON IDE AND PRESS ENTER
5] THEN CLICK ON SAVE & EXIT CLICK ON THIS AND YOU WILL SEE 1st OPTION PRESS ENTER ON IT
For commom fix
This case may be due to your main BIOS fails to conduct Mainboard data from the BIOS up to the side, to solve this problem thoroughly you follow these steps:
– Update BIOS to the latest version.
– After finishing boot to the Windows Update normal to check the operation of the BIOS is not malfunctioning.
– Conduct Swap data from BIOS to BIOS main sub by pressing Ctrl + F10 at startup Main (Logo Gigabyte).
– Mainboard will conduct three stages Swap.
For Gigabyte Mainboard:
– Update BIOS to the latest version.
– After finishing boot to the Windows Update normal to check the operation of the BIOS is not malfunctioning.
– Conduct Swap data from BIOS to BIOS main sub by pressing Ctrl + F10 at startup Main (Logo Gigabyte).
– Main will conduct three stages Swap.
if still not reinsert the cable and clean PC, and reinsert Bios battery.
For Asus laptop:
1. First you have to check the model and download notebooks final table BIOS file for your notebook from ASUS Download Site homepage. http://support.asus.com/download/
2. Before you have installed WinFlash Update Utility. You can download this program from ASUS download site or:
3. You must close all programs before handling Update. And you always have to pay attention off Anti-Virus programs are using the program.
4. To Start -> All Programs -> ASUS utility -> Click WinFlash (If you see the User Account Control dialog box, click “Yes”)
Click “OK” when the dialog box pop-up message
Choose Select and open the path BIOS update file image.
Click [Flash] to update the BIOS. “