Fix Shell Infrastructure Host high CPU in Windows 11. Question: “I’ve been using Windows 11 since september and this issue just showed up, the process “Shell Infrastructure Host” has been taking up 20-40% cpu usage out of nowhere and my only solution is to force end it via Process Explorer but that bugs my UI until I fully restart explorer. Has anyone else experienced this? Is there a fix? I’ve already scanned for virusses but nothing was found.” If you have the same issue, follow these below instructions to solve the problem.
What is a Shell Host?
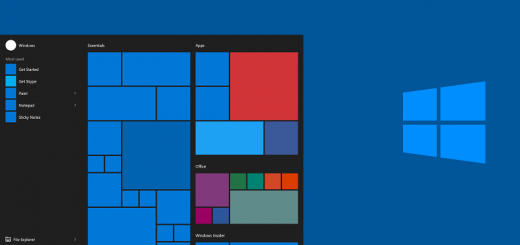
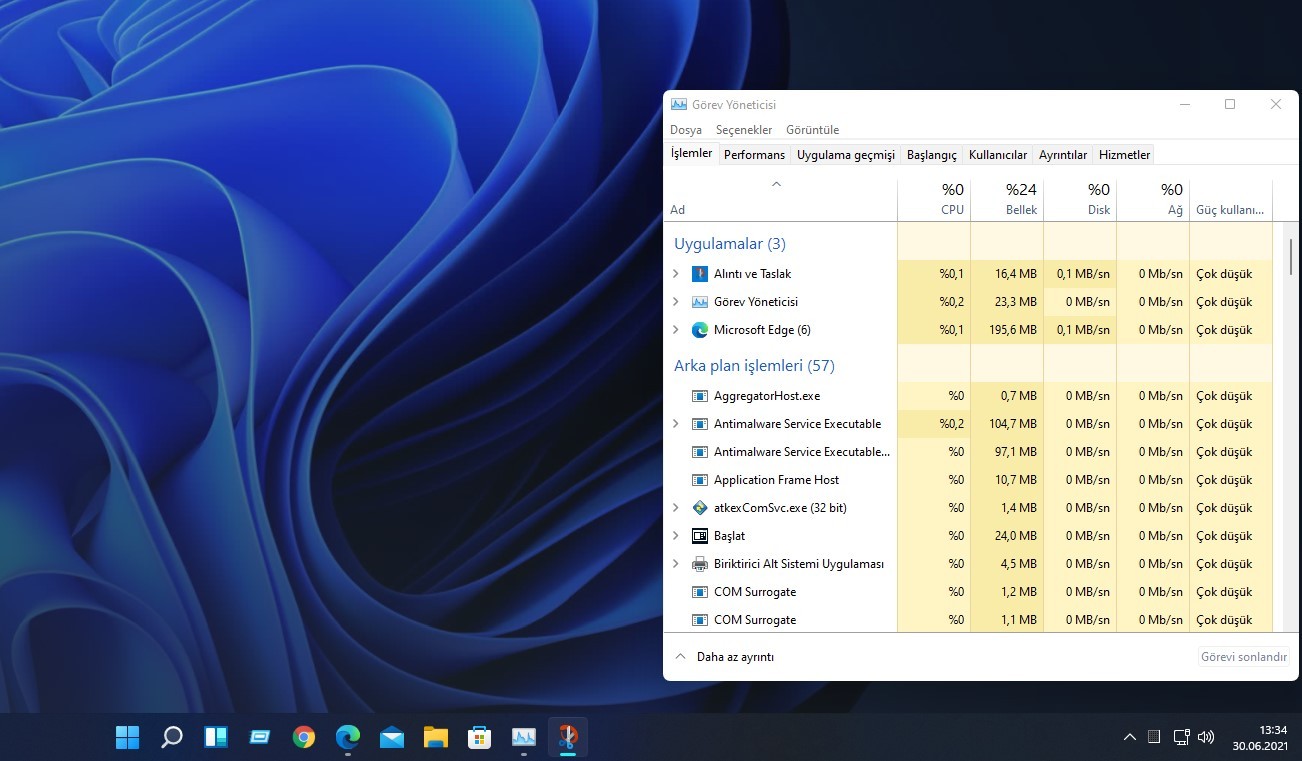
To get started, you need to understand what a Shell Host is. It exposes taskbar transparency, start menu layouts, backgrounds, and other graphical elements as a core Windows function.
Unlike some other processes you see running in task manager, it doesn’t take up too much power. It’s about 1-3 percent increase in time. But most of the time you will find it taking up 0%. your CPU.
Shell Host process runs in task manager as sihost.exe. If you detect that it is using a lot of your CPU, you should try updating your operating system first.
Since the Shell Host is responsible for handling the initialization of basic UI elements, it can somehow take up more CPU speed than usual. For certain devices, you may experience problems This problem if you use the slideshow background. Here, switching to a static one is recommended.
Fix Shell Infrastructure Host high CPU in Windows 11
1.Windows Update
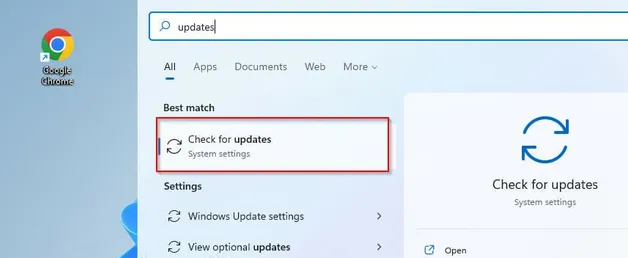
- Go to the Start menu by clicking Windows+S.
- In the search bar, type the update.
- Click Check for Updates.

Click Check for Updates
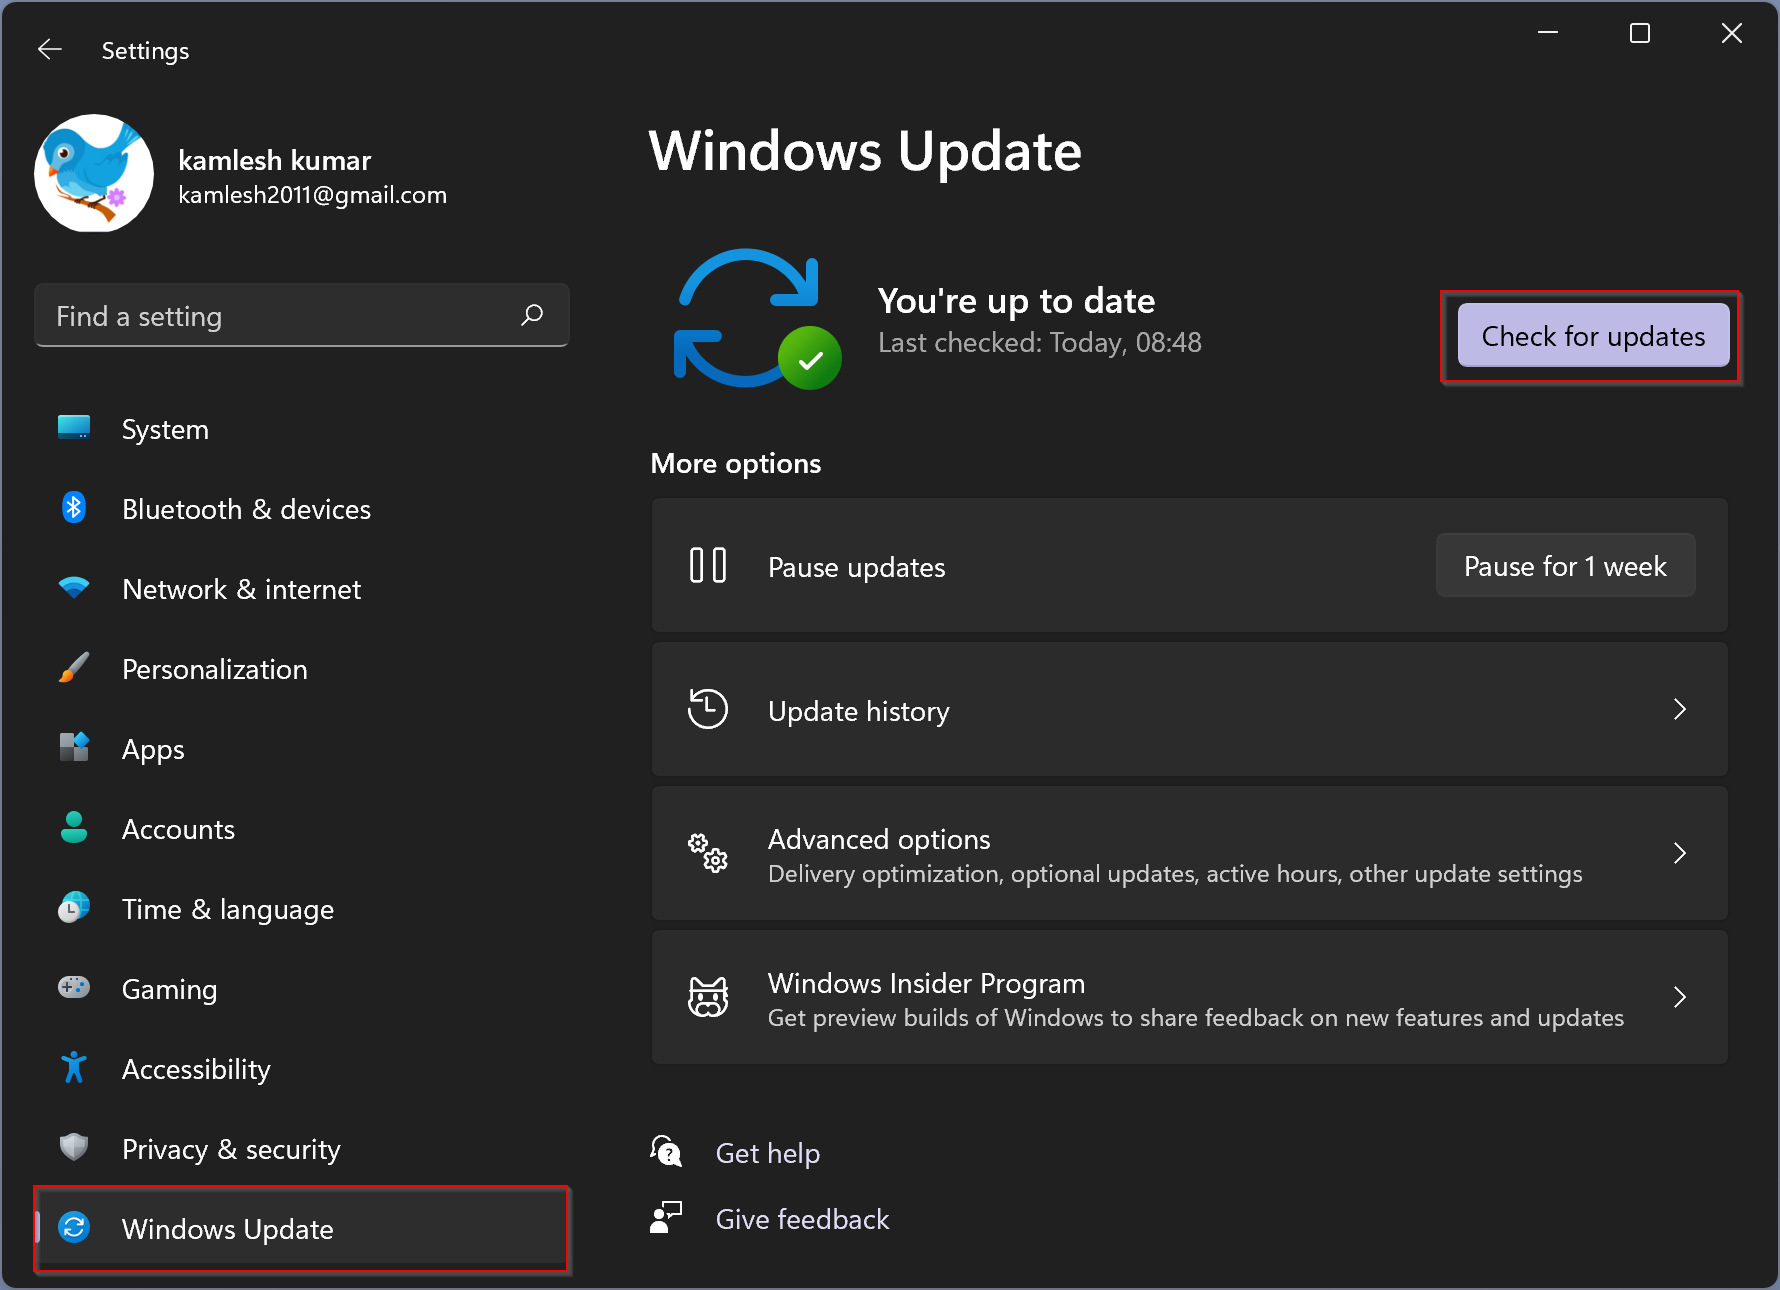
- From the dashboard on the left side of the new screen, click on the Windows Update option.
- Select the option Check for updates.

- Update your operating system as required.
2.Look through your system files
- Open the search box by pressing Windows+ S.
- In the search bar, type Windows Powershell.
- Click Run as administrator.
- Grant user control and wait for the PowerShell panel to open.
- Type the following in the command line and press Enter to run:
sfc scannow
You will have to wait a few seconds after SFC scans and repairs any damaged system components.
3.Run DSIM
- Open the list of items by pressing Windows+ X.
- Click the Windows PowerShell (Admin) option.
- Grant user control and wait for the console to open.
- Type the command below and click enter to run:
DISM.Exe /Online /cleanup-Image /Restorehealth


You will have to wait a few minutes for the process to complete. Alternatively, you could run a simple anti-virus scan, just to be sure.
While this same issue has been well reported and resolved in Windows 10, it seems this issue is here to make things difficult again.
When CPU usage for any system component is unusually high, resulting in overheating can cause your PC to shut down unexpectedly, So you might want to check out this guide to know how to deal with it.
Here’s hoping that this guide is a great and informative read. If your Shell Host is using high CPU, don’t hesitate to troubleshoot using any of the given techniques.
That is all the content of the article, hope we have helped you in the problem you are facing. If you find the article useful, please like and share to support Theartcult. If you have any questions or suggestions, let us know in the comments section below.