Fix Could not use the Brush Tool because the pixels in a group cannot be edited. Question: “I keep getting the below message when trying to use the spot healing tool for frequency separation. “Could not use the healing brush because the pixels in a group cannot be edited without merging the group.” That said, when I merge the group it is of course no longer functioning how I want it to function.” It is inevitable to encounter brush tool errors in Photoshop. In today’s article, let’s explore how to fix when a brush tool error occurs!
Fix Could not use the Brush Tool because the pixels in a group cannot be edited
Put different layers under one group and selected the group instead of the individual layer. i.e. I clicked the group named Background, instead of the blue Background layer I wanted to change. Hope that helps!
How to group layers in Photoshop
Grouping layers helps organize your projects and keeps your Layers panel uncluttered. By linking layers, you establish a relationship between them, even if they aren’t next to each other in your layer order.
Group and ungroup layers
-
Select multiple layers in the Layers panel.
-
Do one of the following:
-
Choose Layer > Group Layers.
-
Alt-drag (Windows) or Option-drag (Mac OS) layers to the folder icon
 at the bottom of the Layers panel to group the layers.
-
-
To Ungroup the layers, select the group and choose Layer > Ungroup Layers.
Add layers to a group
-
Do one of the following:
-
Select the group in the Layers panel and click the Create a New Layer button
 .
. -
Drag a layer to the group folder.
-
Drag a group folder into another group folder. The group and all of its layers move.
-
Drag an existing group to the New Group button
.
-
Link and unlink layers
You can link two or more layers or groups. Unlike multiple layers selected at the same time, linked layers retain their relationship until you unlink them. You can move or apply transformations to linked layers.
-
Select the layers or groups in the Layers panel.
-
Click the link icon
 at the bottom of the Layers panel.
-
To unlink layers do one of the following:
-
Select a linked layer, and click the link icon.
-
To temporarily disable the linked layer, Shift-click the Link icon for the linked layer. A red X appears. Shift-click the link icon to enable the link again.
-
Select the linked layers and click the Link icon. To select all linked layers, select one of the layers and then choose Layer > Select Linked Layers.
-
Fix Can’t paint on picture in Photoshop CC
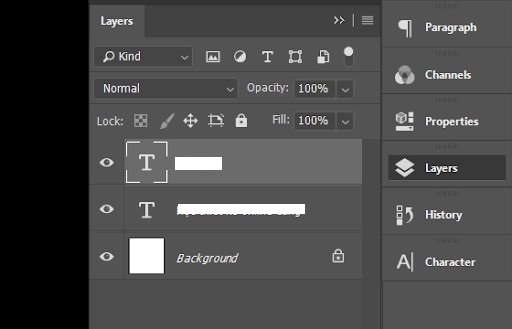
The layers in Photoshop can be arranged in groups (think of the groups as folders). To use the brush tool you first need to highlight a layer in Photoshop – not the group folder
So If it looks like this (the group is highlighted) – the brush won’t work
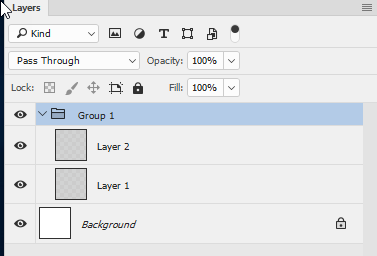
Click on one of the layers in the group (so the pixel layer is highlighted) and you can brush away :

HOW TO FIX BRUSH ERRORS IN PHOTOSHOP
1. Fix Photoshop brush error
Case 1: You are drawing on Layer Mask
– Use the Brush Tool to erase on the Layer Mask but it doesn’t work because you clicked the wrong Mode. In the upper toolbar under Mode, check what mode you are working in.
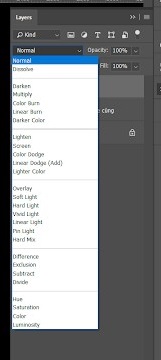
Case 2: The Blending Mode part (blend mode) is not Normal
– Some Modes may prevent you from using the Brush Tool > Click to switch the Mode back to Normal .
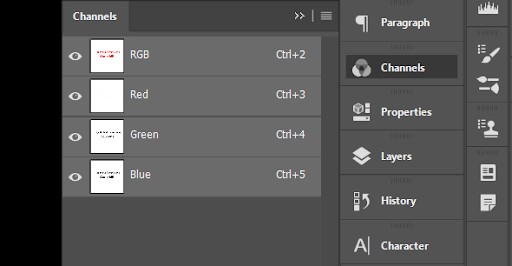
Case 3: You are working with a certain Channel
– Check if you are working with any mode of the Channel by clicking on the Channel item .
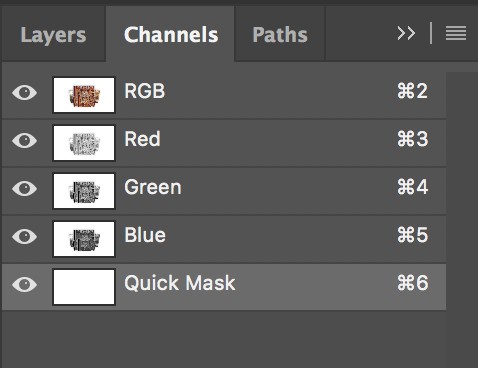
Case 4: You are on Quick Mask Channel
– If you see a Quick Mask Channel item, press the Q key to exit this mode > You can already use Photoshop’s Brush Tool normally.
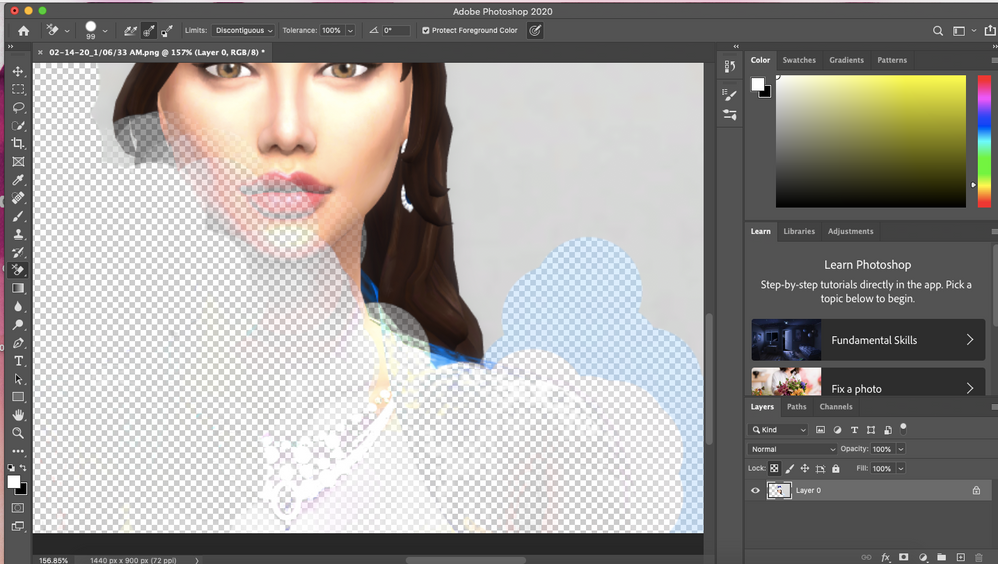
2. Fix Photoshop brush not painting color
While you want to fill color, erase selection, sample, etc. suddenly Photoshop does not display the highlighted points on the working area.
How to fix:
– Step 1: Go to Select > Deselect (Ctrl+D) to remove any selection with the Marquee Tool, which you forgot or couldn’t see.
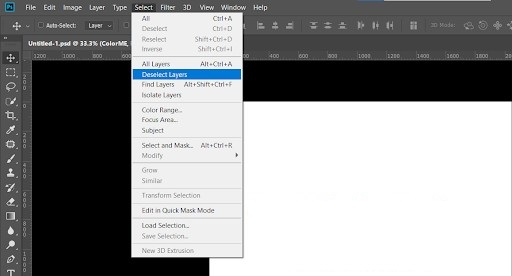
Go to Select -> Deselect (Ctrl+D) to remove the selection
Step 2: Open Channels in the Layers panel, double check all the layers to make sure we’re not working with Quick Mask Channel or any other Channel mode.
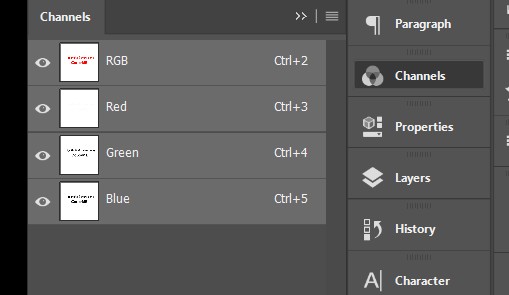
– Step 3: In the opposite case, proceed to combine Channel RGB. If you are in Quick Mask mode, just press Q to be able to use the Brush Tool as usual.
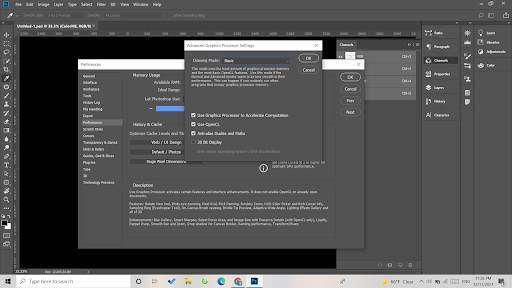
3. Fix Brush Tool stuttering, lag by increasing hardware speed
– Step 1: Go to Edit > Preferences > Performance
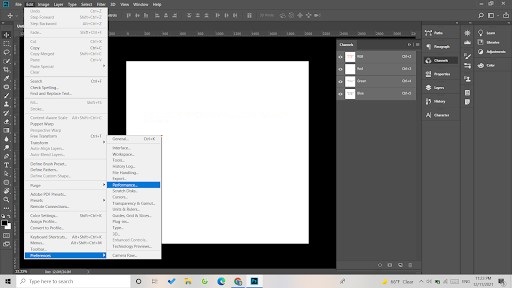
– Step 2: Under Graphics Processor Settings > find and select Advanced Settings
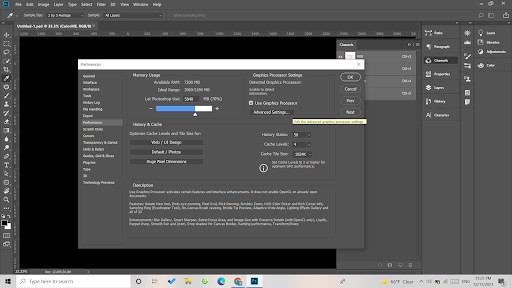
– Step 3: Change Drawing Mode > Basic > OK and restart Photoshop and you’re done.