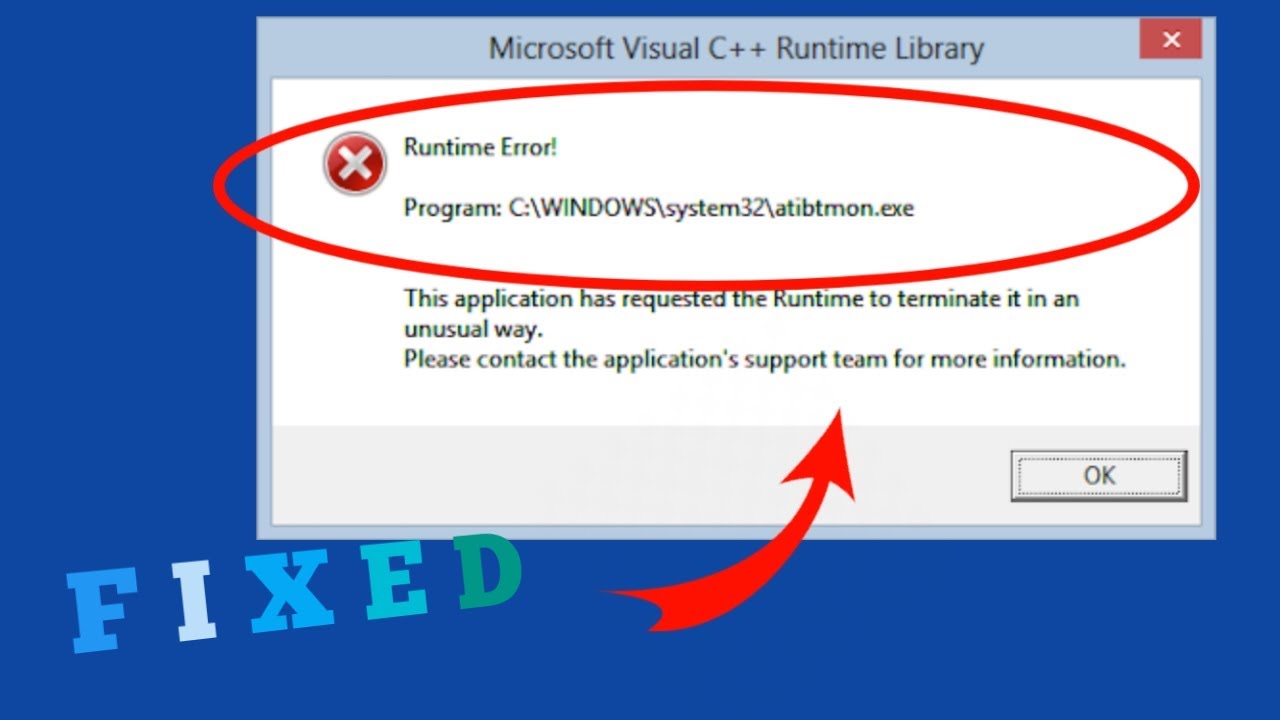
Fix Error writing temporary file make sure temp folder is valid. We don’t expect any problems after double-clicking on the installer file or uninstalling the application through the right-click menu, but sometimes there is a pop-up error message displayed on the screen saying “Error writing temporary file. Make sure your temp folder is valid” problem in Windows 10 and Windows 11.

How to Fix Error writing temporary file make sure temp folder is valid
1. Delete temporary files in Windows
You should always delete temporary files and cached data in the Temp folder. They take up a lot of disk space and some of these files can cause conflicts with the installation software.
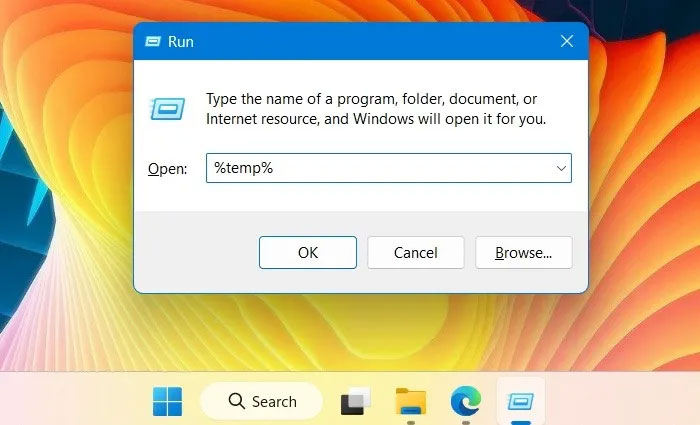
1. Open the Temp folder path with Run, press Win + R, then type %temp%.
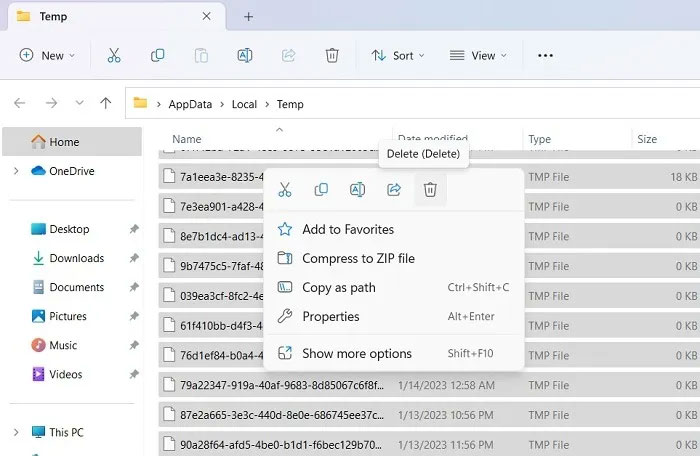
2. This will launch a new File Explorer window in Windows where all temporary files are visible.
3. Select the entire contents of the Temp folder with Ctrl + A and press the Delete button.
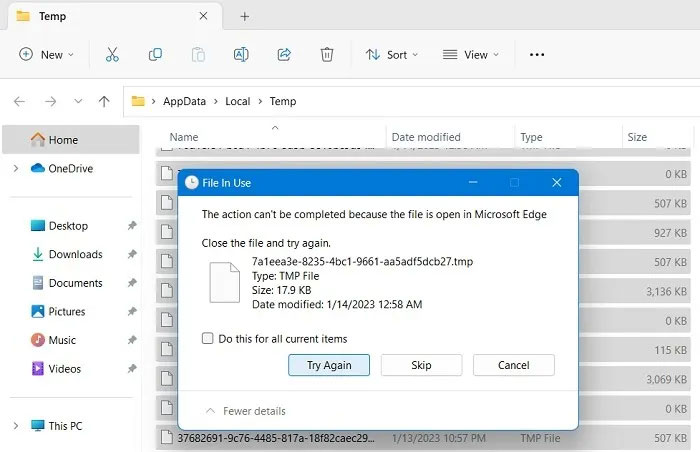
4. Not all temporary files are deleted on the first attempt. You will need to keep pressing the Try again button until all of them are cleared.
5. When nothing is left, refresh the Temp window and try to install/uninstall the application.
Tip: In addition to the Temp folder, there are other ways to clear the cache in Windows, such as Disk Cleanup, DNS Cache, setting up Storage Sense, etc.
2. Reload the program and launch the new installer
The “Make sure your temp folder is valid” error can occur if there is malware in the installed software. In such a case, you should wait for a while and reload the software. Chances are that the developers have released the latest version of the software and fixed the pending issues.
If you have an older version installed, the newer installer will overwrite everything and you can easily uninstall the new version later.
3. Run the installation from the created ZIP folder
Here’s a neat alternative that will execute the installer right away. Although ZIP files can be damaged during download, it is actually safer to compress the downloaded .EXE installer file. It overwrites all installation information inside a zipped folder instead of your destination disk. When you run the installer in a zipped folder, it completely ignores the error.
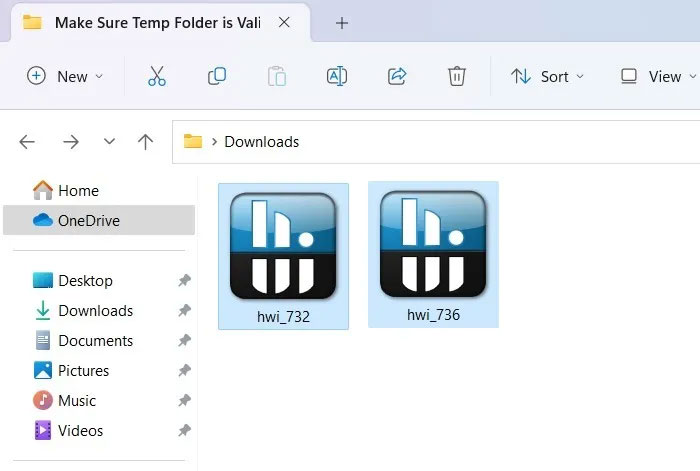
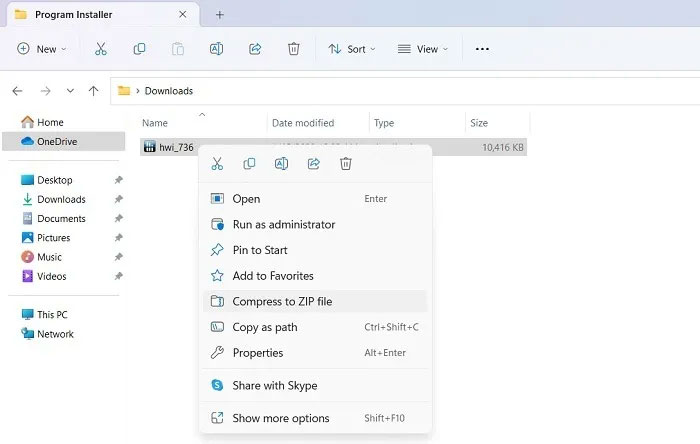
1. Navigate to the folder containing your installer file.
2. In Windows 11, right-click to select the option Compress to ZIP file. Windows 10 users may be asked to choose a compression software, such as WinRAR or WinZip.
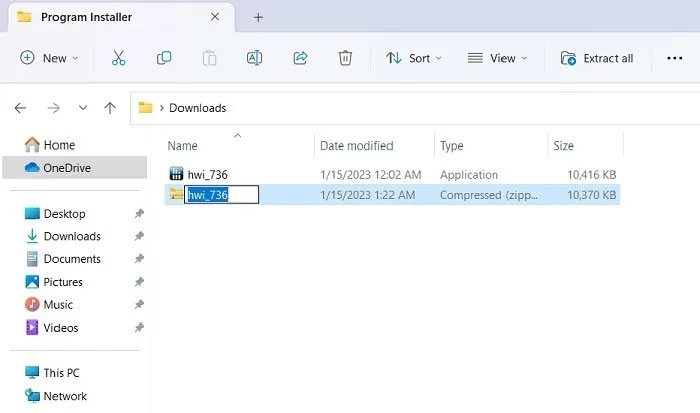
3. A zipped folder is created that includes all installation and dependency files.
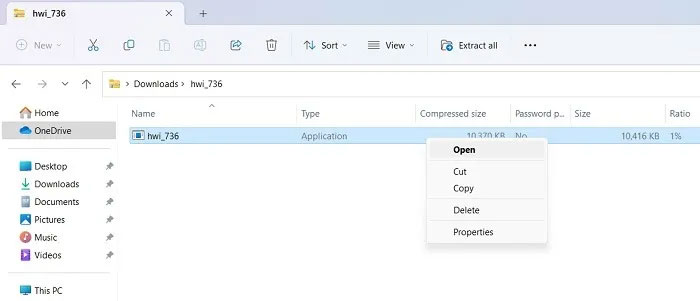
4. Navigate to the zipped folder path in Windows 11 and right-click to select Open. The installer will run from within the zipped folder. Windows 10 runs it from within the compressed folder software window.
4. Configure Windows folder permissions to disable Read-only access
This method should only be applied if you cannot locate the Temp directory in the path specified via environment variables. This will prevent you from making any changes in the Temp folder thus creating problems when installing or uninstalling software. Disabling “Read-only” access is the solution.
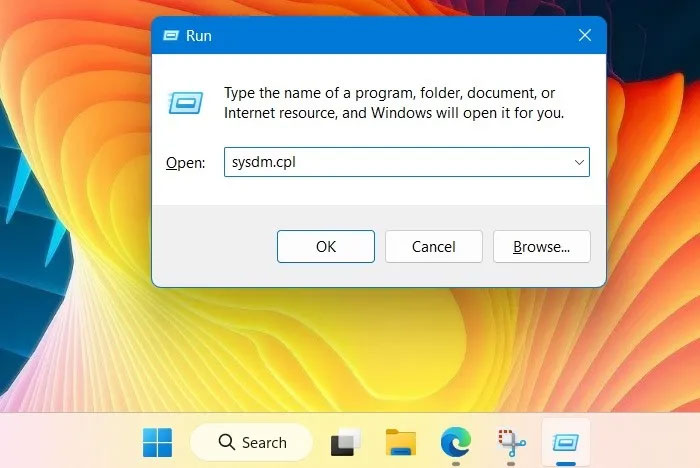
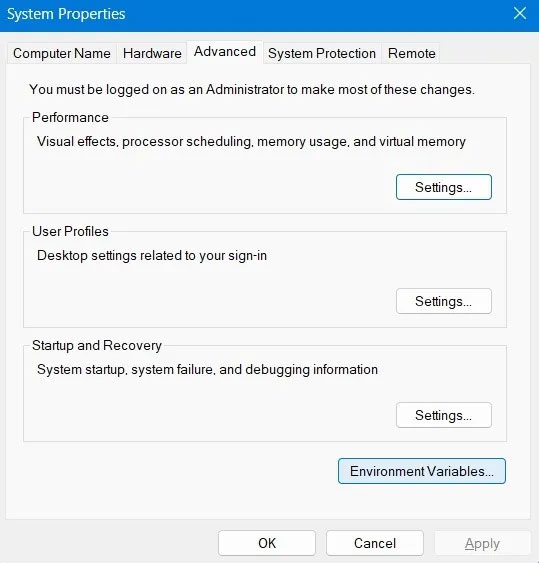
1. Open System Properties from Windows Run by typing sysdm.cpl and pressing Enter.
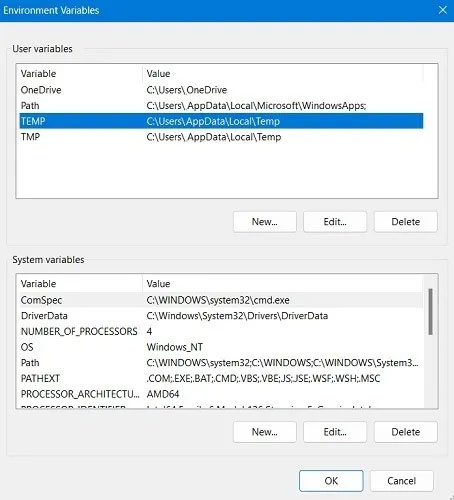
2. Navigate to the Advanced tab and open Environment Variables under Startup and Recovery .
3. Check the path of the variables Temp and Tmp and write them down somewhere.
4. Navigate to the Temp folder path in the File Explorer window. If you can’t find it here, it means you don’t have access to the Temp folder.
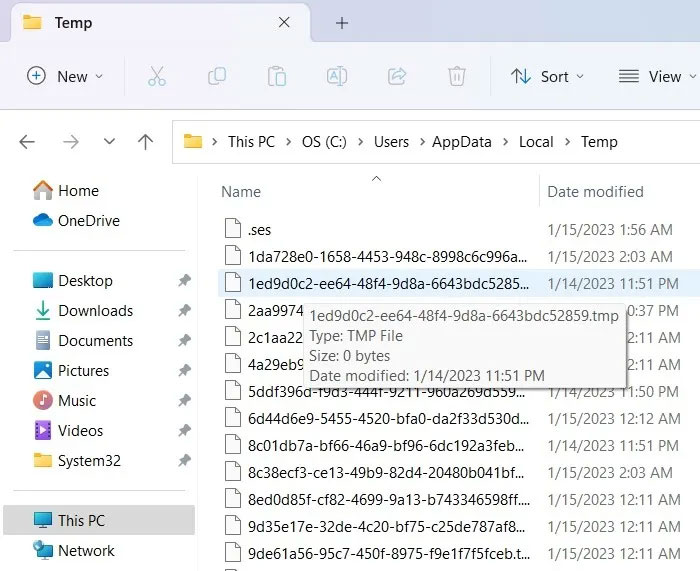
5. To fix the problem, first find the location of the Temp folder using %temp% in Windows Run.
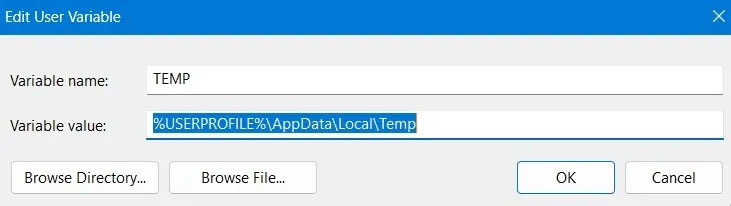
6. Go back to the environment variables window and edit Temp in User variables to point to the correct temporary directory path. Don’t edit System variables, because by default it will point to C:\Windows\Temp.
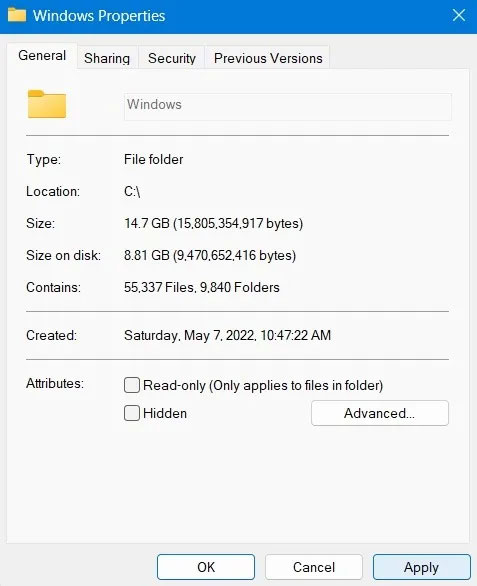
7. Go to C:\Windows and right click on the Windows folder to open its properties.
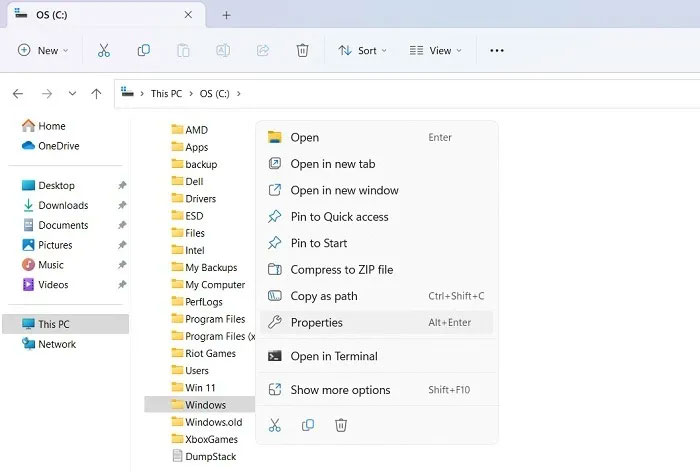
8. Go to the General tab. The Read-only property is enabled by default. Disable it and apply the changes.
9. Repeat the same for other folders in Windows, such as System32 and the Temp folder.
10. Restart your computer and observe the changes.
5. Check for memory problems with Windows Memory Diagnostic
If Temp folder problems are caused by memory issues, they can be resolved with an administrative tool called Windows Memory Diagnostic. It is a one-stop solution for installation problems such as random freezes, blue screen of death errors and app crashes.
1. You can open it from the Windows search bar by searching memory or using the Run command and typing mdsched.exe.
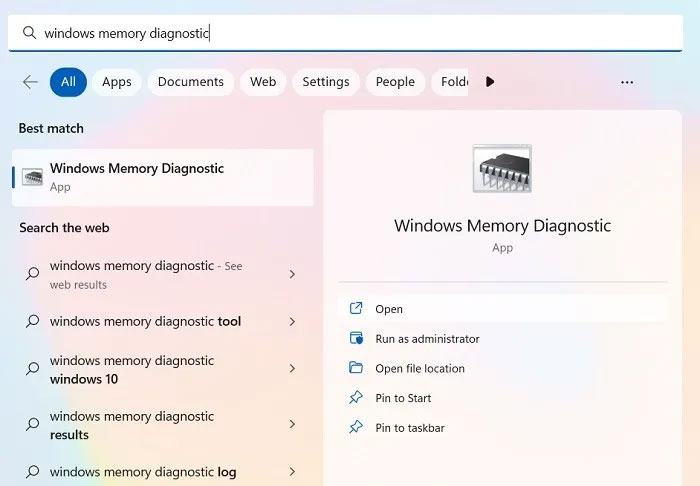
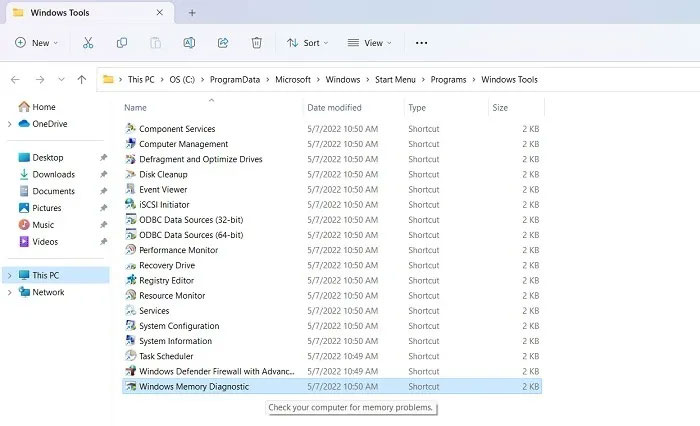
2. This application is available in the list of Windows administrative utilities.
3. You will be asked to restart your PC and can immediately perform or schedule a memory diagnostic for the next reboot.
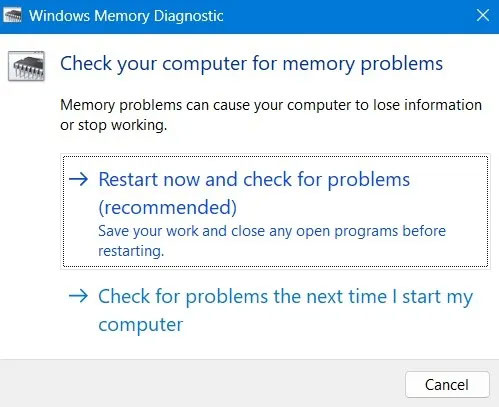
4. After completing the memory test, the PC will reboot and a log file will be created, which will give you the source of any memory errors.
6. Clean boot again Windows device
Clean boot will restart your Windows device with a minimal set of drivers and startup programs. This helps clean up any background programs that are interfering with normal Windows processes. Doing this eliminates a lot of errors in the temp directory path.
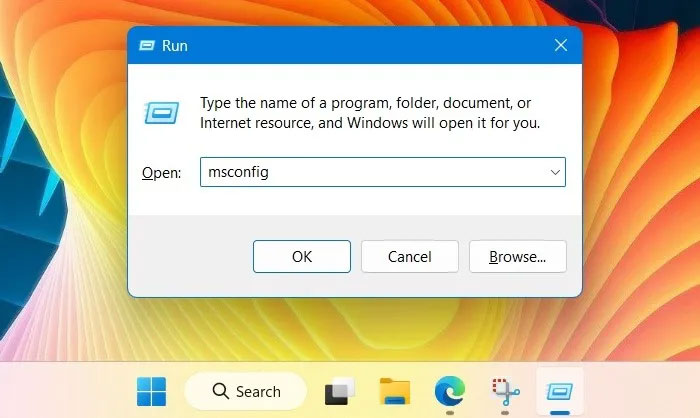
1. Using Windows Run, open the System Configuration utility by typing msconfig.
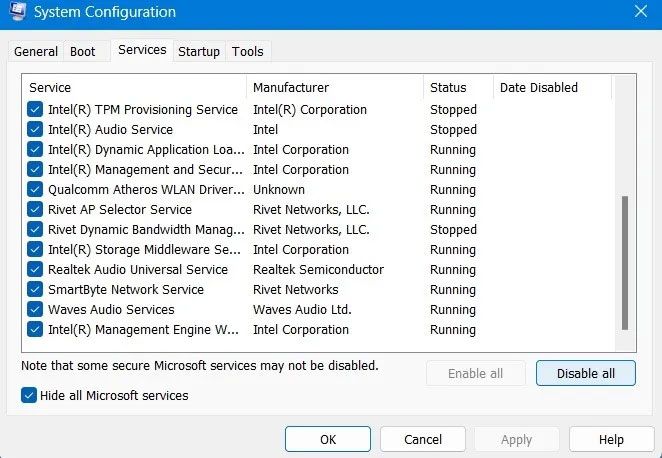
2. Navigate to the Services tab as shown here to select the Hide all Microsoft services option .
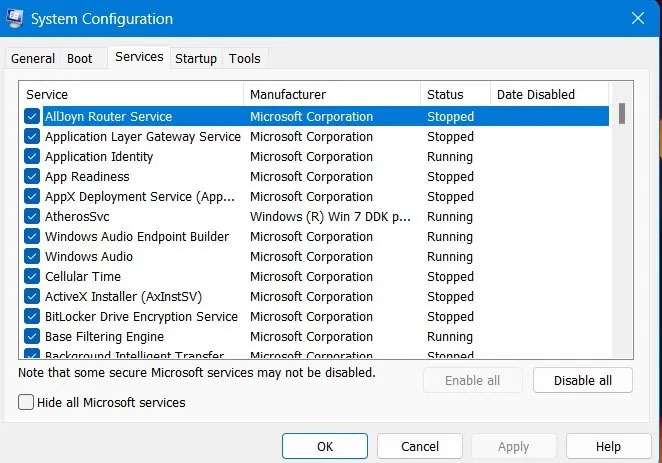
3. When essential Microsoft services are removed, you can choose to Disable all or just select a few programs to disable them.
4. Perform a Windows restart to apply the changes. Your PC should work again after removing the sources of past system failures.
7. Perform a cloud reset
Usually, system restore works best to allow access to the Windows Temp folder. But if you have any uninstall issues, you should not do a system restore, as it can lead to multiple crash errors that keep happening in an infinite loop.
Cloud-based reset is the best way to go. It’s safe and downloads the latest version of Windows.
1. Go to Windows Recovery options from Settings > System > Recovery.
2. Click the Reset PC button, this will open a new pop-up window.
3. If you can’t access your PC’s desktop because your PC didn’t finish rebooting, you can also access the Reset PC option in Windows’ Safe Mode.

4. Safe Mode can be launched with Windows boot keys during start. They can vary between PCs but are usually one of the F2, F6, F12 or Del keys. (Check laptop/PC manufacturer’s website for exact data).
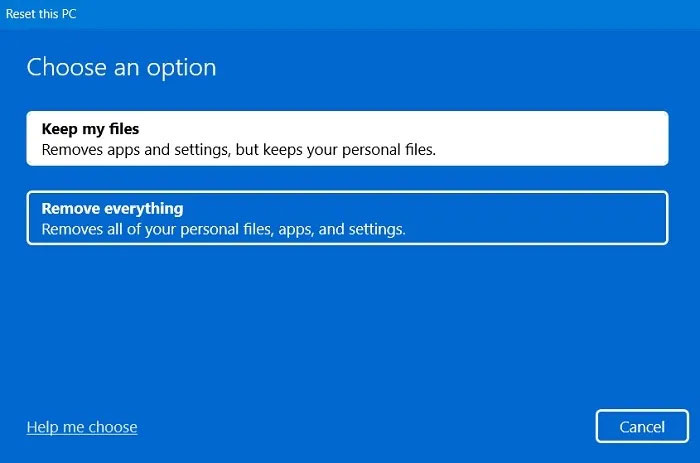
5. Select Keep my files in the option to delete all apps and settings but keep all your personal files.
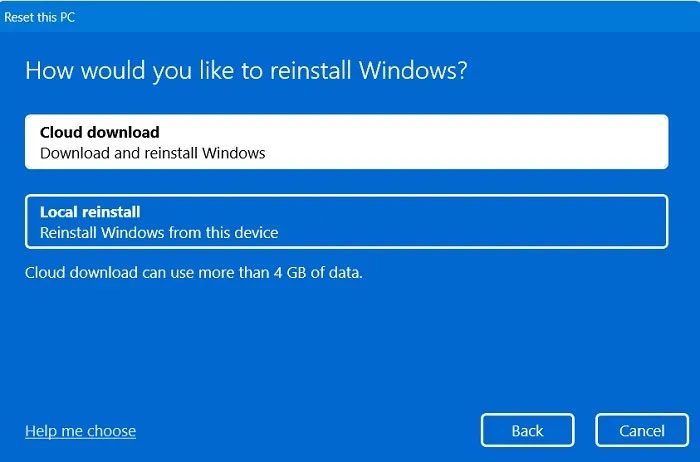
6. When asked how you’d like to reinstall Windows, select the cloud download or local reinstall option.
7. Always plug in the device and connect to the Internet.
8. Follow the rest of the onscreen instructions to reset your Windows device. It will involve a reboot.
The whole process takes a few hours, maybe up to a day, but you’ll be greeted with a brand new Windows operating system once it’s done.
Theartcult hopes that this article has helped you. If you have any questions or suggestions on this topic, don’t hesitate to leave us a comment below. Thanks for reading!
Visit Macwintips.com to update the most practical and useful tips for Mac and Windows!